Building Custom Kernels for Xilinx Zynq Devices
This tutorial shows how to use VisualKernel to build and debug a customized Linux kernel for a Xilinx Zynq-based board. We will modify the kernel to define a new symbol and then call it from a loadable kernel module.
Before you begin, follow this tutorial to prepare your Petalinux-based kernel for importing into VisualKernel and this tutorial to create a basic kernel module.
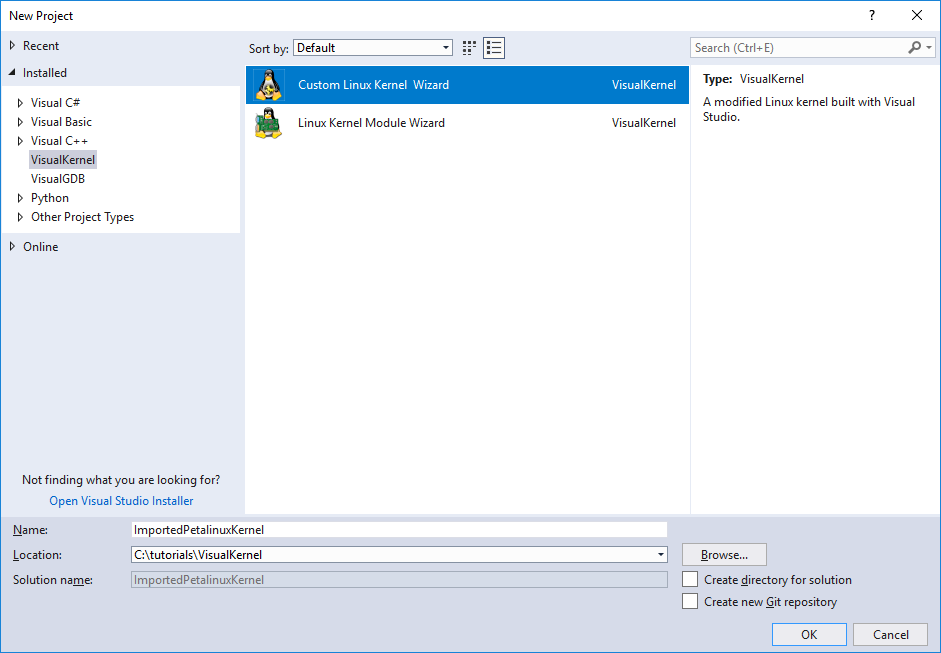
- Start Visual Studio and open the Custom Linux Kernel wizard:
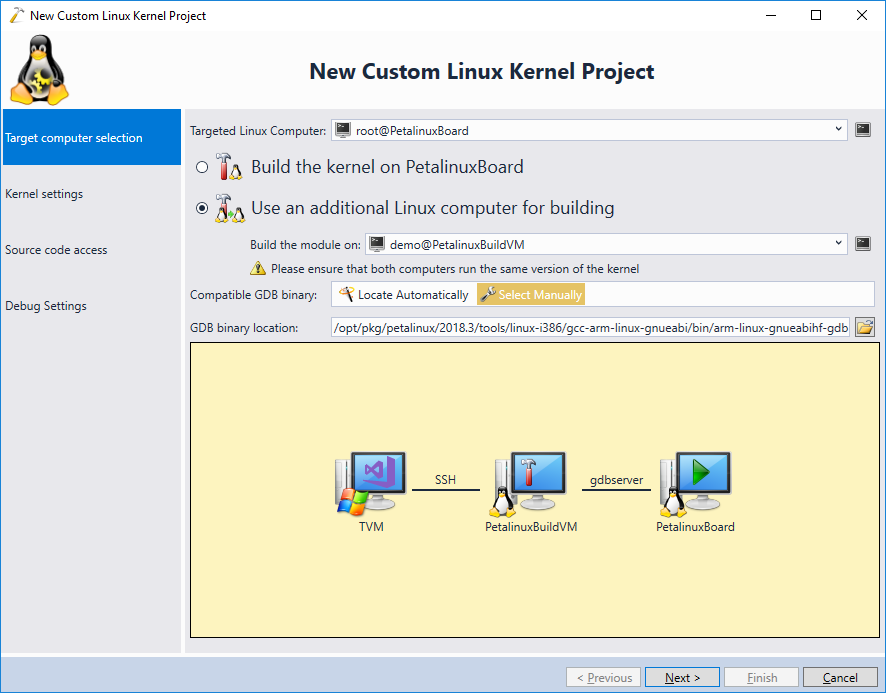
- On the first page of the wizard select the same settings you used when creating the kernel module:
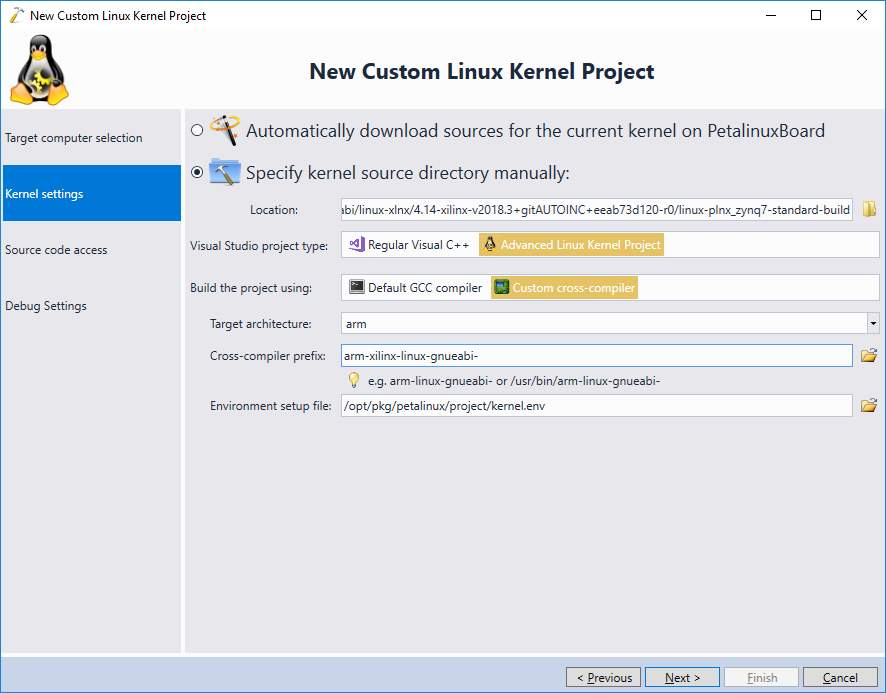
- On the next page enter the build directory (containing the kernel-env.txt file per this tutorial) as the kernel source location and specify the same cross-compiler settings as when creating the module:
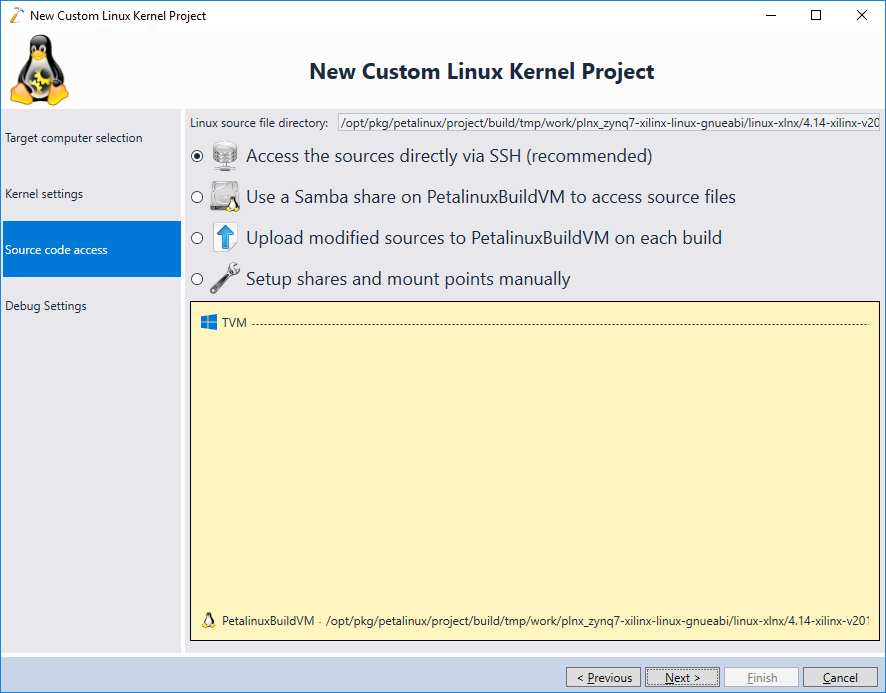
- Proceed with accessing the kernel sources via SSH:
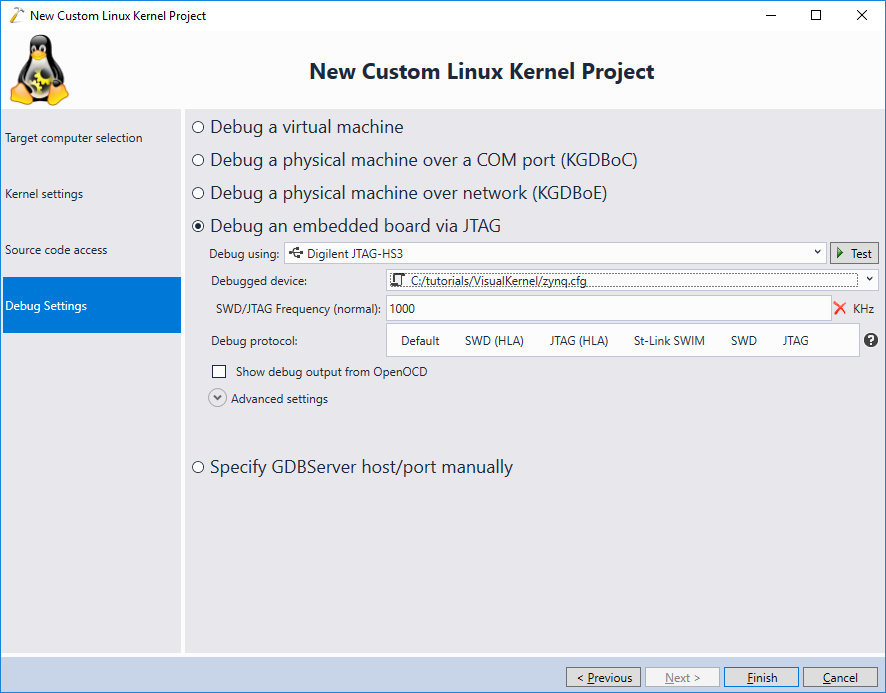
- Finally, specify the same debug settings that worked when following the module tutorial. You can also skip this step if you are not planning to debug the kernel itself (in this tutorial we will show how to use the module project to do the actual debugging):
- Press “Finish” to create the project. It will take a few minutes for VisualKernel to load the project structure, but once it is cached, further project loads will be very fast:

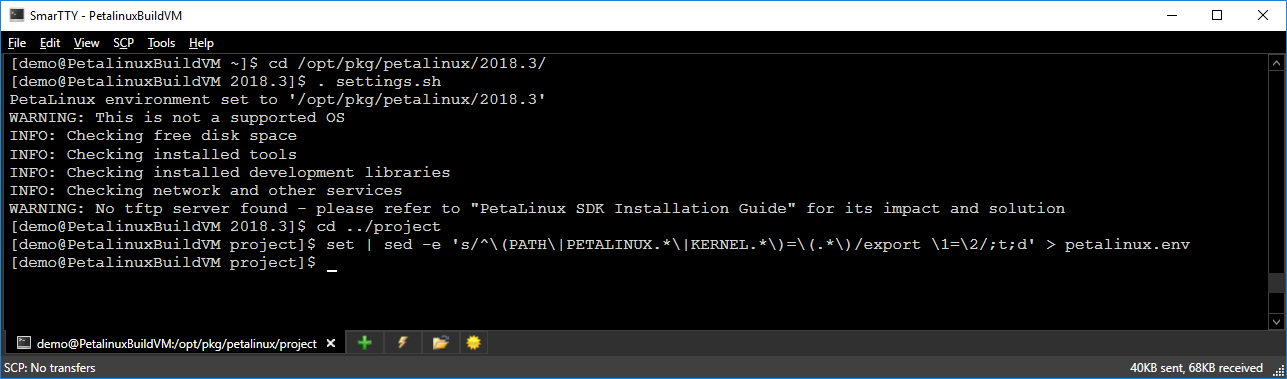
- If you try building the project directly, VisualKernel will skip the Petalinux-specific packaging steps (i.e. building the image file that can be deployed to the SD card). To make sure the image is built, we will configure the kernel project to run petalinux instead of the regular build command. Before we can do that, we will need to capture a snapshot of the petalinux environment into an environment setup file. Run the following command from your Petalinux environment (i.e. after running “. settings.sh”) in the project directory:
set | sed -e 's/^\(PATH\|PETALINUX.*\|KERNEL.*\)=\(.*\)/export \1=\2/;t;d' > petalinux.env
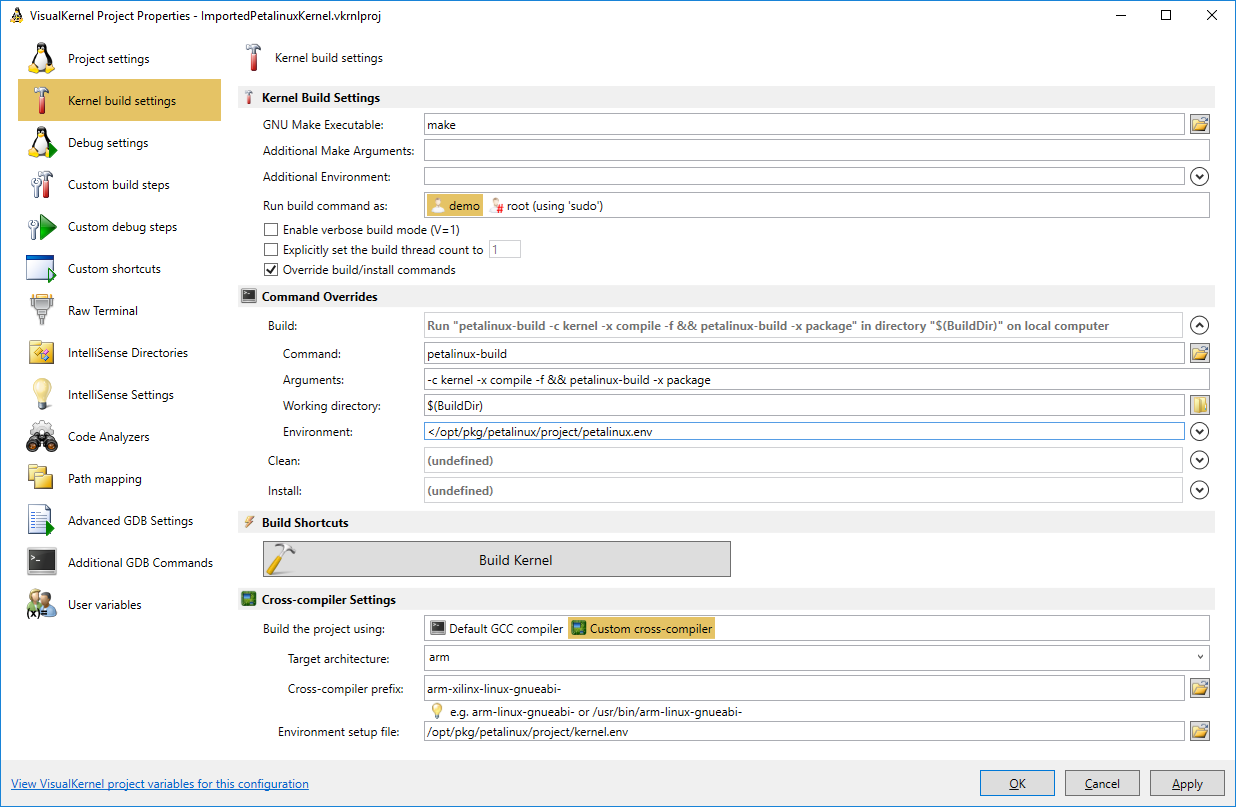
- Now you can open VisualKernel Project Properties and set the build command override as follows:
Command petalinux-build Arguments -c kernel -x compile -f && petalinux-build -x package Working directory $(BuildDir) Environment <[full path to petalinux.env] This will invoke the Petalinux command for unconditionally building the kernel followed by the Petalinux command for packaging the built kernel into the file that can be deployed to the SD card. Note that the GNU Make-related settings above must be still relevant in order for IntelliSense to work:
- Now you will be able to invoke the Petalinux build script by pressing Ctrl-Shift-B:
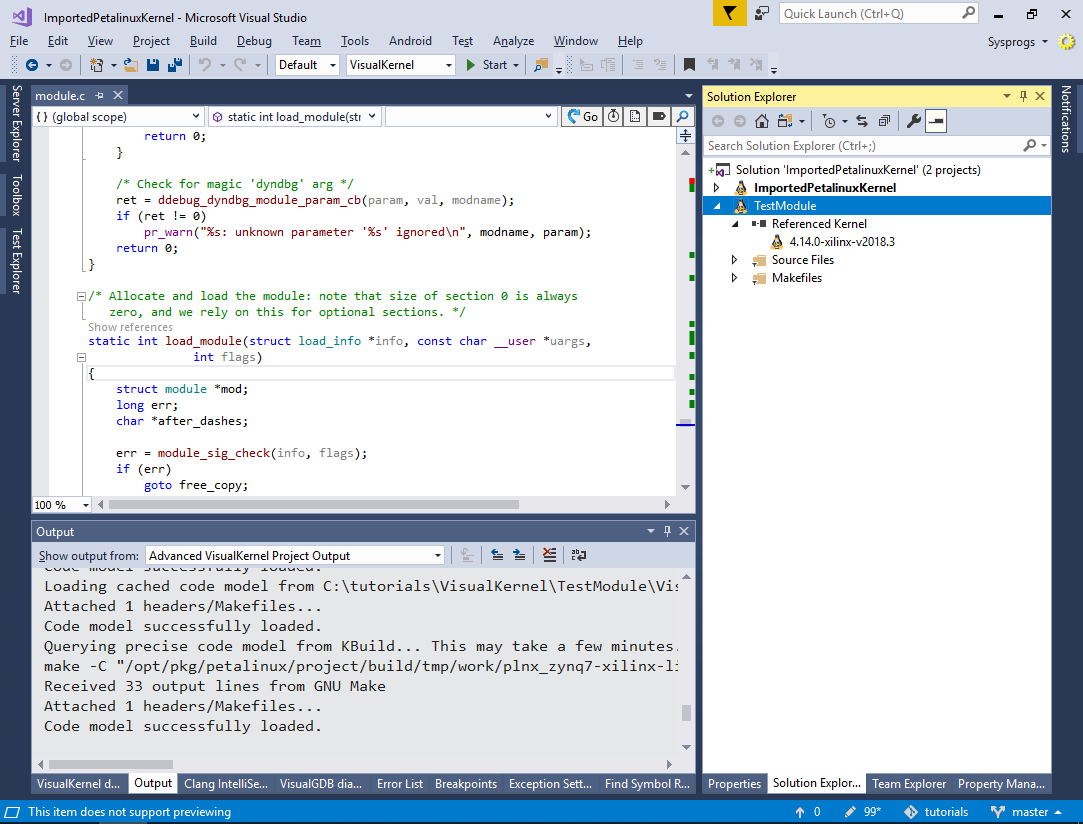
- Now we will show how to configure your module project to reference the kernel. Right-click on the solution in Solution Explorer, select Add->Existing Item and add the kernel module project created in this tutorial:
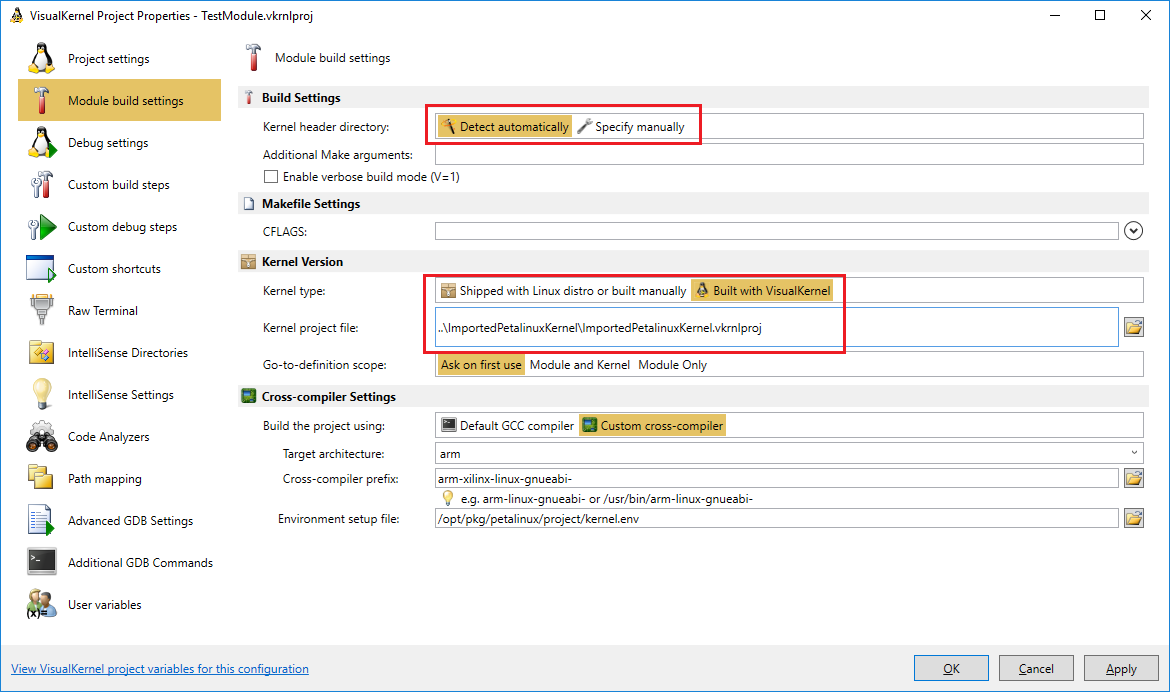
- Open VisualKernel Project Properties, go to the Module Build Settings page and enter the relative path to the kernel project file as shown below:
- We will demonstrate the kernel updating by adding a basic symbol to the kernel itself. Add the following lines to the module.c file:
void HelloSymbol(void)
{
    printk("Hello from new symbol");
}

EXPORT_SYMBOL(HelloSymbol);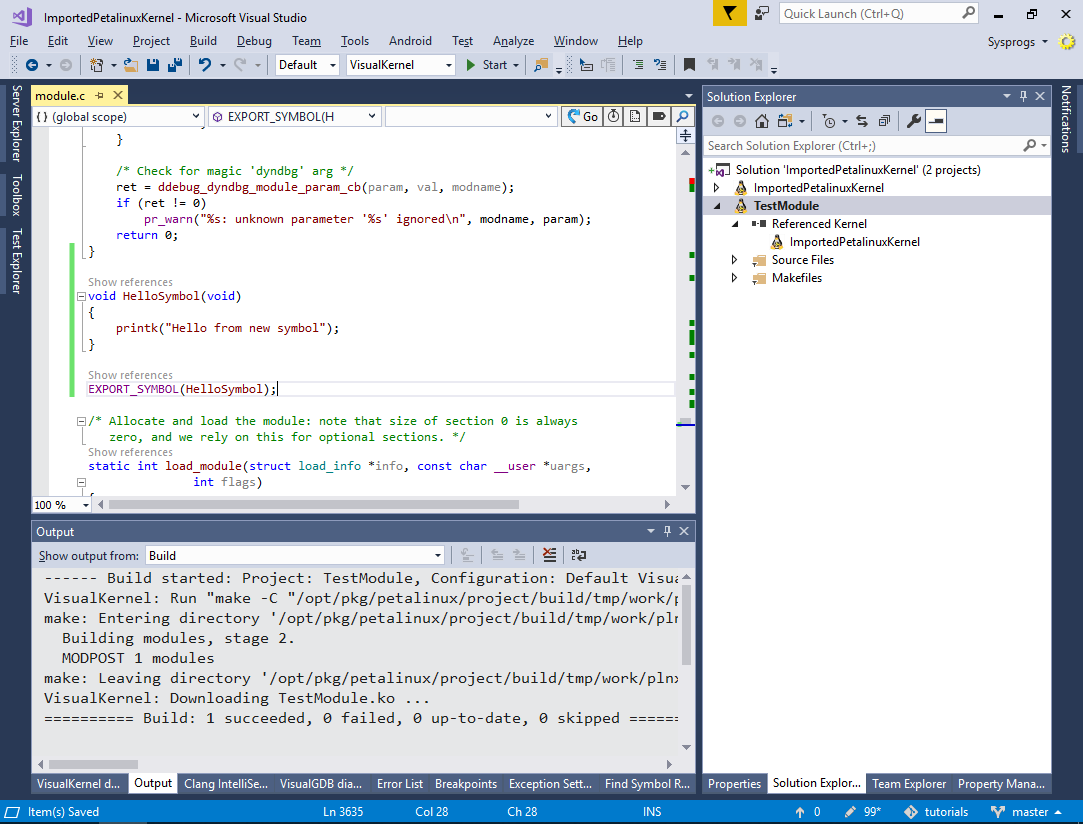
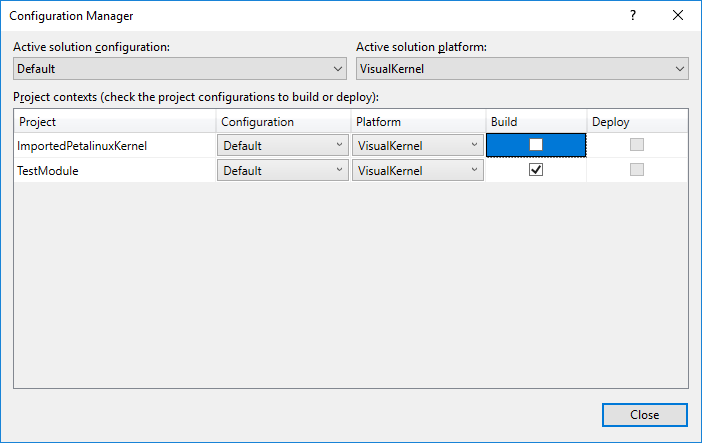
- Open the Visual Studio’s Configuration Manager and disable building of the kernel project. This will ensure that once you press Ctrl-Shift-B, or start debugging, VisualKernel won’t try to build the huge kernel project:
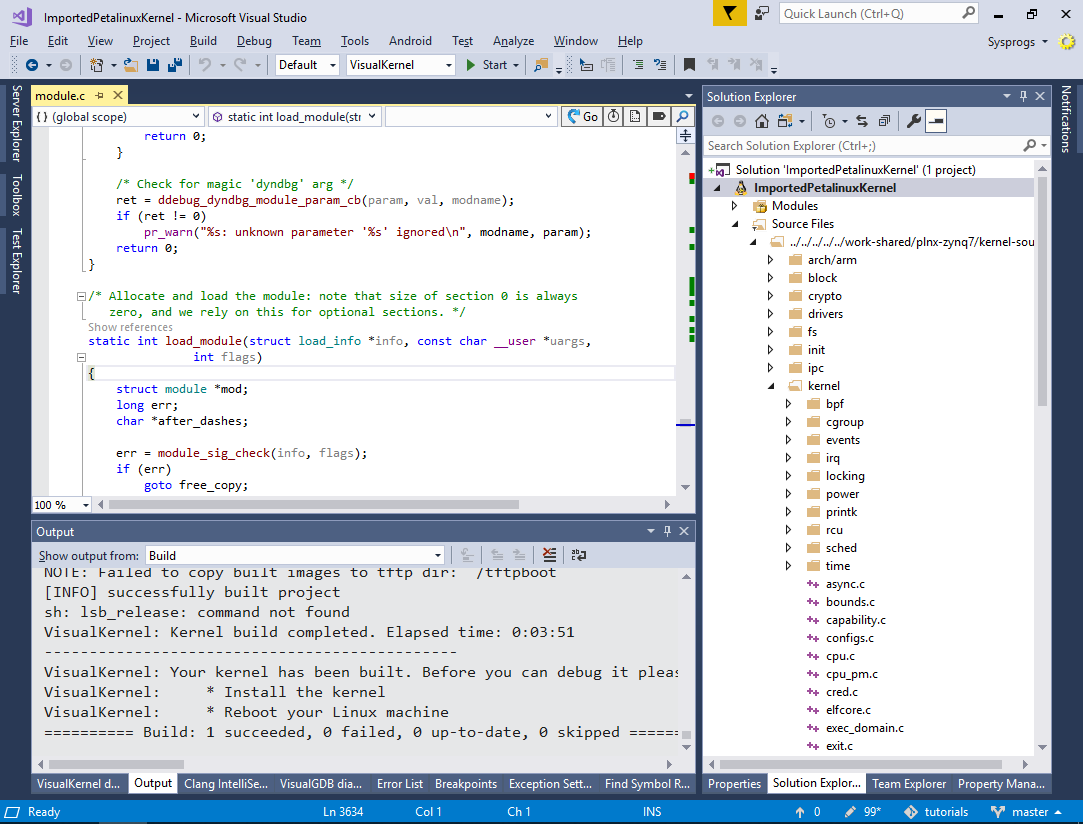
- Build the kernel project manually by right-clicking on it in Solution Explorer and selecting Build:

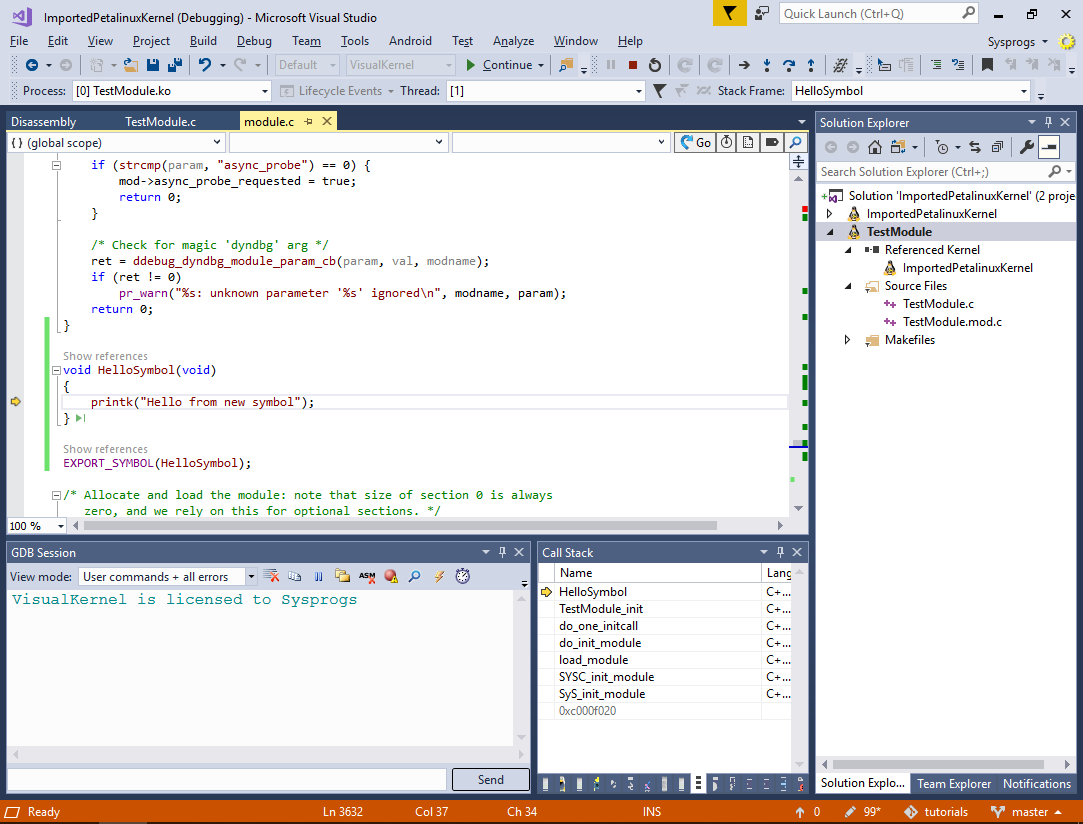
Once the build succeeds, deploy the built kernel image to the SD card as you did in this tutorial and start the target. - Modify the kernel module to call the newly created symbol. Then build it, set a breakpoint and begin debugging:
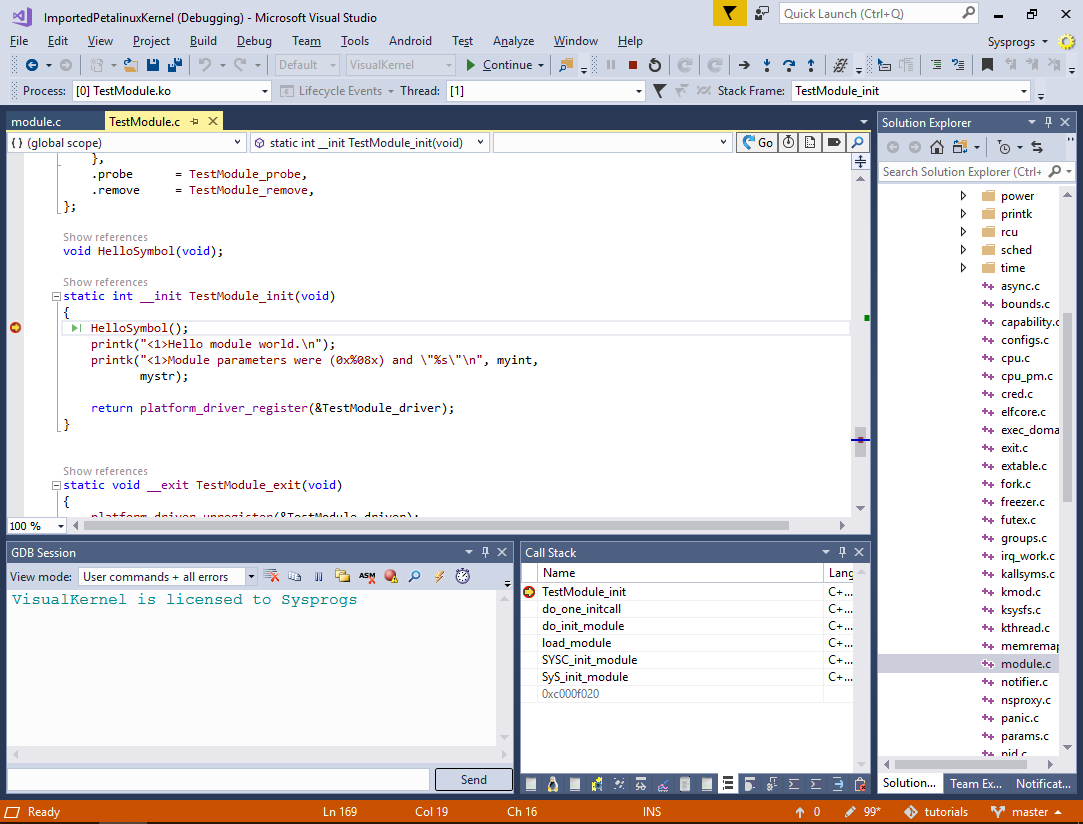
- You will now be able to step through both the kernel module and the kernel itself and also use advanced Clang-based IntelliSense to quickly navigate the kernel code base: