Manually Importing Kernel Symbols into VisualKernel
This tutorial shows how to import kernel symbols for unsupported Linux distributions into VisualKernel.
Normally, VisualKernel will automatically download and install the symbols for supported Linux distributions, however if you are using a distribution that is not directly supported, or cannot obtain the symbols automatically, follow this tutorial to install the symbols and import them into VisualKernel automatically.
- Before you begin importing the symbols into VisualKernel, determine your currently running kernel version by running “uname -a” and follow your distribution’s instructions to install the symbol and source packages for this exact kernel version. In most of the cases, you will need to install 2 packages:
- Debugging symbols. They typically consist of one huge kernel file containing the debug information. Debug symbols help map symbolic names, such as printk(), to specific addresses in the kernel space.
- Kernel sources. The source package contains a snapshot of the kernel source tree with files like printk.c, that were used to build the currently running image. VisualKernel will use them to display meaningful source code when stepping through the kernel functions.
We have detailed tutorials showing how to download symbols for Ubuntu and Fedora. For other Linux distros, see the distro-specific documentation.
- Once you have downloaded the symbols and the sources, go to the source directory on the Linux machine and make vmlinux a symbolic link to the symbol file:

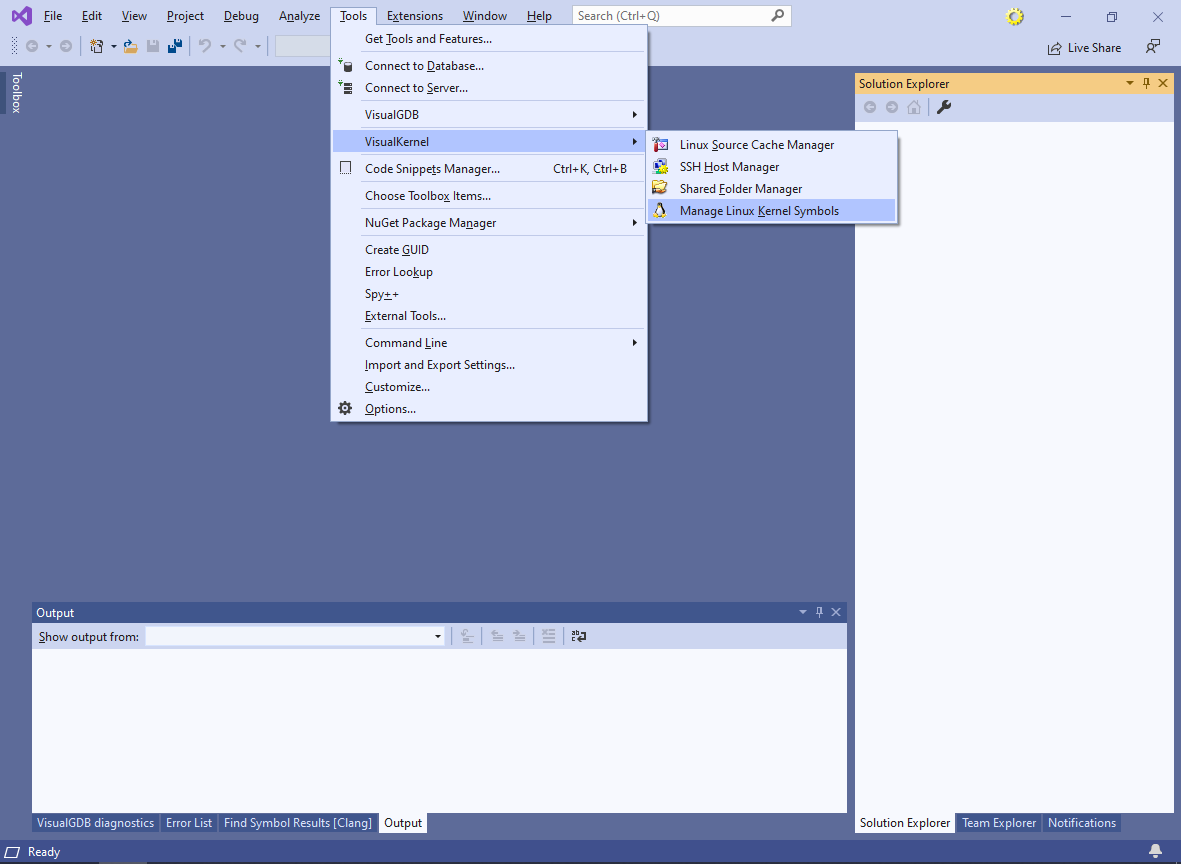
Now the source directory will have the same structure as if the kernel was built directly in it. - Start Visual Studio and open the Tools->VisualKernel->Manage Linux Kernel Symbols window:
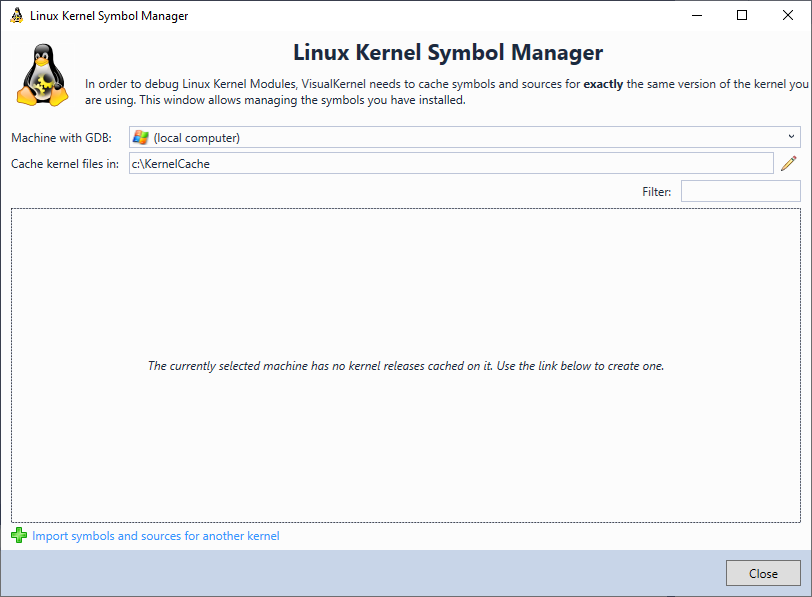
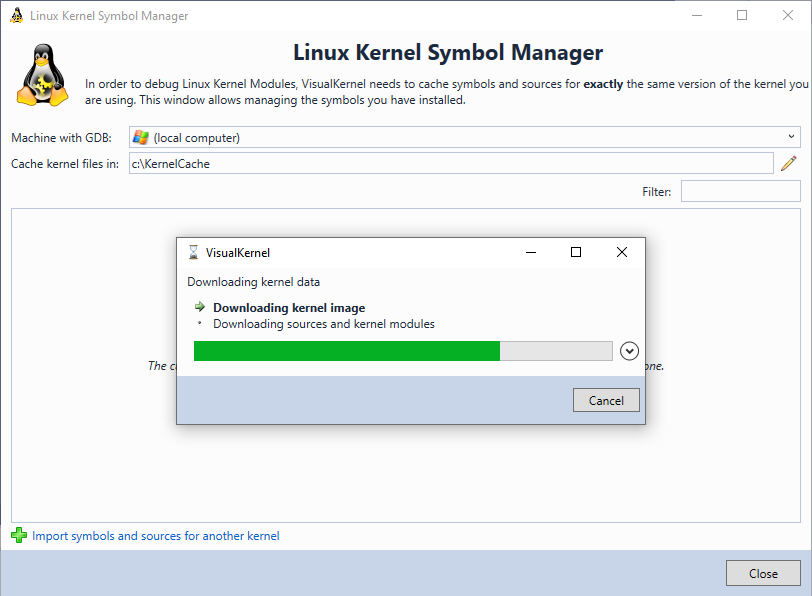
- VisualKernel will open the Kernel Symbol Manager window, listing the kernel symbols/sources that can already be used for debugging. In order to add the symbols you have just installed to the list, click “Import symbols and sources for another kernel”:
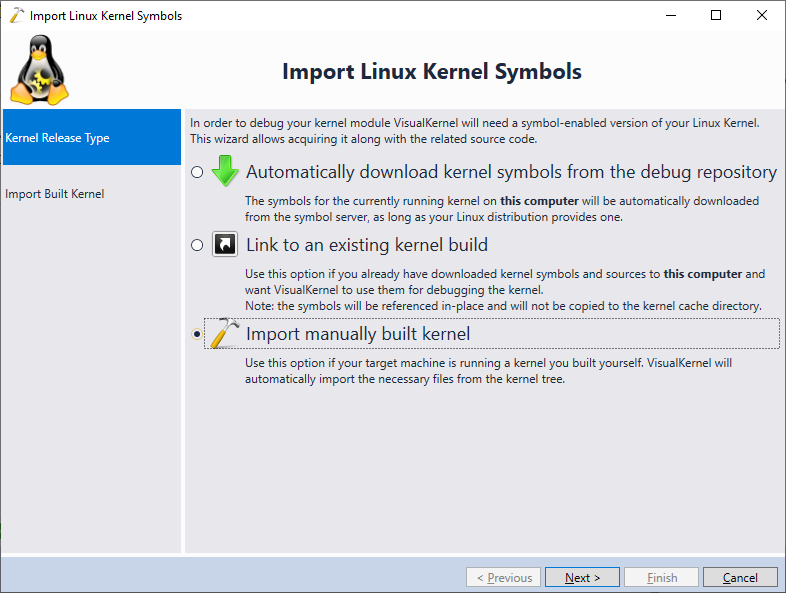
- VisualKernel will start the symbol importing wizard. On the first page select “Import manually built kernel”:
- On the next page select the computer where you have downloaded the symbols and pick the source directory:
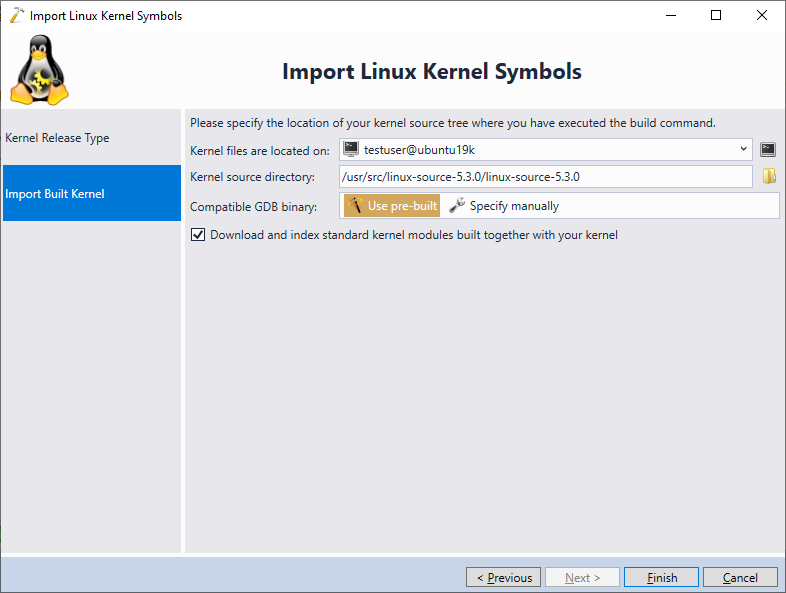
The source directory should contain the kernel sources and the “vmlinux” symlink pointing to the symbol file. - Click “Finish” to complete the wizard. VisualKernel will import the sources and symbols to your Windows machine and will index them, making debugging possible:
- Once the import is completed, the symbols will appear in the Linux Kernel Symbol Manager window:

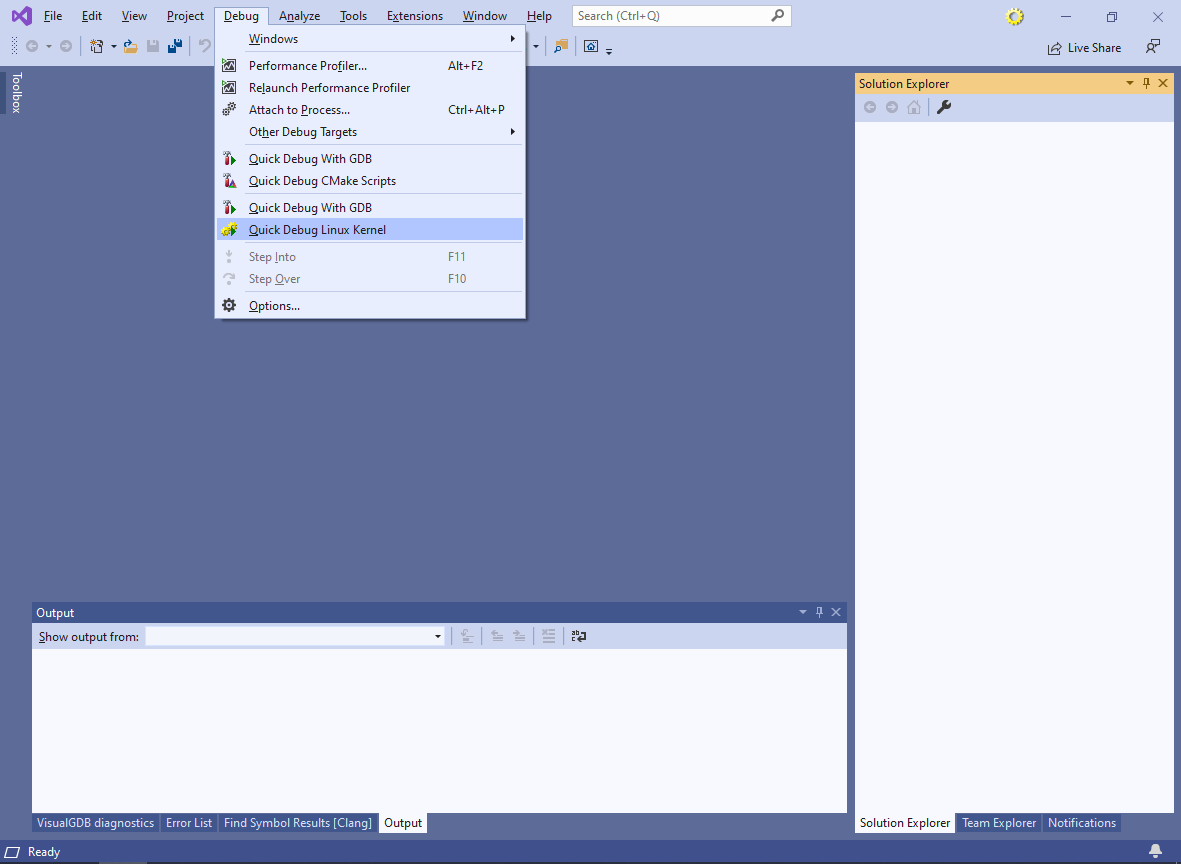
- Now you can use the imported symbols for debugging your kernel. The easiest way to try it out is via the Debug->Quick Debug Linux Kernel command:
- Select your Linux machine, pick the previously imported symbols, and configure a debugging method that will work with your setup:

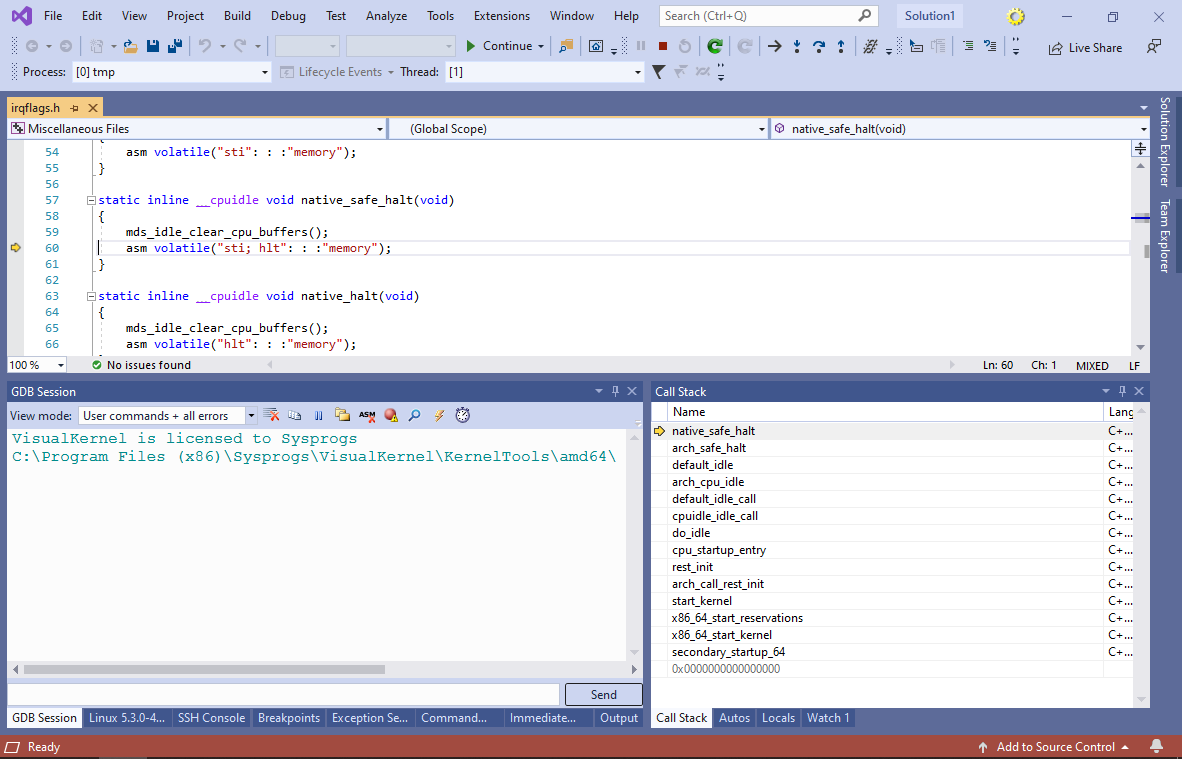
You can read more about various debug methods supported by VisualKernel on this page. - Once you click “Debug”, VisualKernel will automatically use the previously imported symbols to debug your kernel, so you will be able to set breakpoints and step through the source code: