Using QEMU to Develop and Debug Linux Kernel Modules
This tutorial shows how to use VisualKernel and QEMU to efficiently develop and debug kernel modules. QEMU is very lightweight, requires no initial setup and is the only virtual machine engine that supports kernel debugging on Windows hosts running the Hyper-V platform (required for WSL2).
Before you begin, install Visual Studio and VisualKernel 4.0 or later.
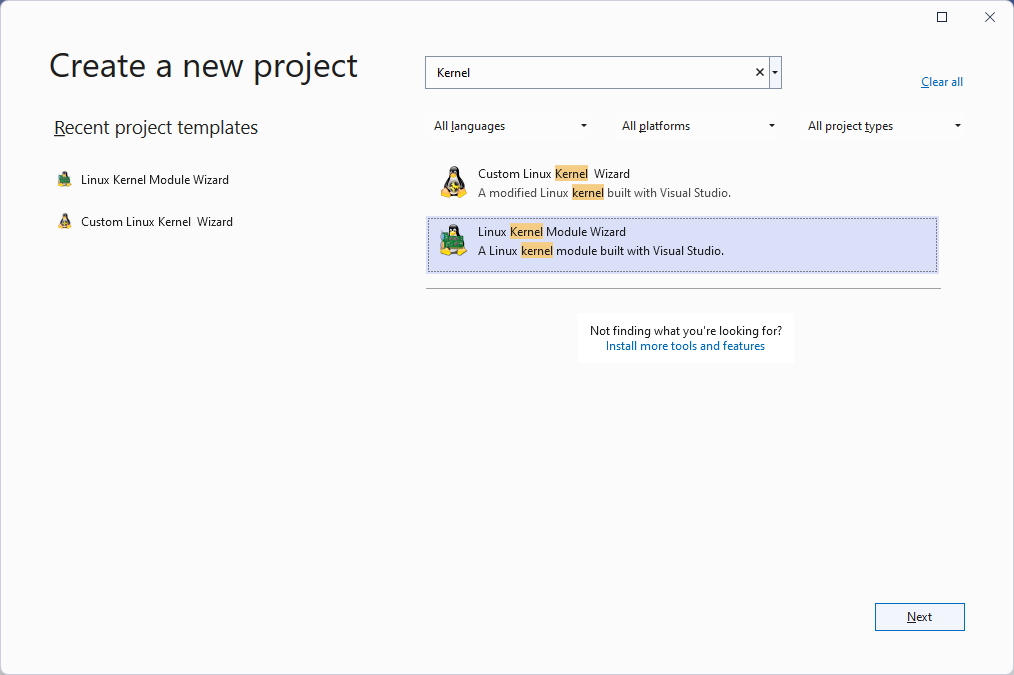
- Start Visual Studio and locate the Linux Kernel Module Wizard:
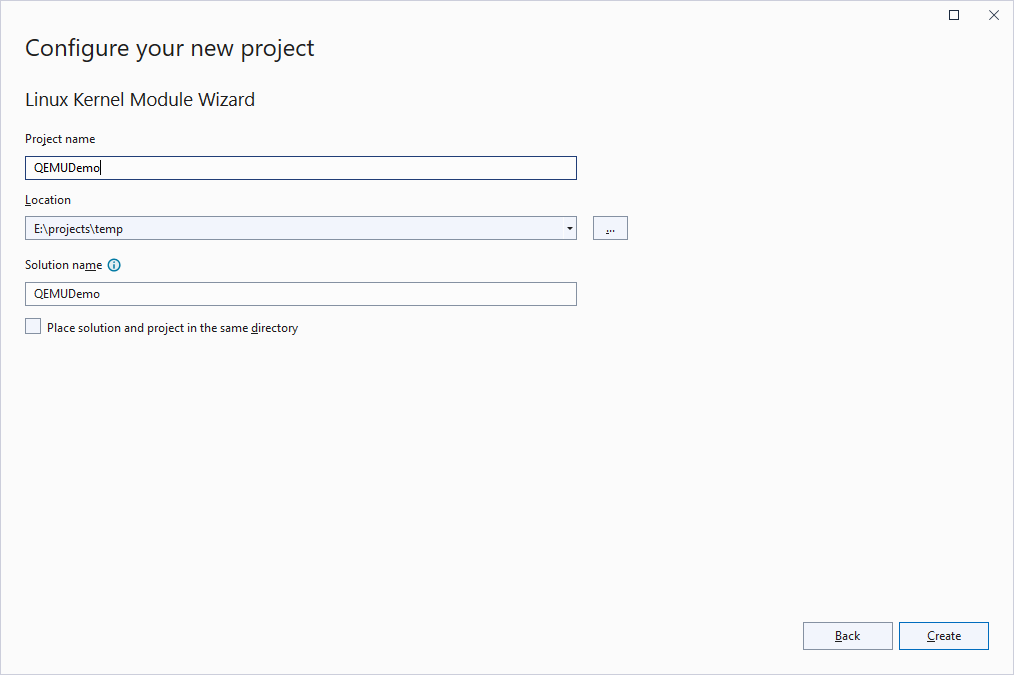
- Enter the name and location of the project you would like to create:
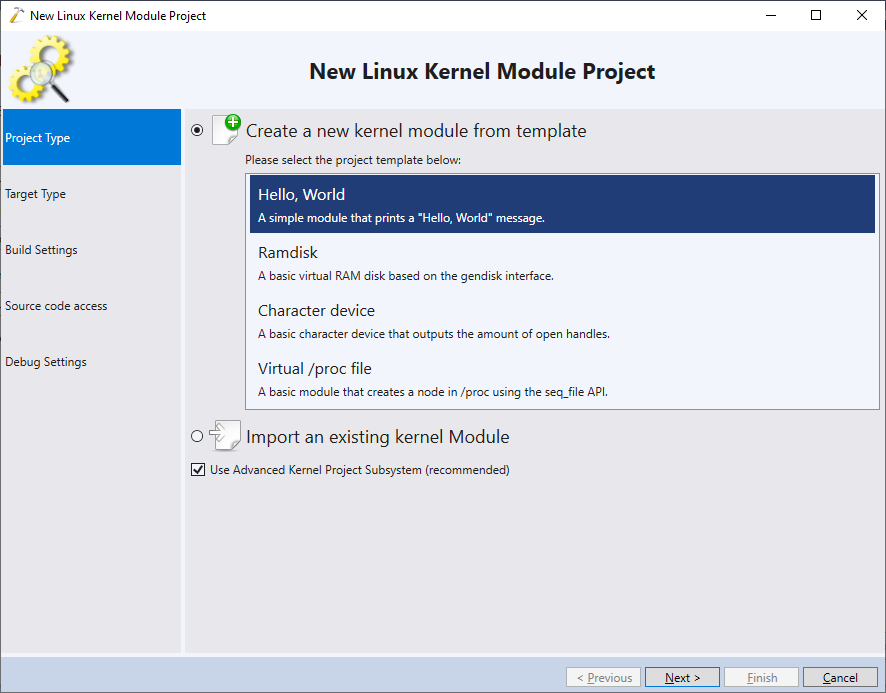
- Choose the project template you would like to use to create your first kernel module. In this tutorial we will use the basic “Hello, World” template, however you can choose any other template you prefer:
- The next page of the wizard allows selecting the kernel target. The easiest way to get working would be to download an existing pre-built VM image, however in this tutorial we will show how to create a QEMU VM from scratch. Select “Setup a new target for running Linux kernels -> Use an existing virtual machine -> QEMU“. If you have not installed QEMU before, click the “Install QEMU” button to automatically download a Windows build of QEMU:
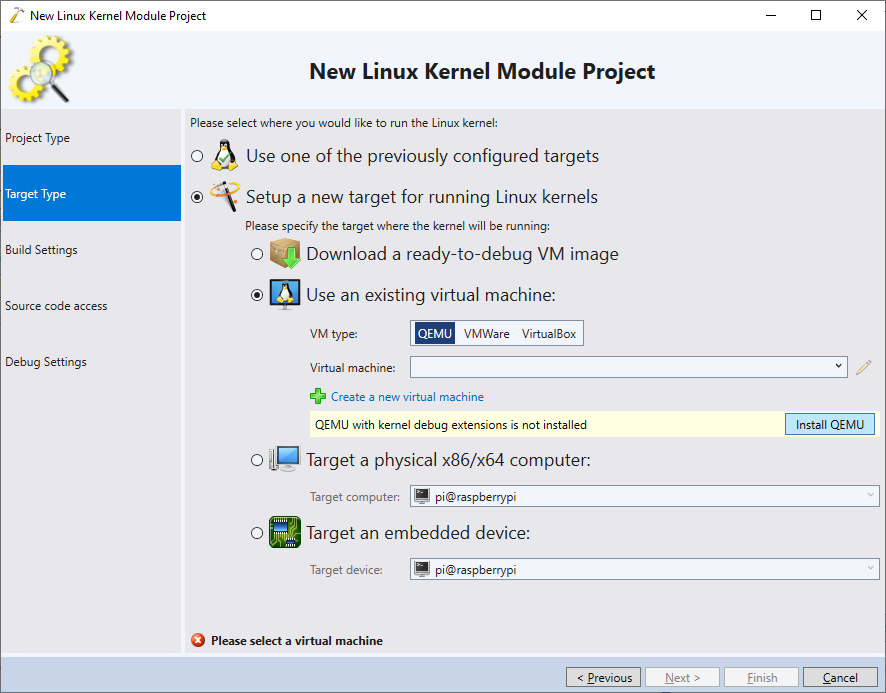 Note that unlike VMWare or VirtualBox, QEMU does not need to install any services or drivers on the Windows machine and can be installed without using an administrator account. You can read more about VisualKernel integration with QEMU on this page.
 - Once QEMU has been installed, click “Create a new virtual machine”. When VisualKernel asks for the VM parameters, enter the VM name/location and point it to the installer disc image:
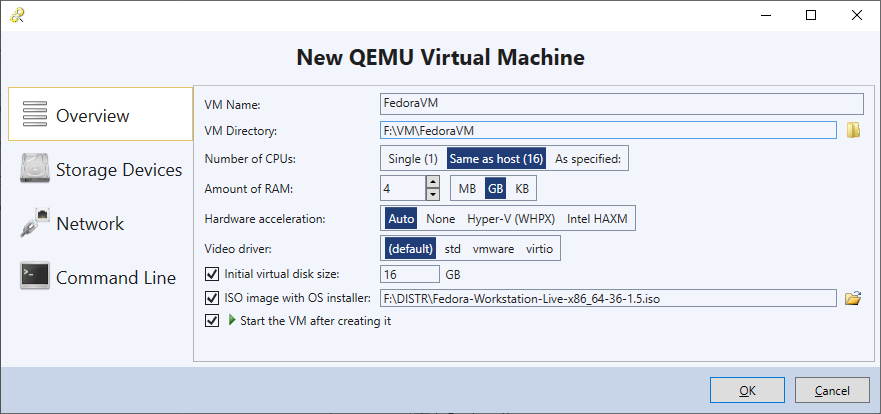 Press “OK” to create the VM. VisualKernel will save the settings you entered and will start the VM automatically.
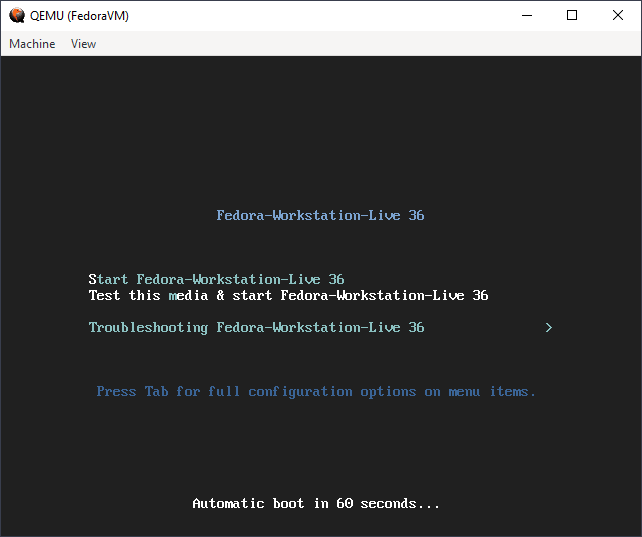
 - Depending on the QEMU version you are using, some Linux installers (e.g. Fedora/CentoOS, but not Ubuntu) may freeze on the initial countdown screen. This happens due to the way QEMU emulates timer interrupts in real mode (before Linux is loaded) and does not affect other functionality:
- If this happens, locate the <VM Name>.run file in the VM directory and find out the GDB port used by the VM:
<QemuVMRun xmlns:xsd="http://www.w3.org/2001/XMLSchema" xmlns:xsi="http://www.w3.org/2001/XMLSchema-instance">
  <PID>22820</PID>
  <GDBPort>5874</GDBPort>
  <MonitorPort>5876</MonitorPort>
  <!-- .... -->
</QemuVMRun>
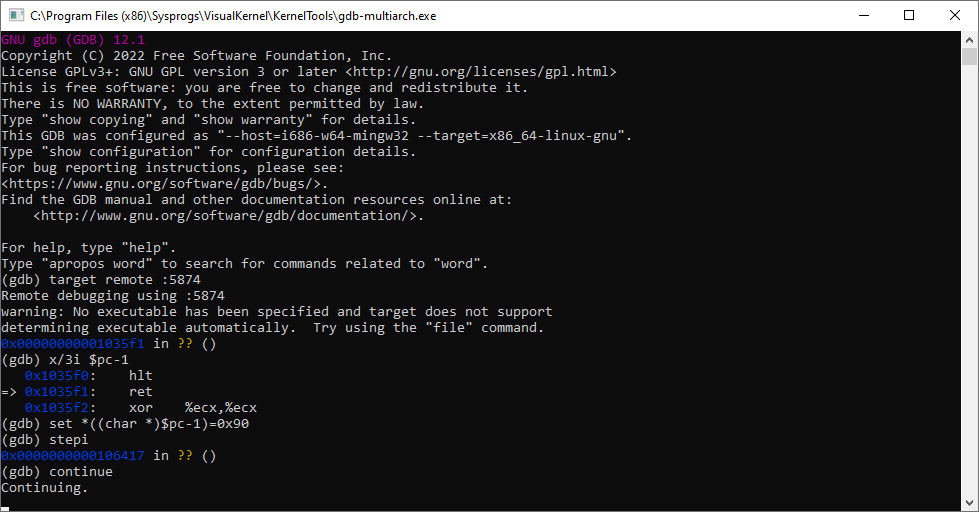
- Then launch the C:\Program Files (x86)\Sysprogs\VisualKernel\KernelTools\gdb-multiarch.exe file and run the following command:
x/3i $pc-1
If GDB shows that the VM is stopped juts after the “hlt” instruction, it is affected by the timer bug. To workaround it, replace ‘hlt’ with ‘nop’ and resume the VM:
set *((char *)$pc-1)=0x90
stepi
continue
- This should unfreeze the VM and allow you to install the Linux OS as usual:
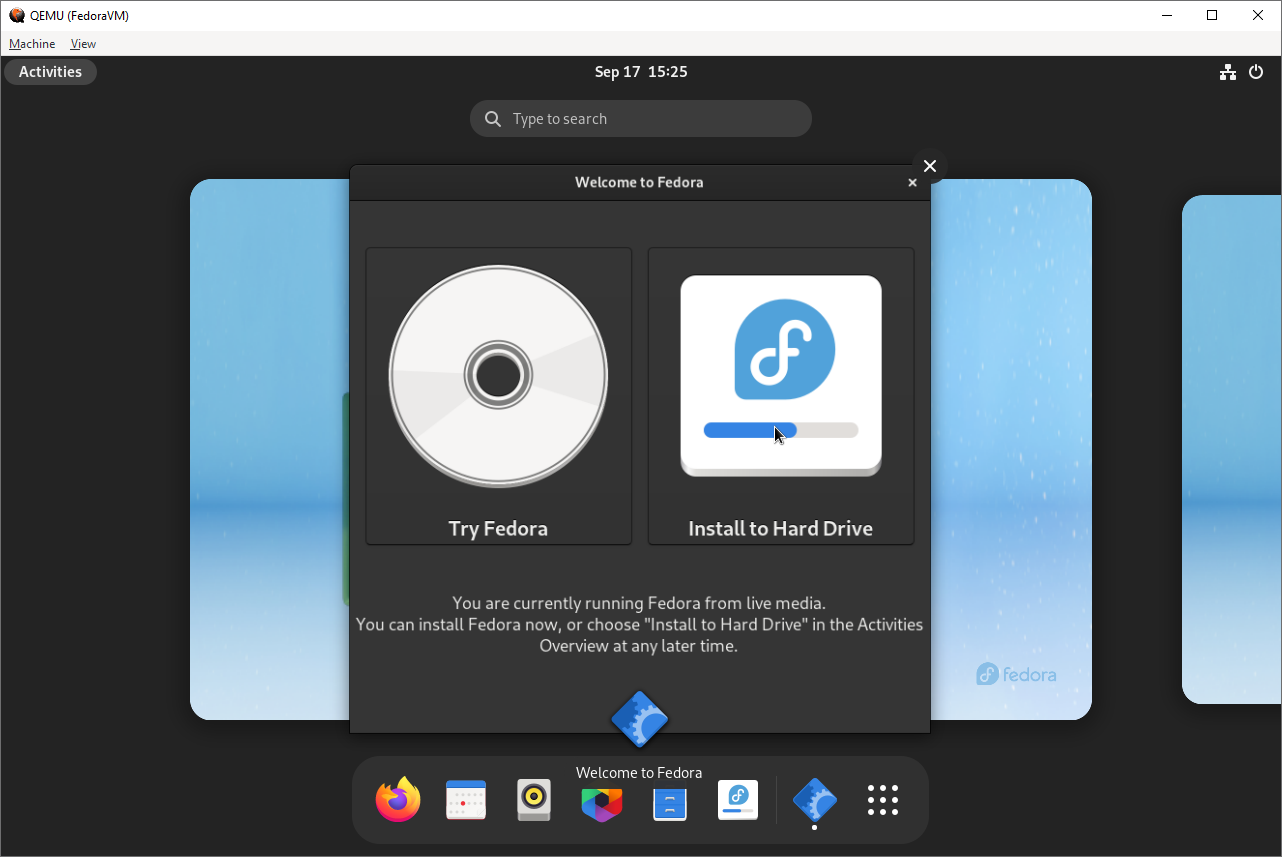
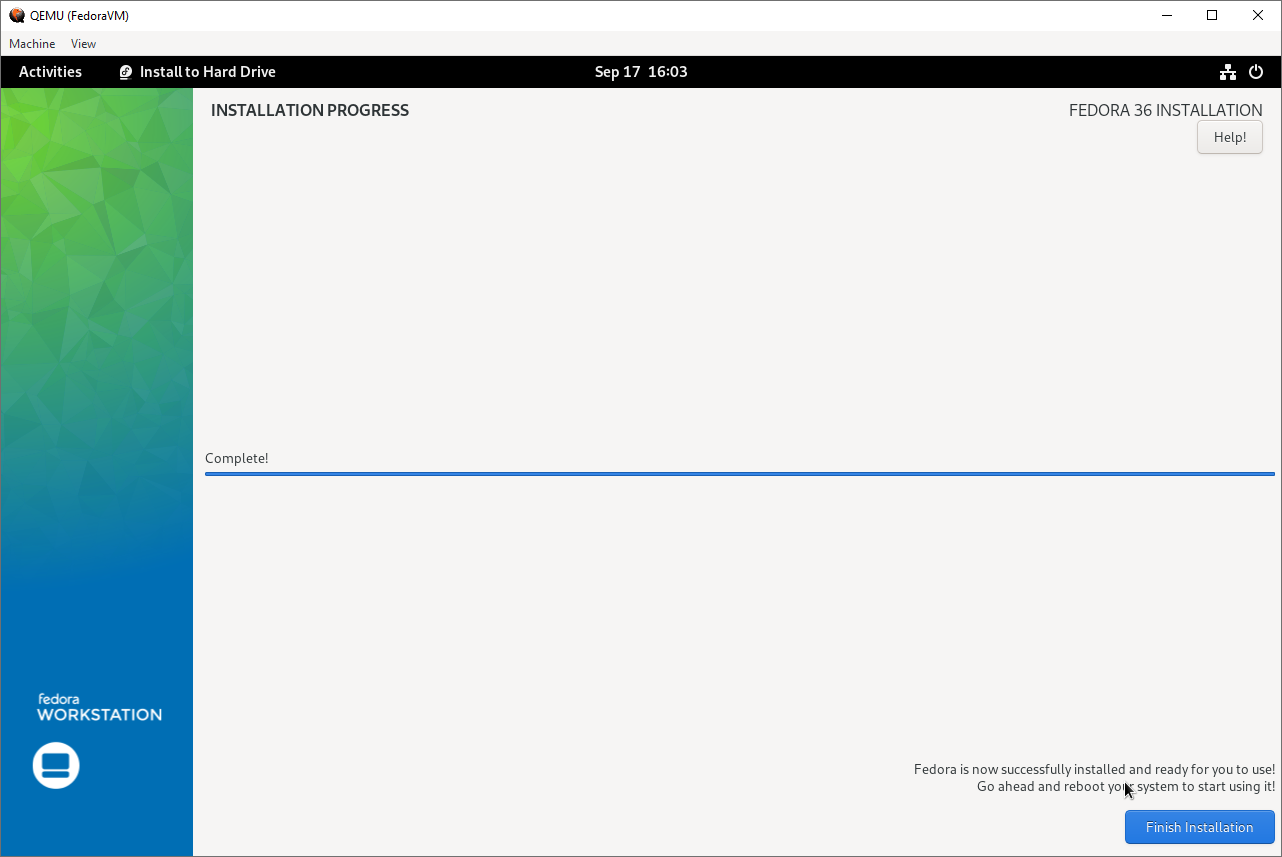
- Proceed with the Linux installation. When the installation is finished, proceed with rebooting the VM:
- Once the Linux OS has been installed, click “Next” in the kernel module wizard. VisualKernel will ask how to connect to the VM using SSH:

- Enter the settings and press “Connect”. VisualKernel will begin waiting for the VM to start the SSH server:
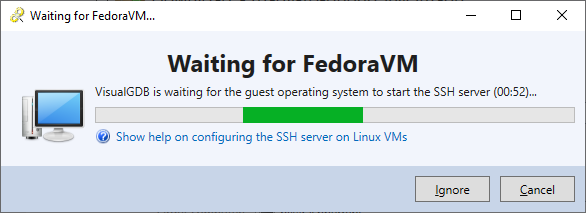 If the SSH server doesn’t start automatically, follow the instructions on this page to install and start it manually.
 - Once the SSH connection has been established, VisualKernel will ask you for the build settings for your module:
- Proceed with the default settings, allowing VisualKernel to download and install the Linux kernel headers and symbols:

- Proceed with the suggested source code access settings (storing the sources on Windows and uploading them to Linux):

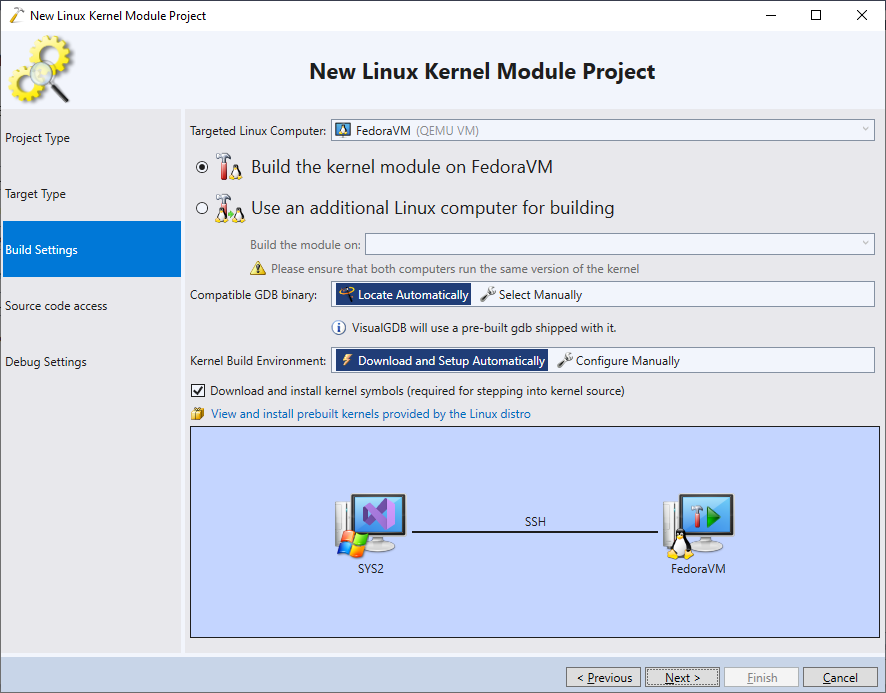
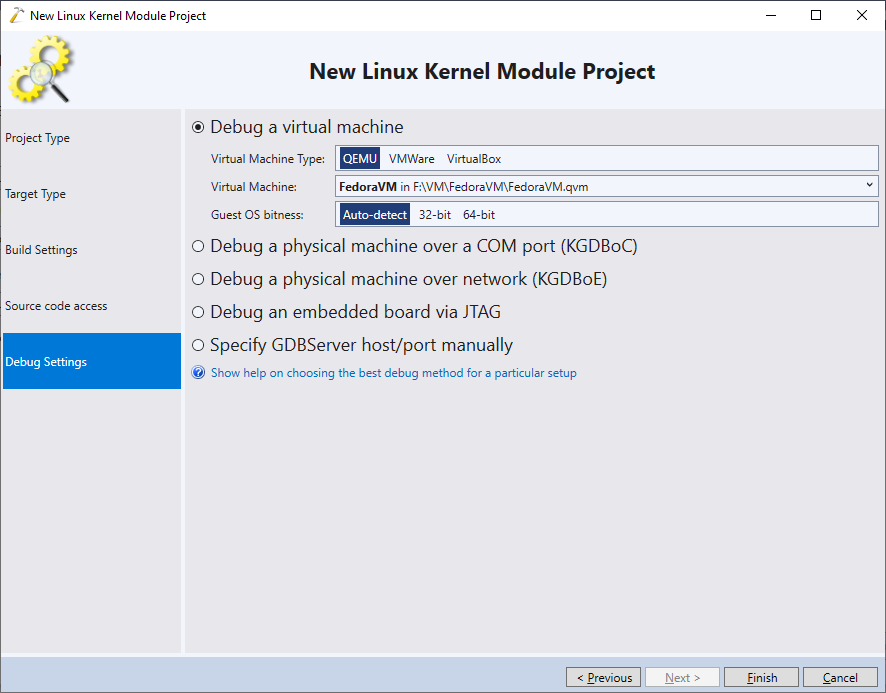
- The last page of the wizard allows configuring the debugging settings. Proceed with the QEMU-specific debug method and press “Finish” to generate the project:
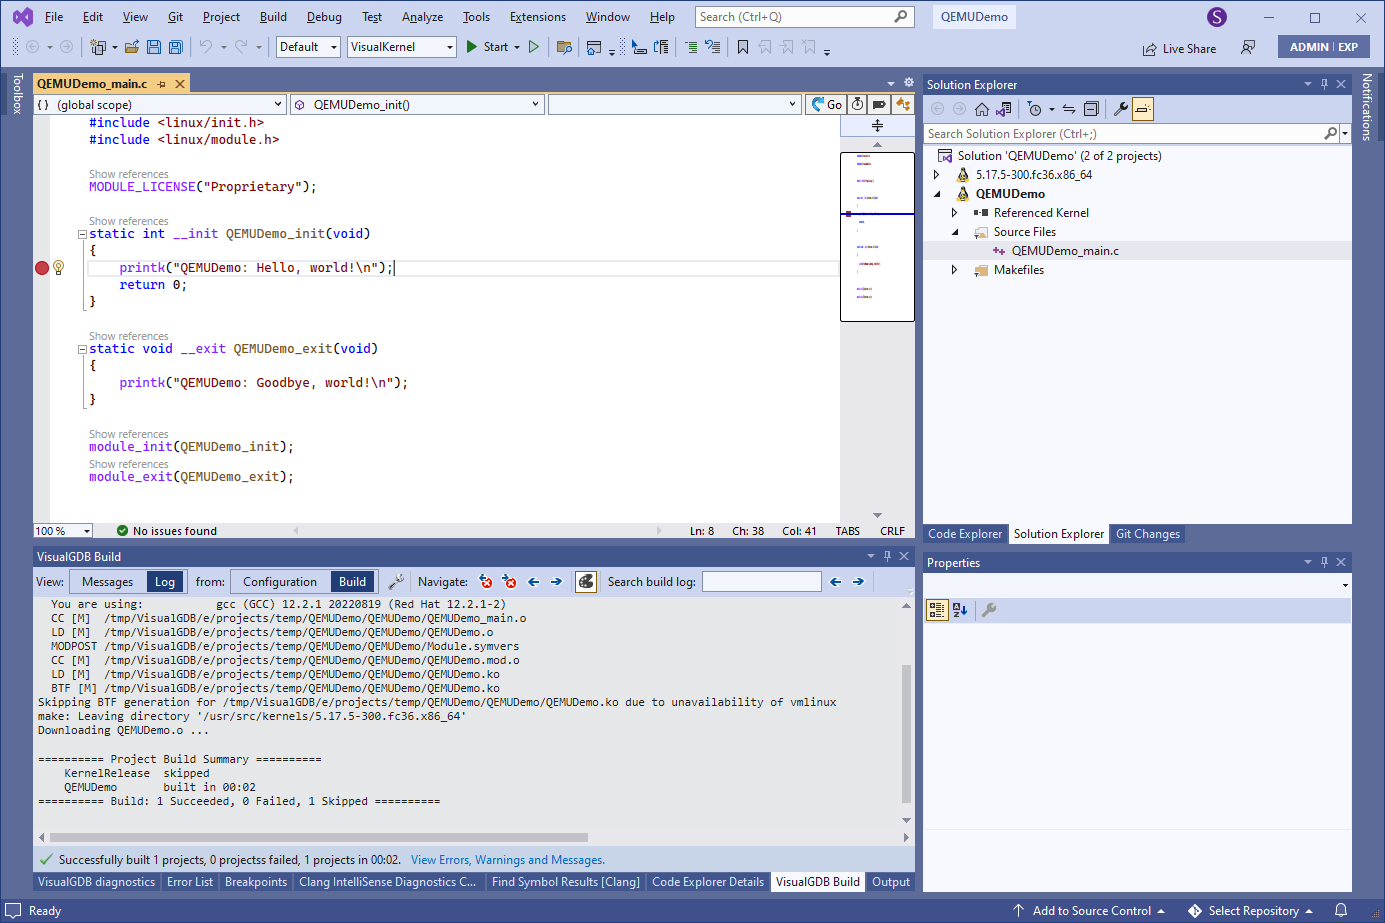
- Build the kernel module as usual and set a breakpoint in the init() function:
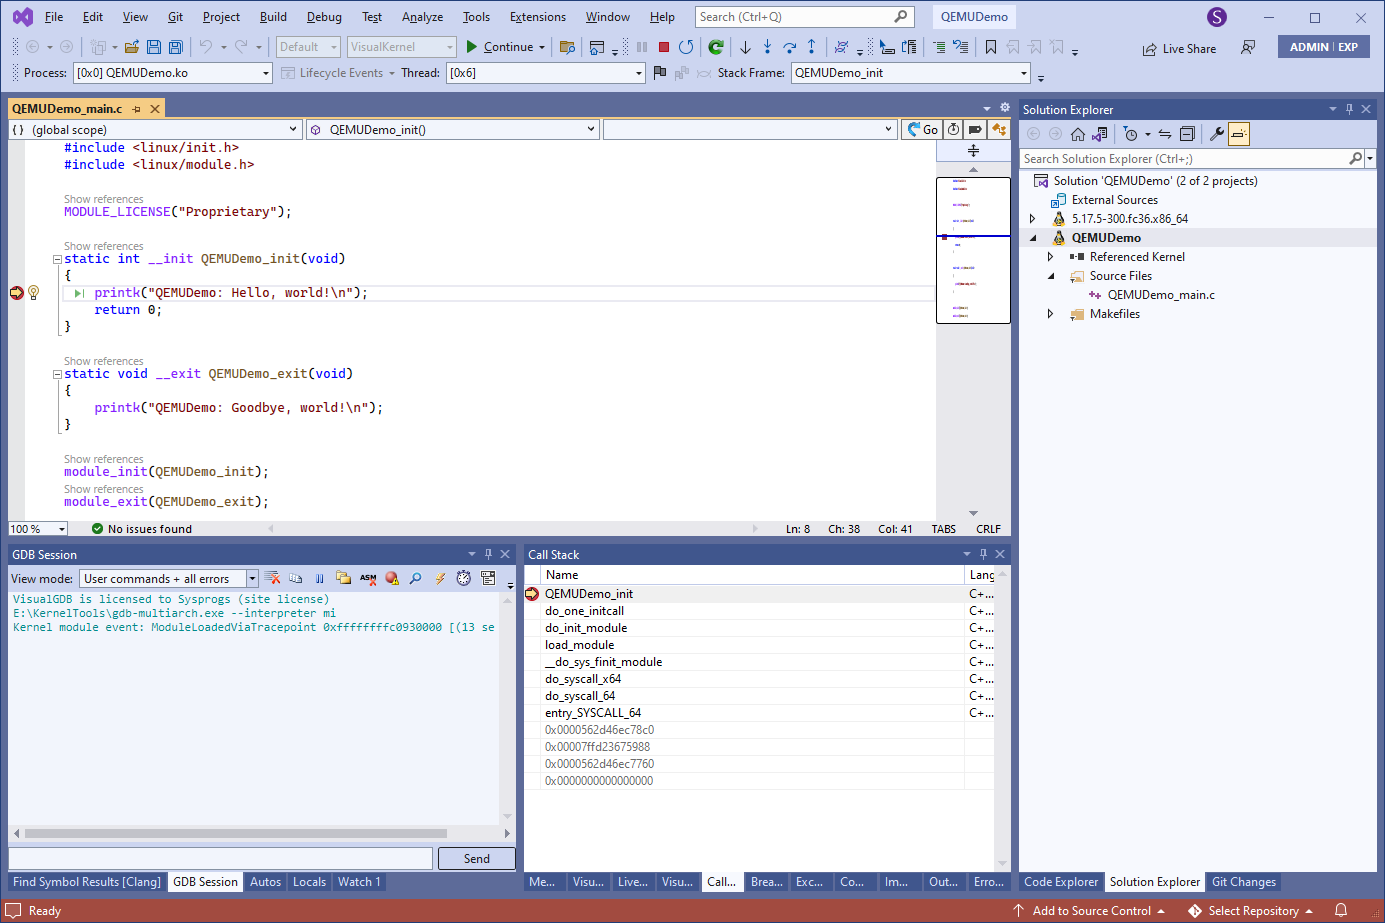
- Press F5 to begin debugging. VisualKernel will automatically load the module into the kernel and the breakpoint will trigger:
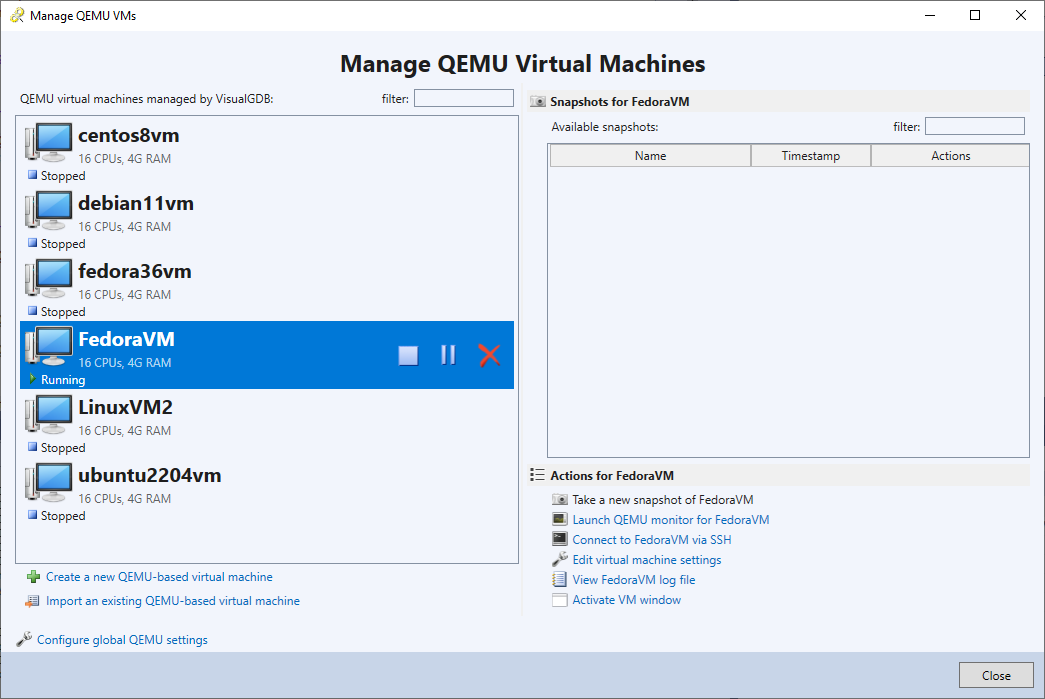
- You can use the Tools->VisualKernel->Manage QEMU Virtual Machines to view the QEMU VMs managed by VisualKernel. You can start/stop each VM, create snapshots or view internal logs. See this page more details.