Using Pre-built VM Images to Develop Kernel Modules Efficiently
This tutorial shows how to quickly explore the Linux kernel internals using the prebuilt VM images installed by VisualKernel. We will show how to download the ready-to-use Debian image, automatically create a Qemu virtual machine based on it and use it to experiment with a basic character device driver.
Before you begin, install VisualKernel 4.0 or later.
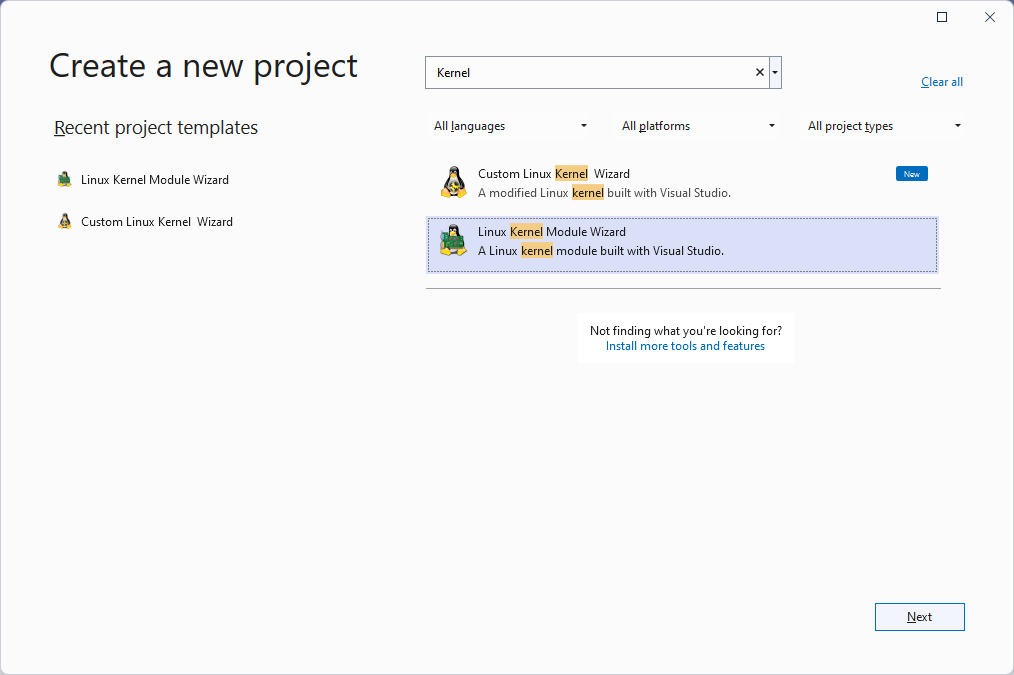
- Start Visual Studio and open the VisualKernel Linux Kernel Module Wizard:
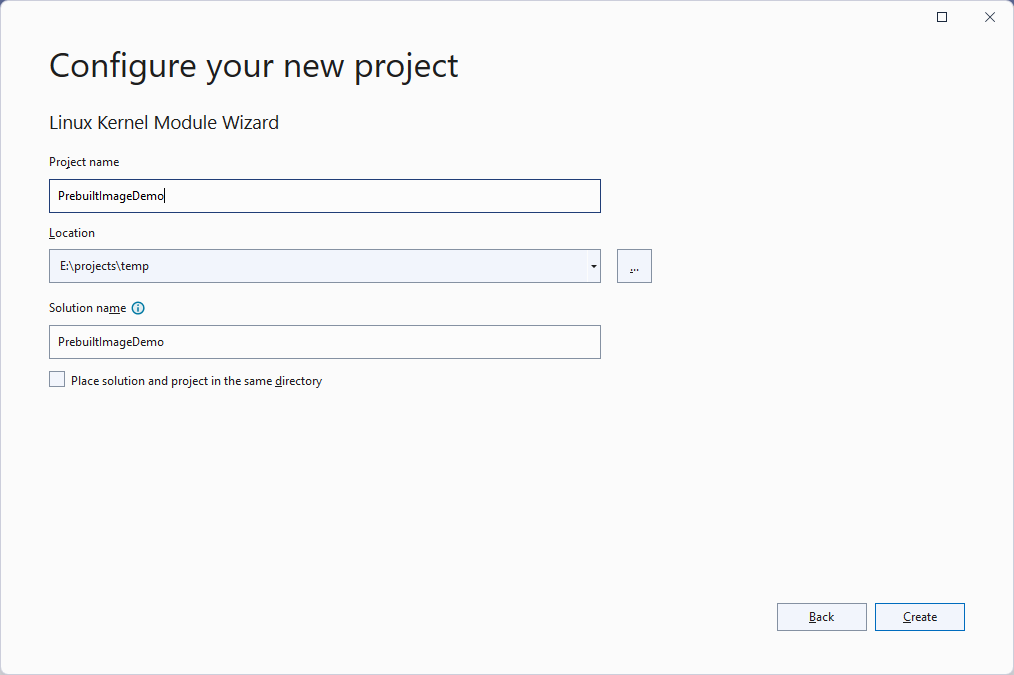
- Enter the name and location for your project:
- Pick the project template you would like to use. In this tutorial we will cover the character device template showing how to create a basic device in the /dev directory:

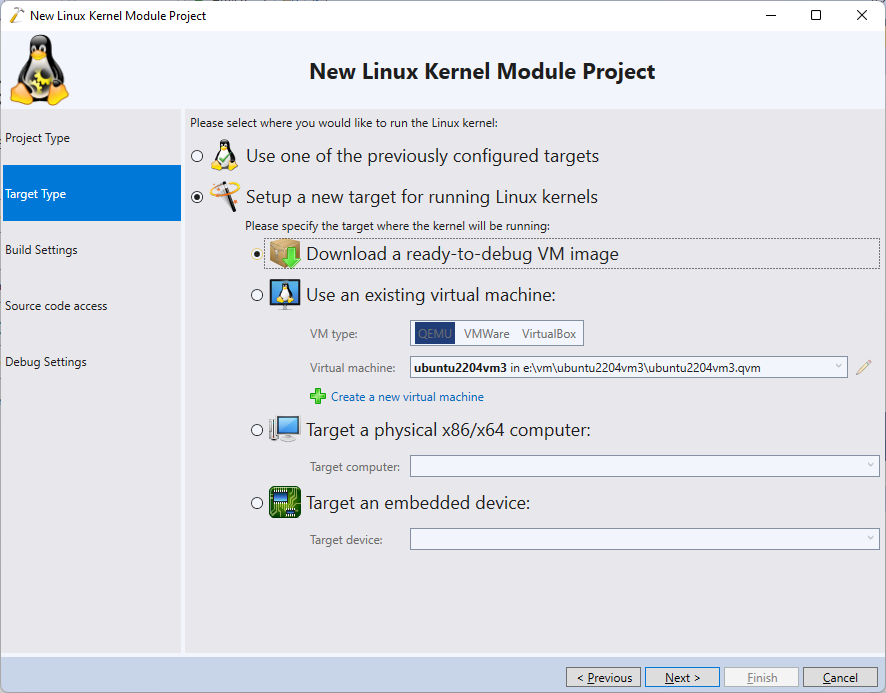
- On the next page of the wizard select “Setup a new target for running Linux Kernels -> Download a ready-to-debug VM Image“:
- VisualKernel will show the list of VM images available for download. Pick “Debian 11” and choose a password for your VM (e.g. vmuser):
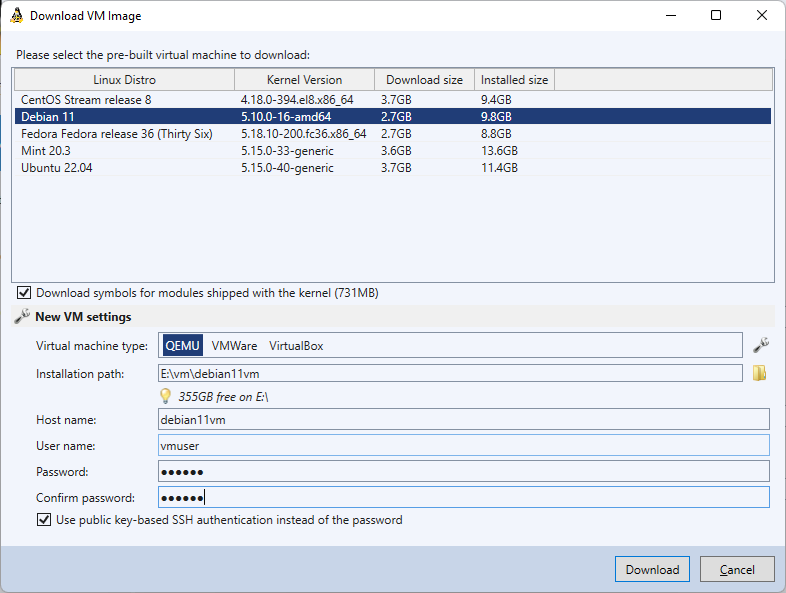 For the best kernel debugging experience with the pre-built VMs we recommend enabling the Hyper-V platform and letting VisualKernel automatically download and configure QEMU. However, you can also use VMWare or VirtualBox if your system supports kernel debugging with them. See this page for a detailed overview of the supported virtualization software.
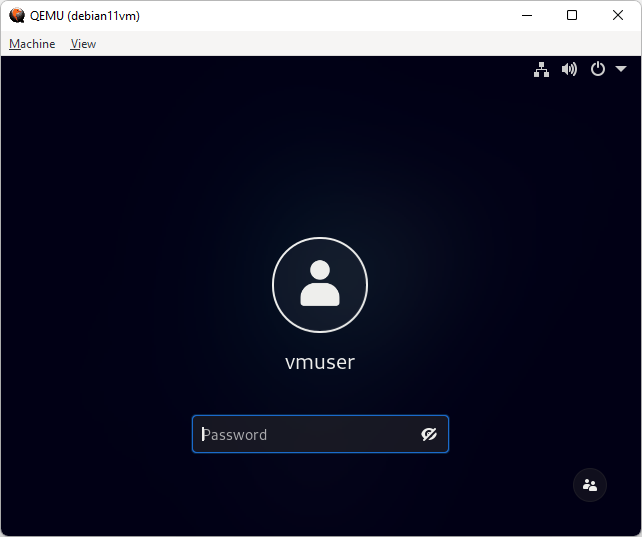
 - Press “Download”. VisualKernel will automatically fetch the VM image and will create a virtual machine based on it. It will also fetch the pre-indexed kernel sources and symbols, so you will be able to use IntelliSense without waiting for it to index the kernel. Once the VM has been created, it will be started automatically:
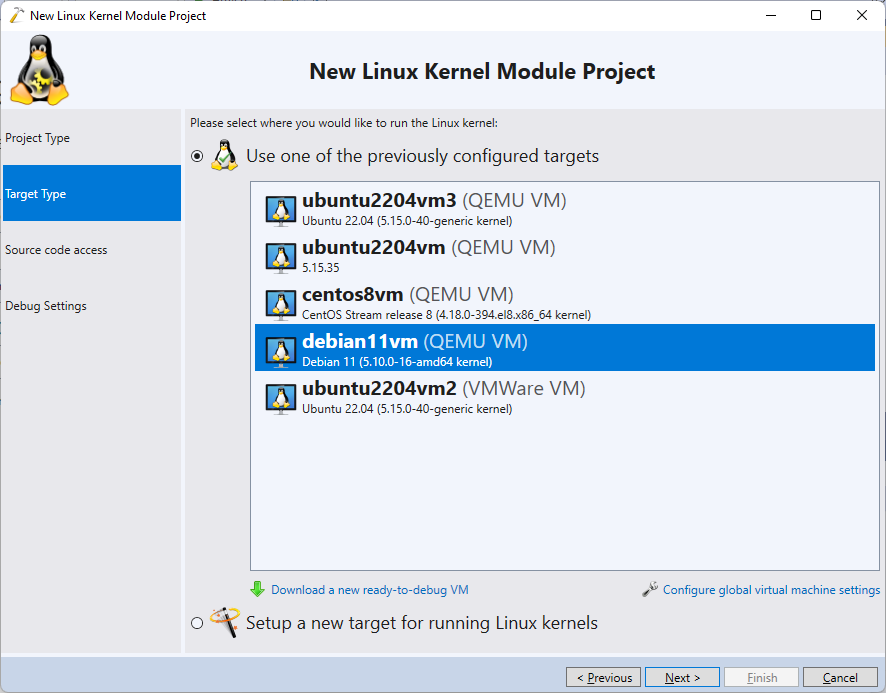
- Note that VisualKernel will remember the created VM under the “previously configured targets” list. So next time you want to create a kernel-mode project for this VM, you can simply pick it from the list on the Target Type page:
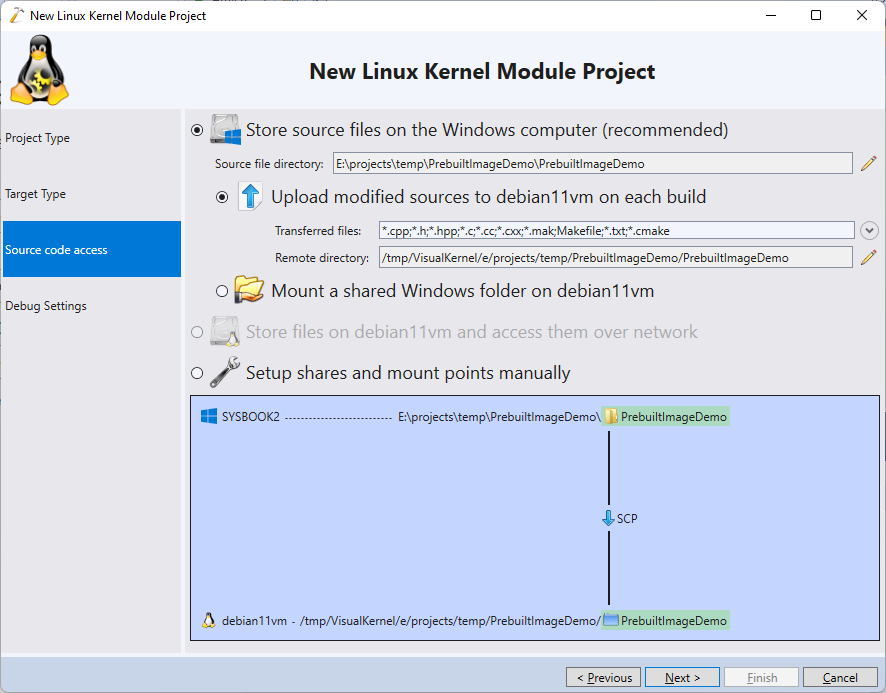
- Proceed with the default source code access settings:
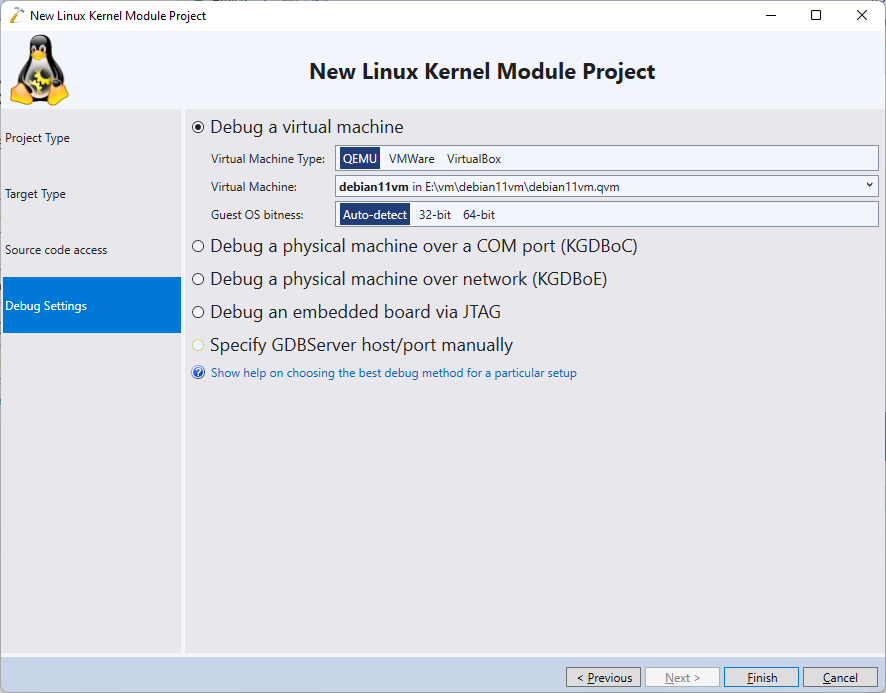
- Finally, it is time to select the debugging settings. VisualKernel can automatically debug the QEMU VMs, so simply proceed with the default settings and press “Finish” to create the project:
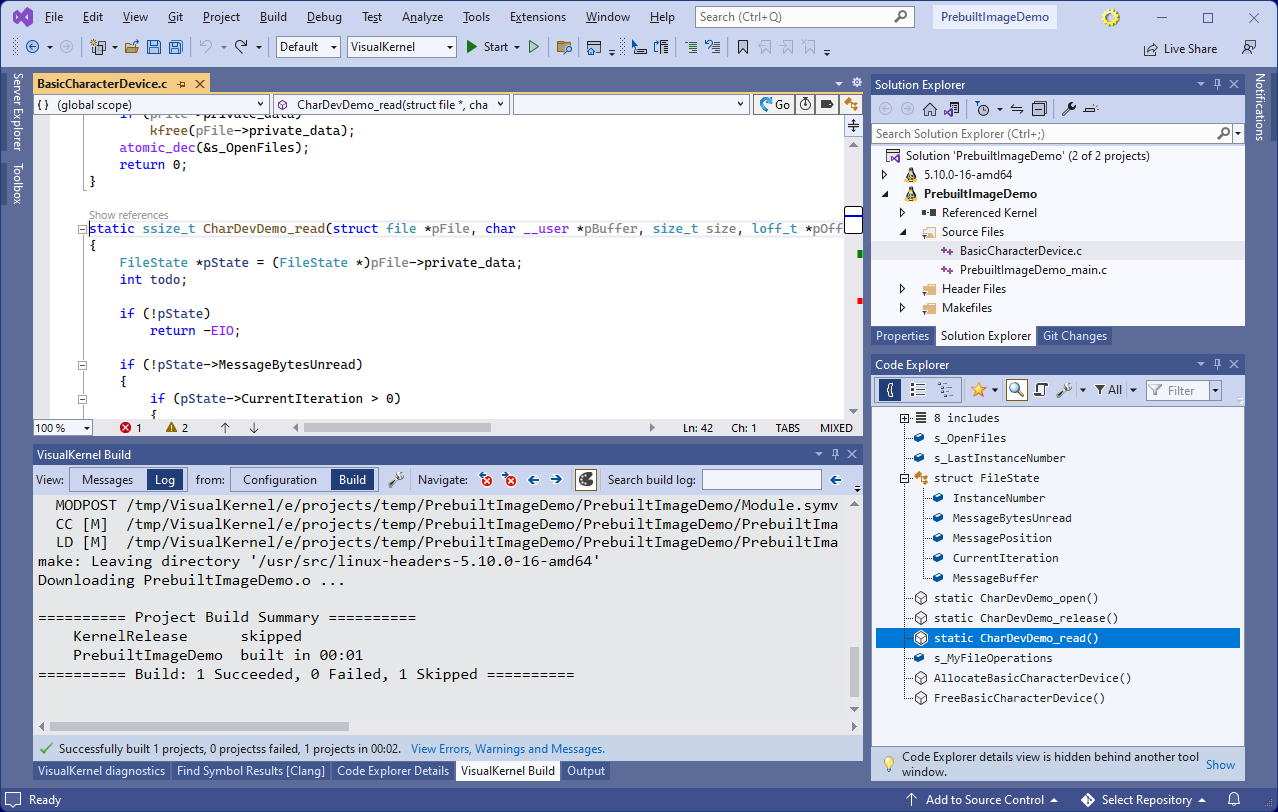
- Once the project is created, you can build it by pressing Ctrl-Shift-B. Open the BasicCharacterDevice.c file and use the Code Explorer to quickly navigate to the CharDevDemo_read() function:
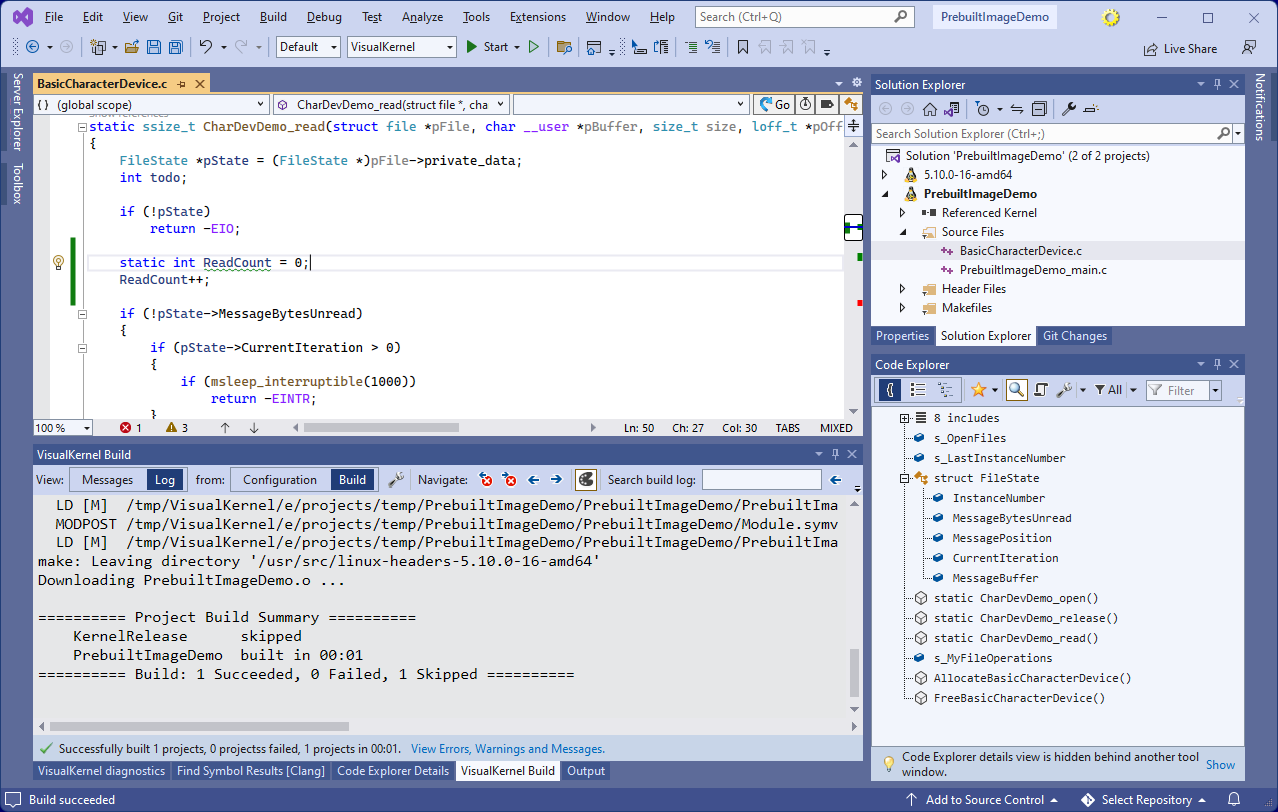
- Add the following code to the read function:
static int ReadCount = 0;
ReadCount++;
- Press F5 to begin debugging. You can set breakpoints and step through the code as if you were debugging a regular application:

- Once the module is loaded, the VisualKernel Output window will display the output from the kernel module advising to open the /dev/PrebuiltImageDemo file. Right-click on the project in Solution Explorer and select “Open a new SSH Window” to connect to the target via SSH:

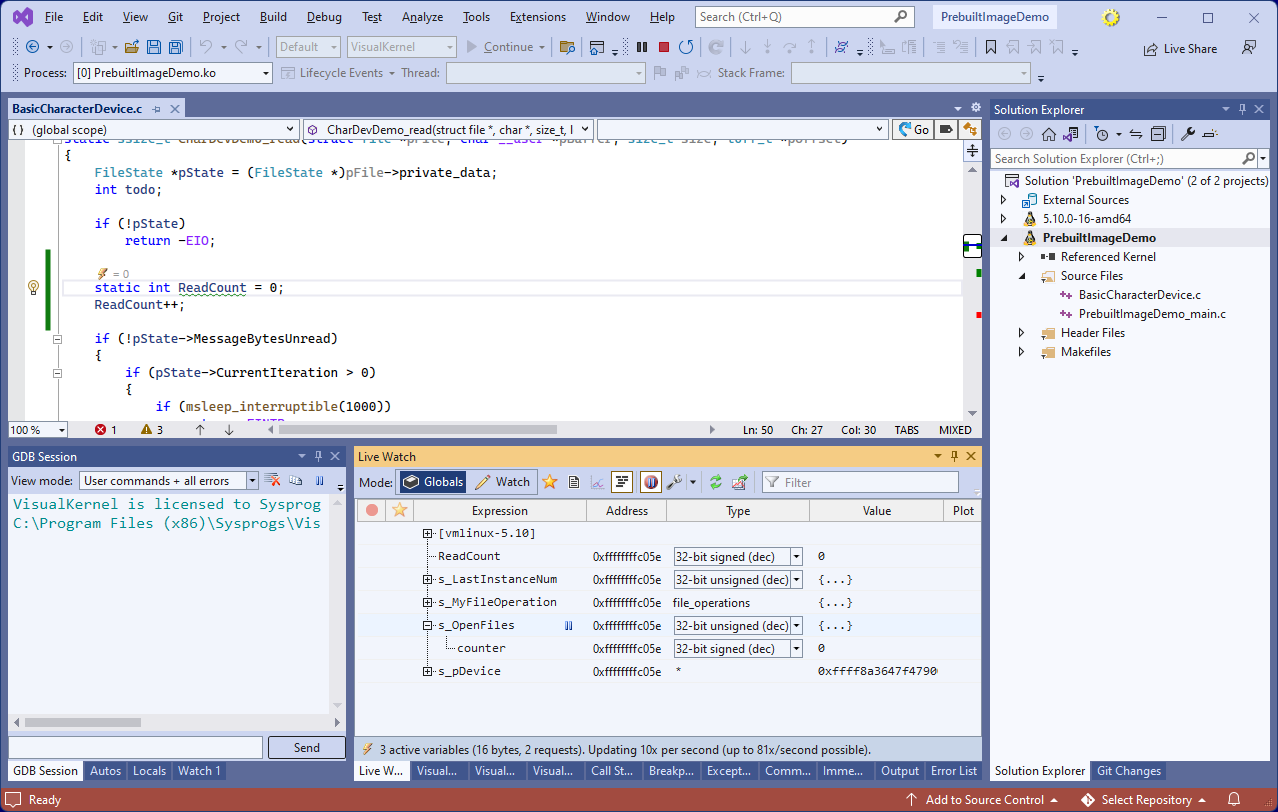
- Open the Live Watch window via Debug->Windows->Live Watch and locate the ReadCount variable:
- Try opening the /dev/PrebuiltImageDemo file from the terminal window. Note how the ReadCount value begins growing in real time and VisualKernel reports it without ever having to stop the target:
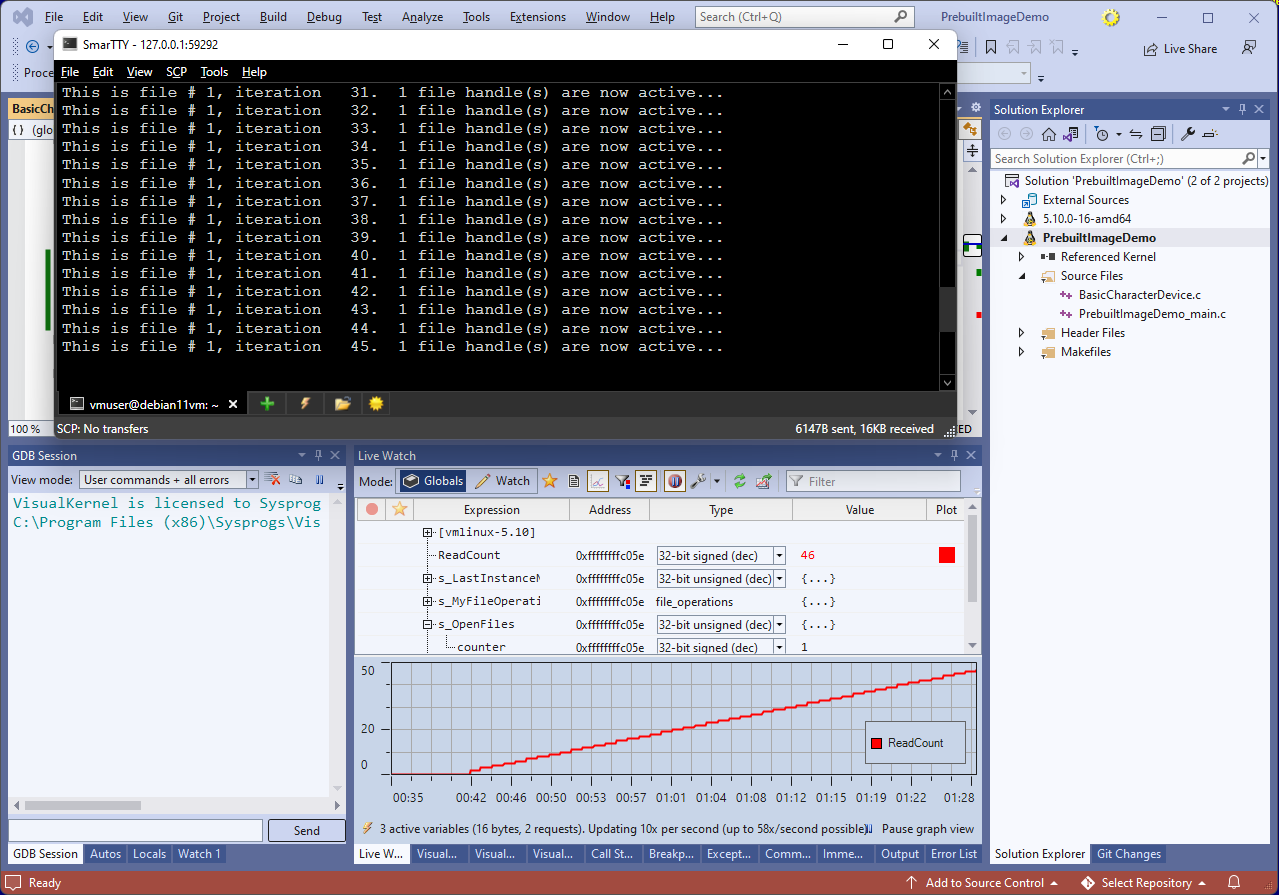 The live watch reporting is done via UDP by the LinuxKernelDebugHelper module that is built and automatically installed by VisualKernel.
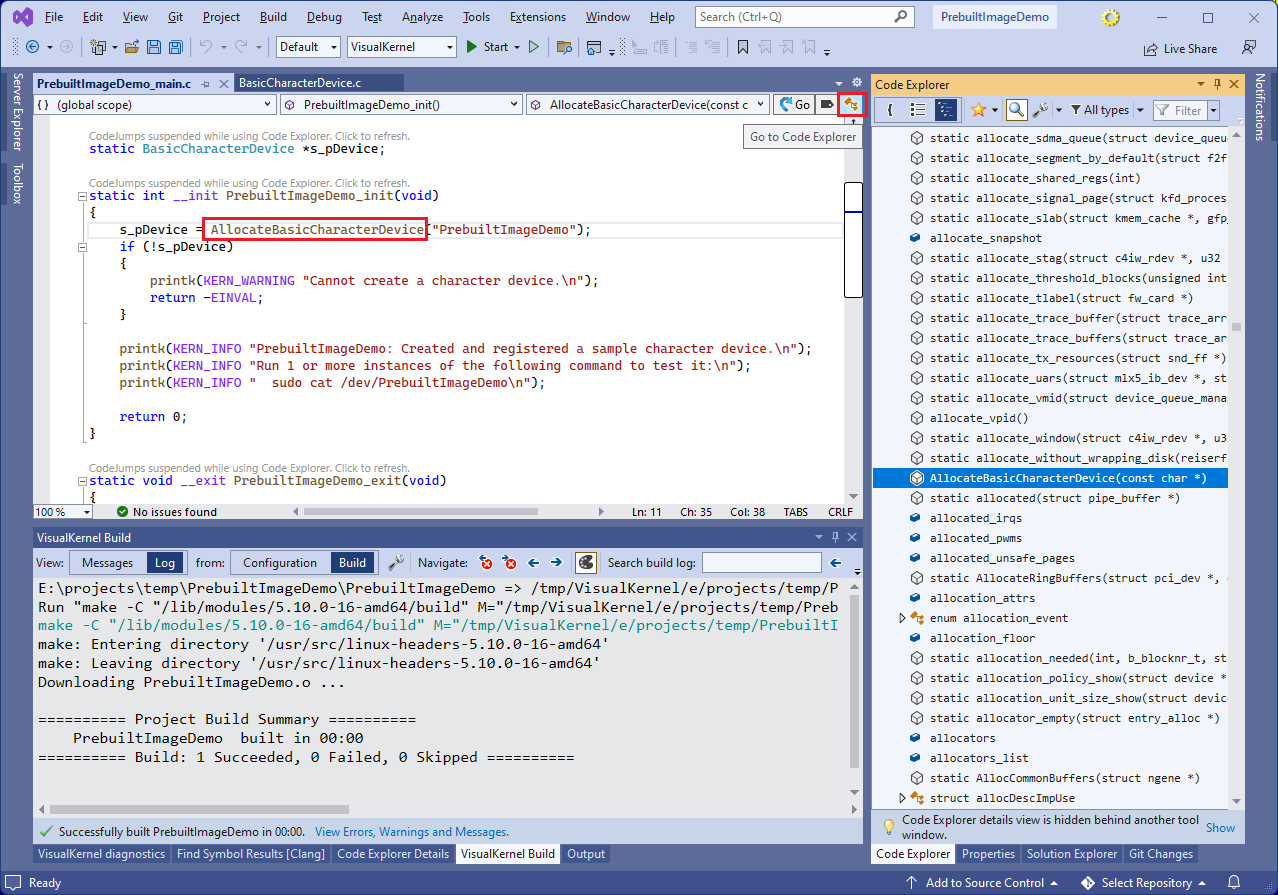
 - Now we will show how to quickly navigate the Linux kernel source code using VisualKernel’s Code Explorer. Open the PrebuiltImageDemo_main.c file, go to the AllocateBasicCharacterDevice() call and click the “Go to Code Explorer” button in the top right corner of the next editor:
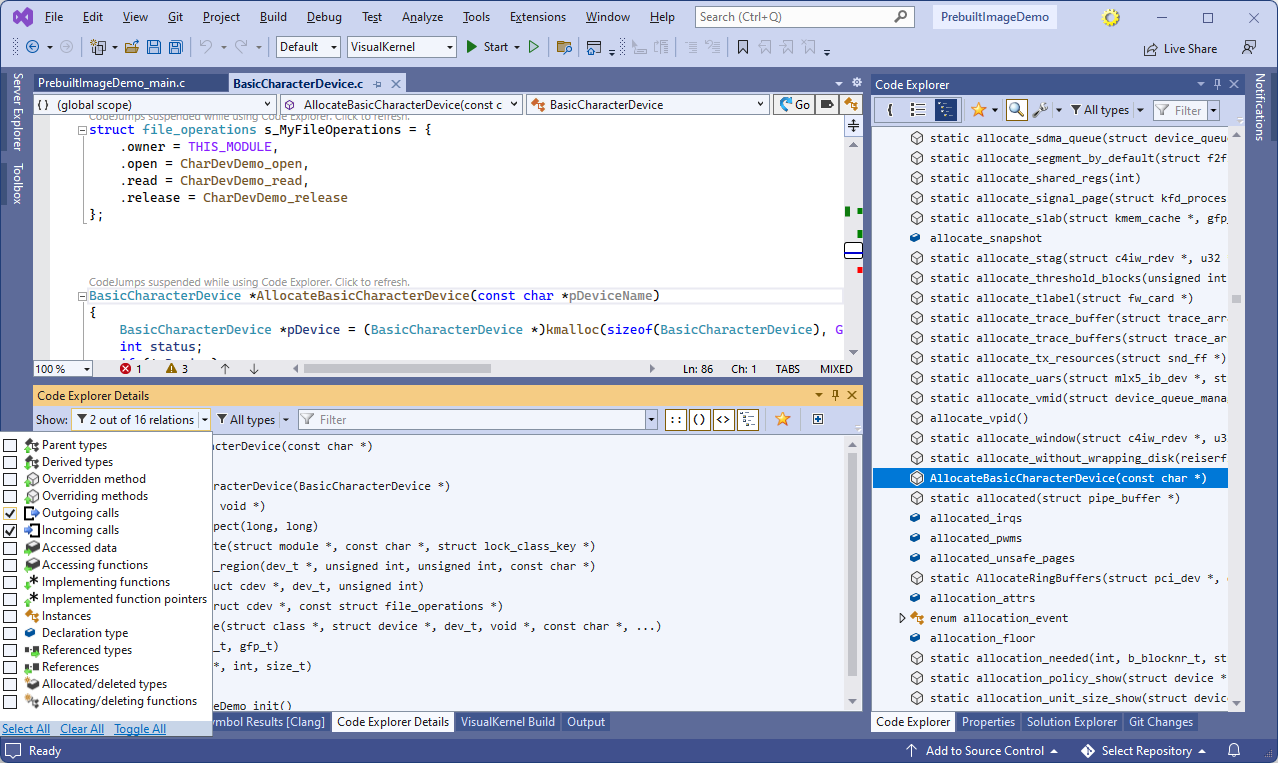
- Click the “details” button to view various details about the AllocateBasicCharacterDevice() function:

- We will now restrict the shown details to the incoming and outgoing calls, and will use it to quickly find other functions calling similar API. Shift+click on the “Outgoing calls” item under the “Show” menu, and then click on “Incoming calls”:
- Locate the outgoing call to cdev_add() and expand the Incoming calls node under it. It will instantly show other functions in the entire kernel codebase, that also call cdev_add(). Locate the add_port() function and double-click on it to go to definition:
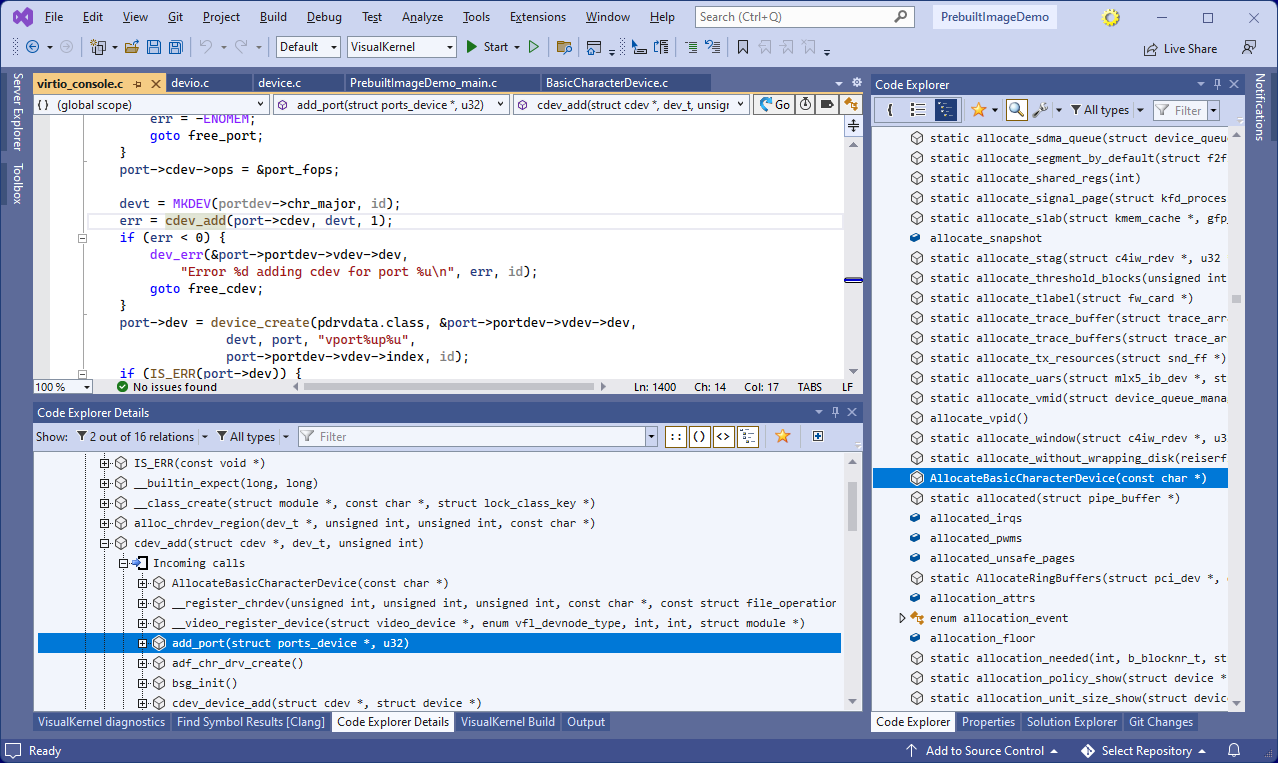 You can use this mechanism to quickly find examples of various functions or structures in other modules, or in the kernel itself.