Managing Linux Kernel Packages with VisualKernel
Most Linux distributions provide prebuilt Linux kernels as packages ready to install via apt or yum. Depending on the distribution, some of these packages have matching debugging symbol and source packages. VisualKernel provides a convenient GUI for locating and installing them.
You can access the package manager GUI by clicking the “View and install prebuilt kernels” link in the project wizard or VisualKernel Project Properties: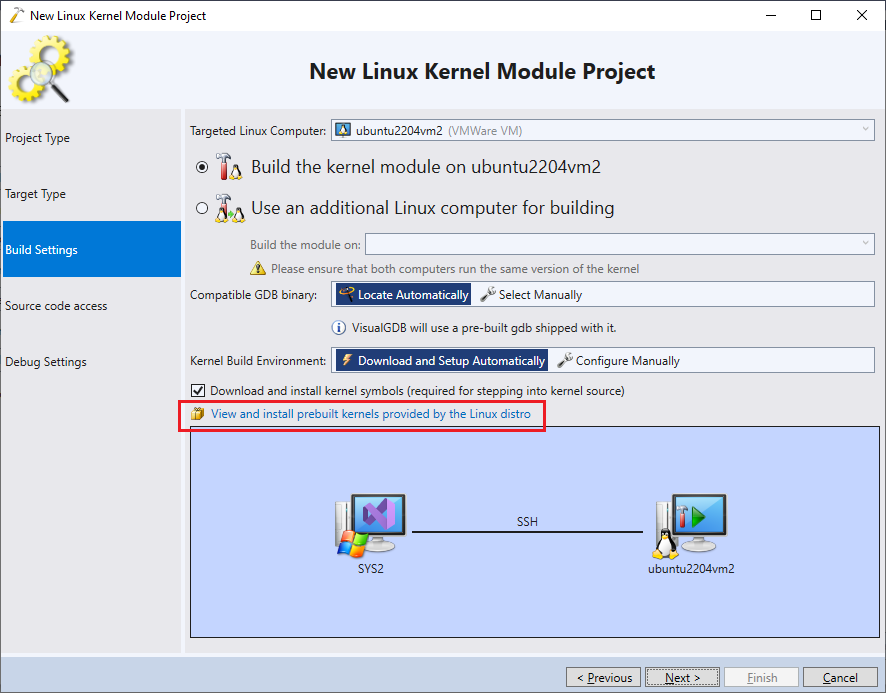 The kernel package manager window lists all kernel versions that can be automatically installed on that machine. For each kernel package VisualKernel will automatically try to find matching symbols/sources packages. If the packages are found, it will be reflected by a checkmark in the corresponding column:
 Some Linux distributions (e.g. Ubuntu) provide multiple kernel flavors. You can hide additional flavors by selecting the “Show signed (or unsigned) kernel packages ob major types“.
You can install or remove kernel packages automatically via buttons in the right side of the window. If you are installing a new kernel, VisualKernel will automatically ask whether you want to enable the kernel selection prompt during startup: If the prompt is enabled, you will be able to pick a specific kernel version during startup by navigating to “Advanced options”:
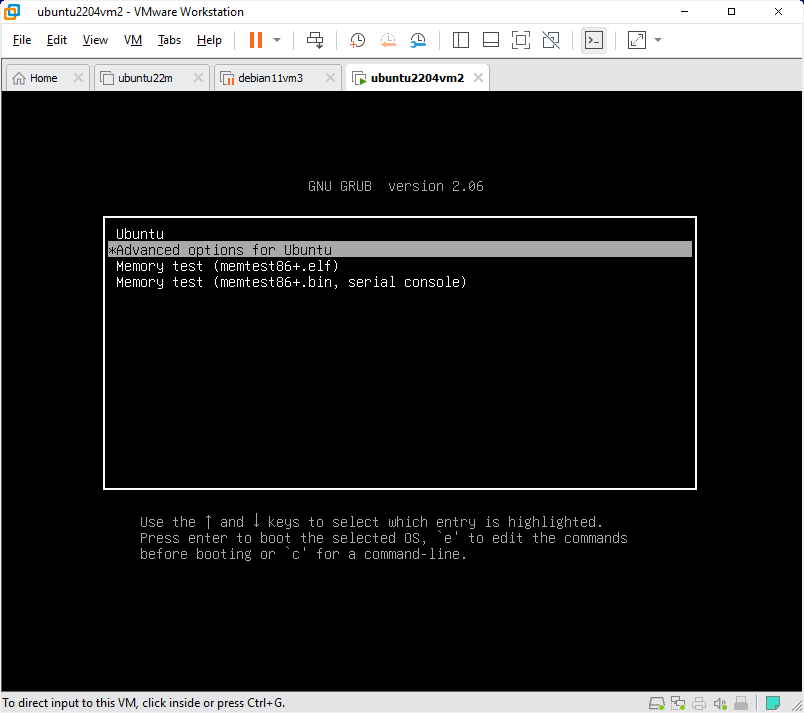 Simply pick the kernel version you need and it will be started automatically:
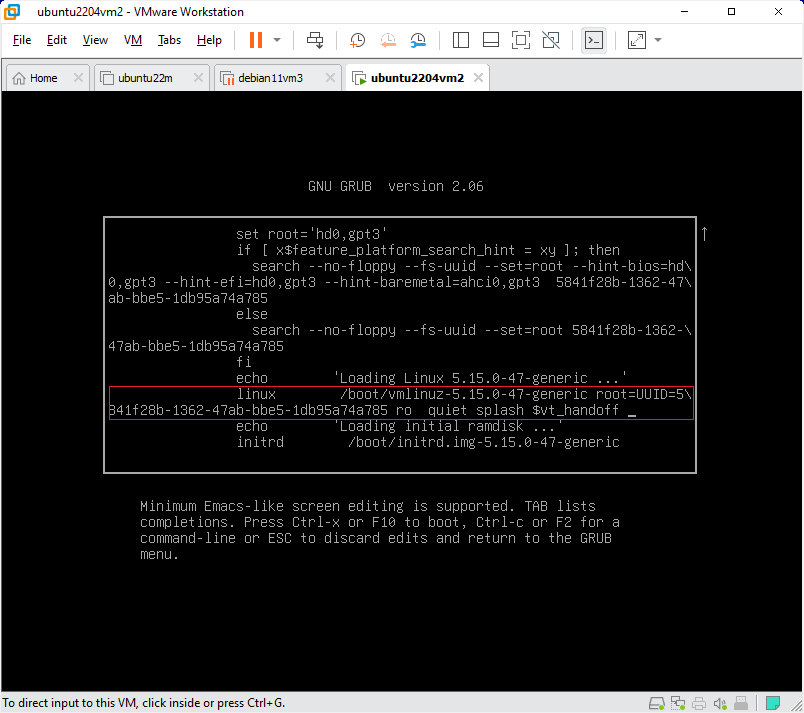
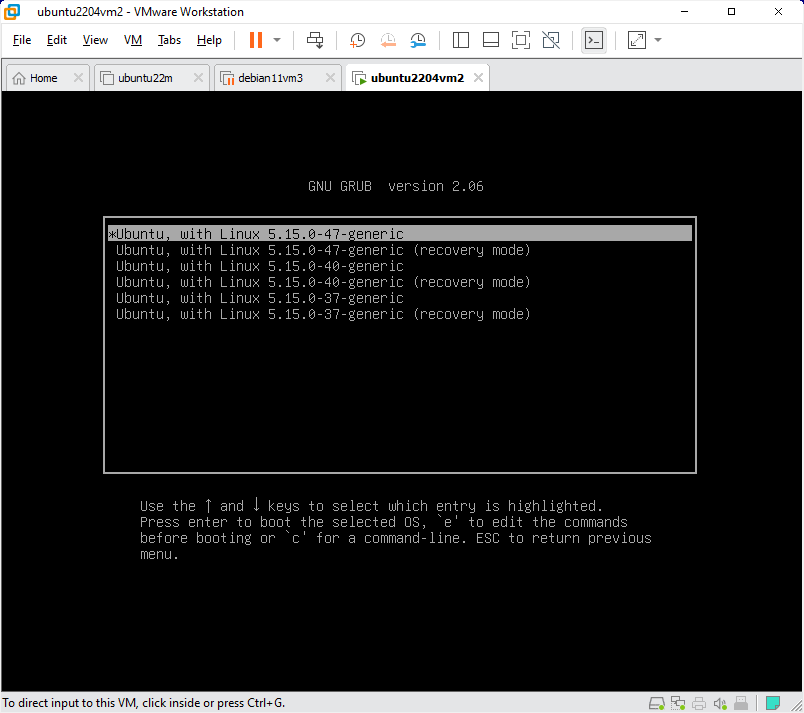 You can also press the ‘e’ button to temporarily edit the kernel parameters (e.g. add extra options to the kernel command line):