Importing Existing CMake Projects to CodeVROOM
You can use CodeVROOM to navigate/build existing CMake-based projects. This tutorial shows the necessary steps:
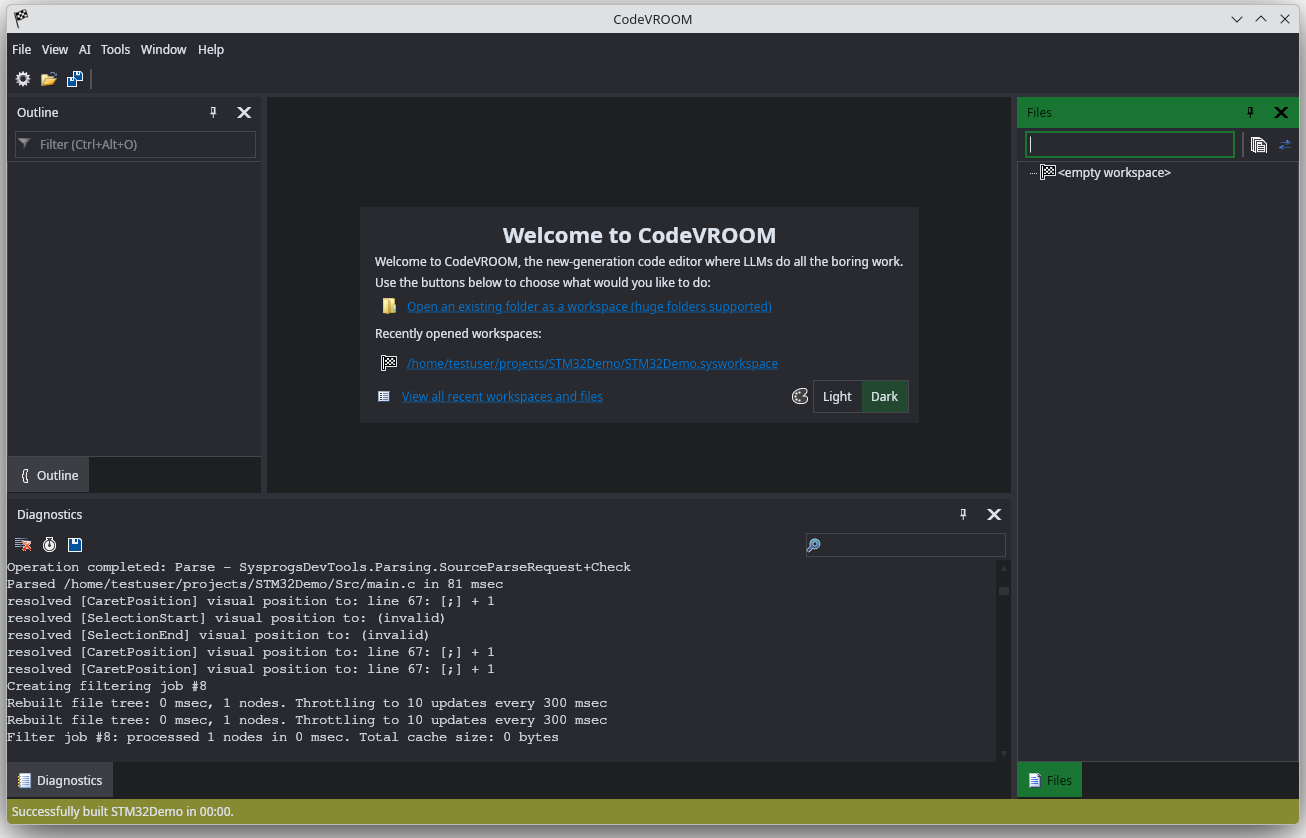
- Start CodeVROOM and make sure you have gcc, g++ and cmake installed and available in PATH (on MacOS CodeVROOM will also look in /opt/homebrew/bin):
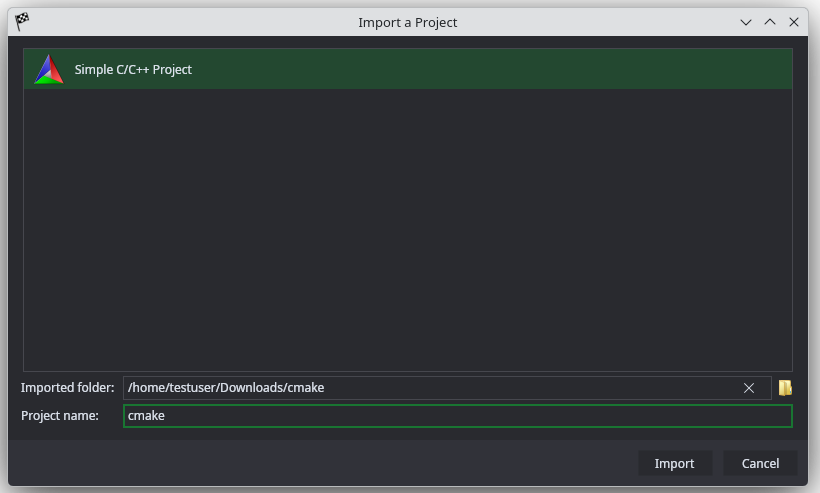
- Select “File->Import a Project” and pick the location of your CMake code:
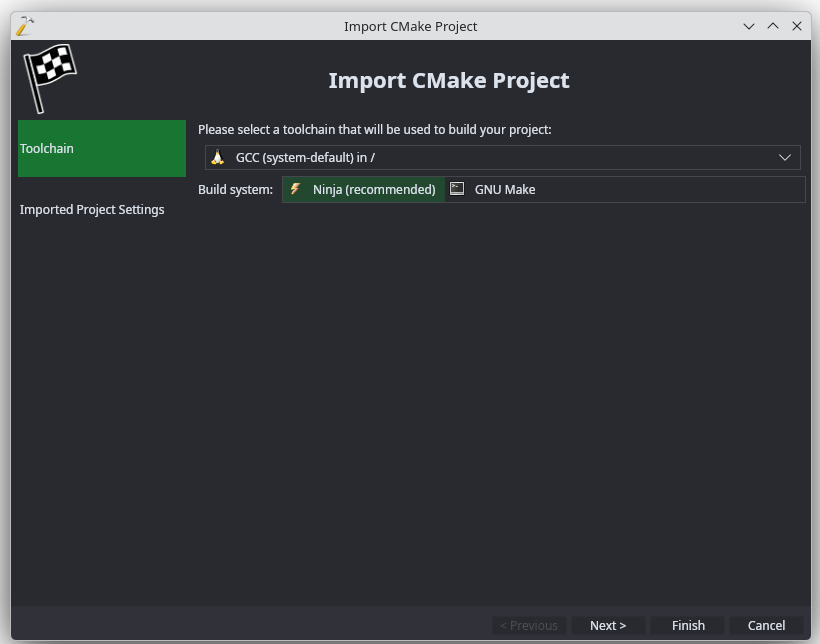
- Proceed with the default settings:
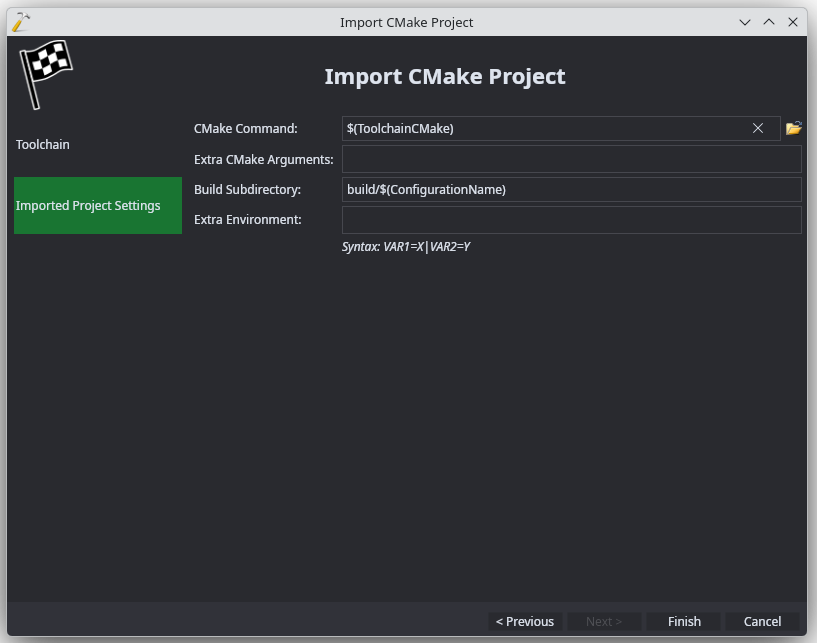
- If your project requires additional CMake arguments or environment variables, you can add them on the last page:
- Press “Finish” to generate the project:
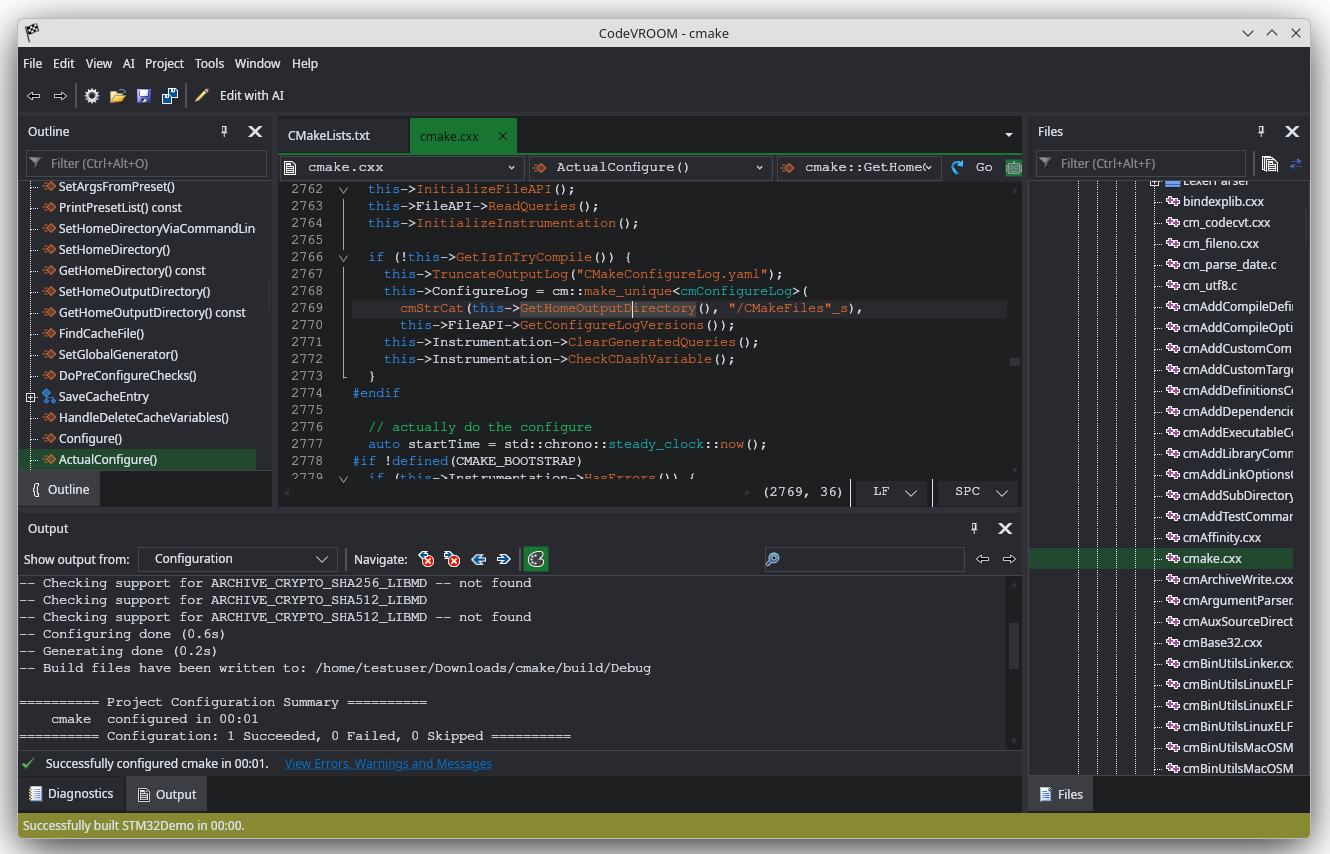
Now you can use CodeVROOM’s navigation to explore the project. If the project is really big, it could take several minutes to build the symbol cache, but then navigating to symbols and finding references will be nearly instant. See this tutorial for an overview of supported editing functionality.