Creating Embedded Projects on MacOS
This tutorial shows how to use CodeVROOM to create a basic STM32 project on MacOS.
Before you begin, install Homebrew and get the gcc-arm-embedded, ninja-build, cmake and xz packages.
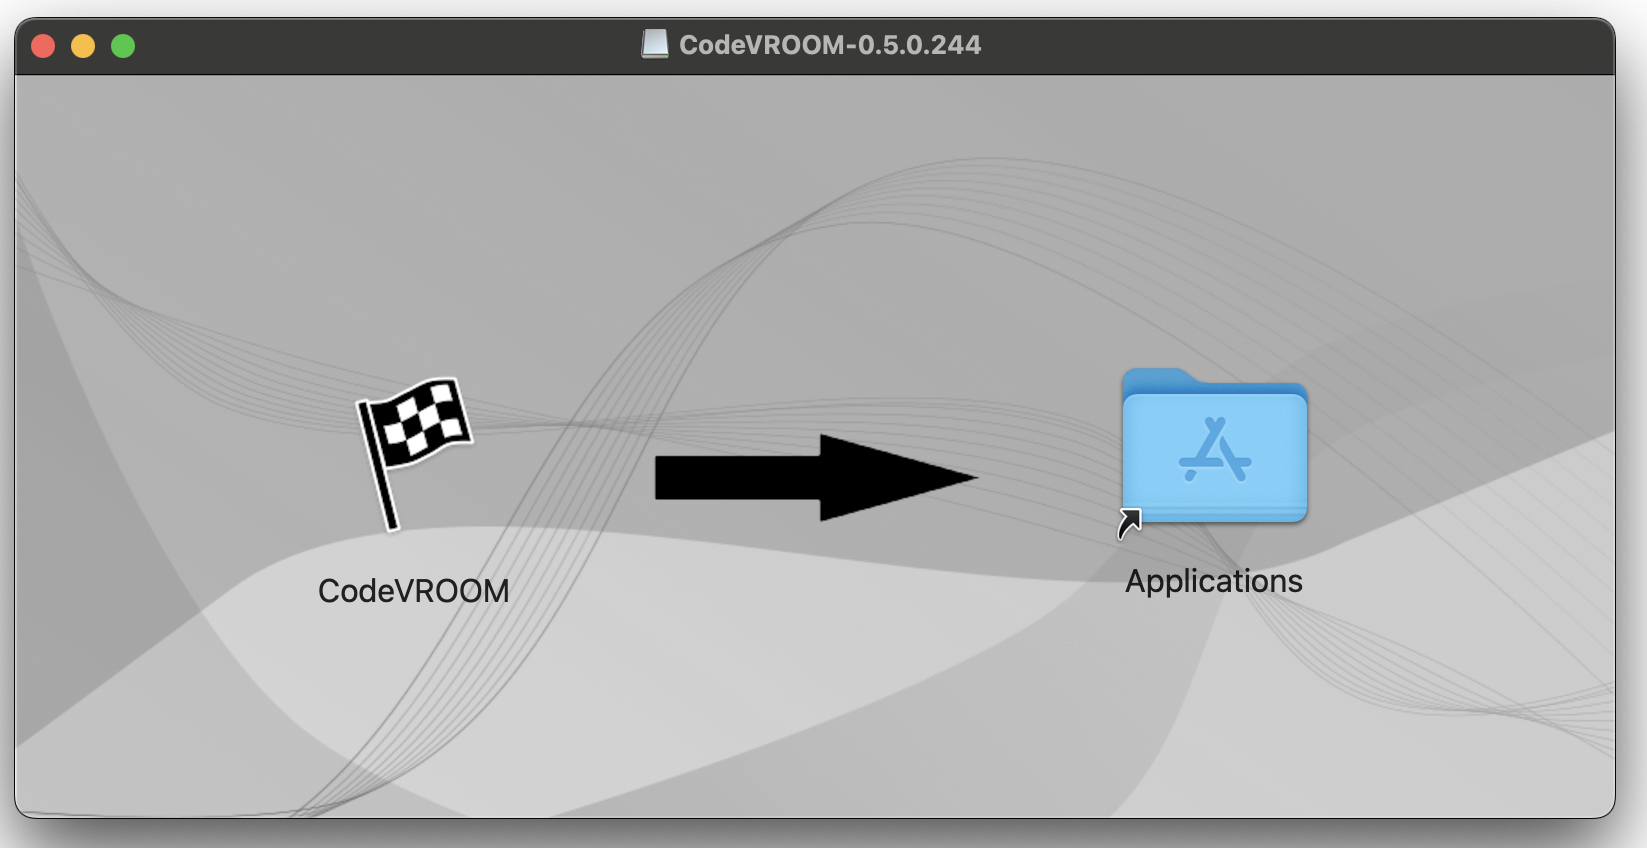
Then, download the latest CodeVROOM and mount the DMG file.
- CodeVROOM for MacOS can run both from the DMG file and the application folder. In this tutorial we will just simply run it directly:
- Once loaded, the main window will look like this:
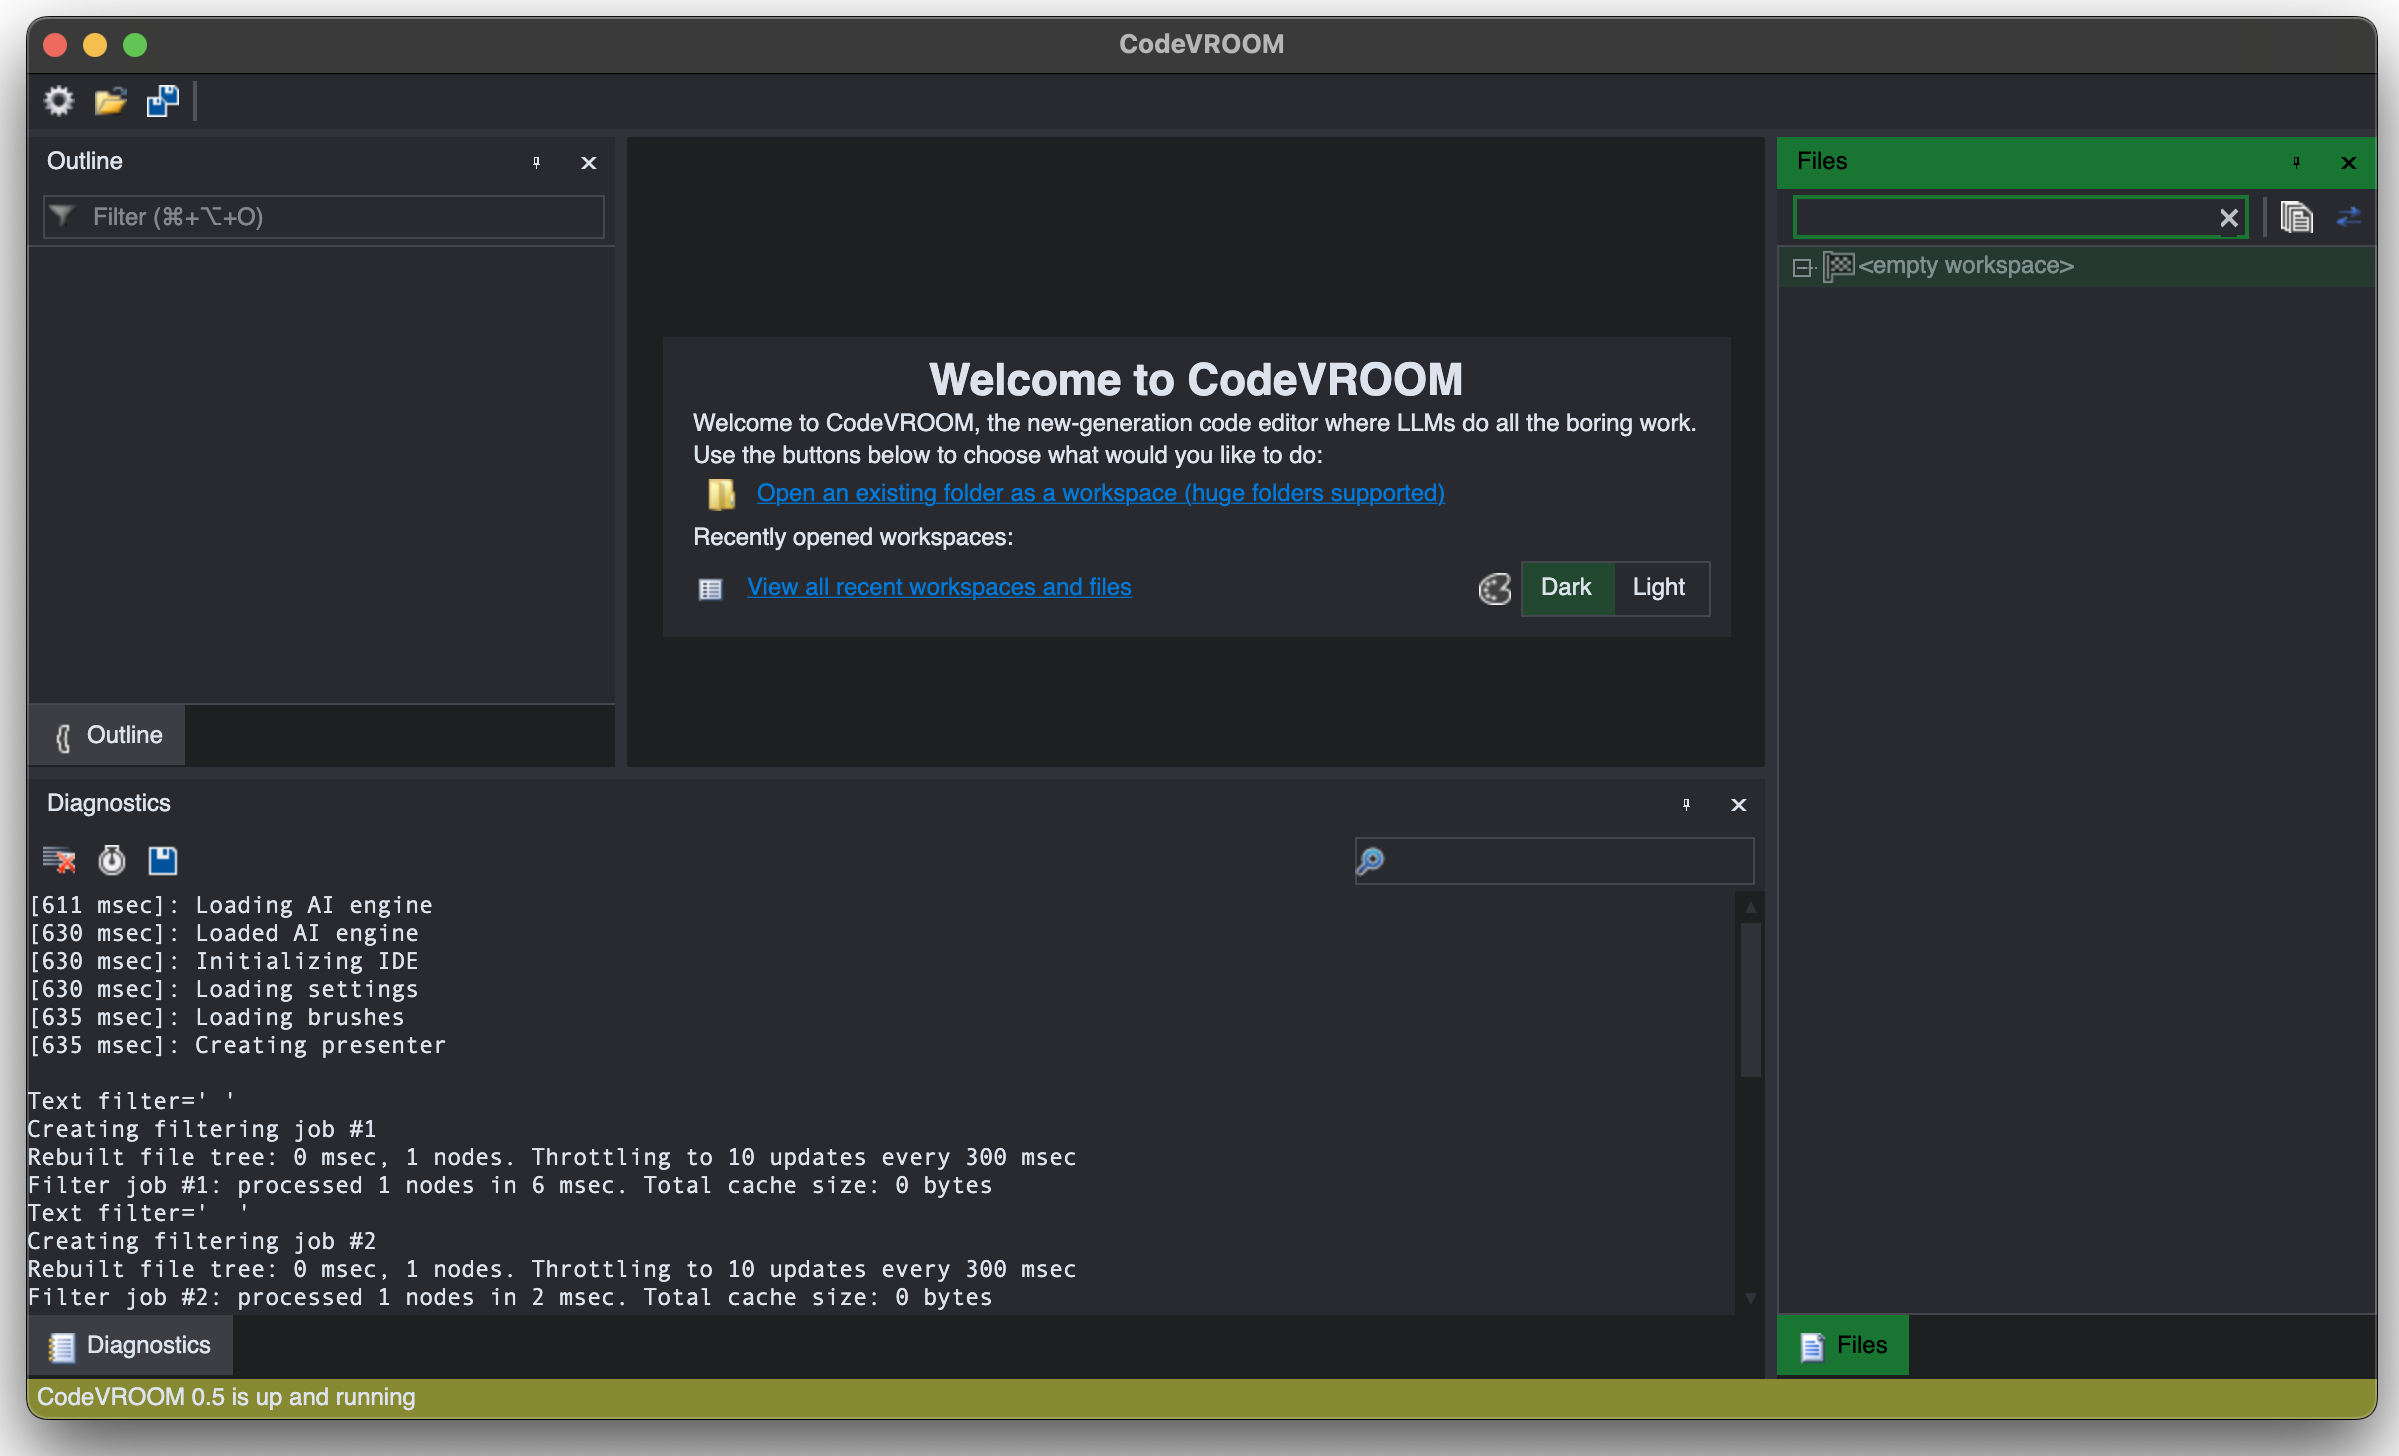 The menu will be integrated with the regular MacOS application menu.
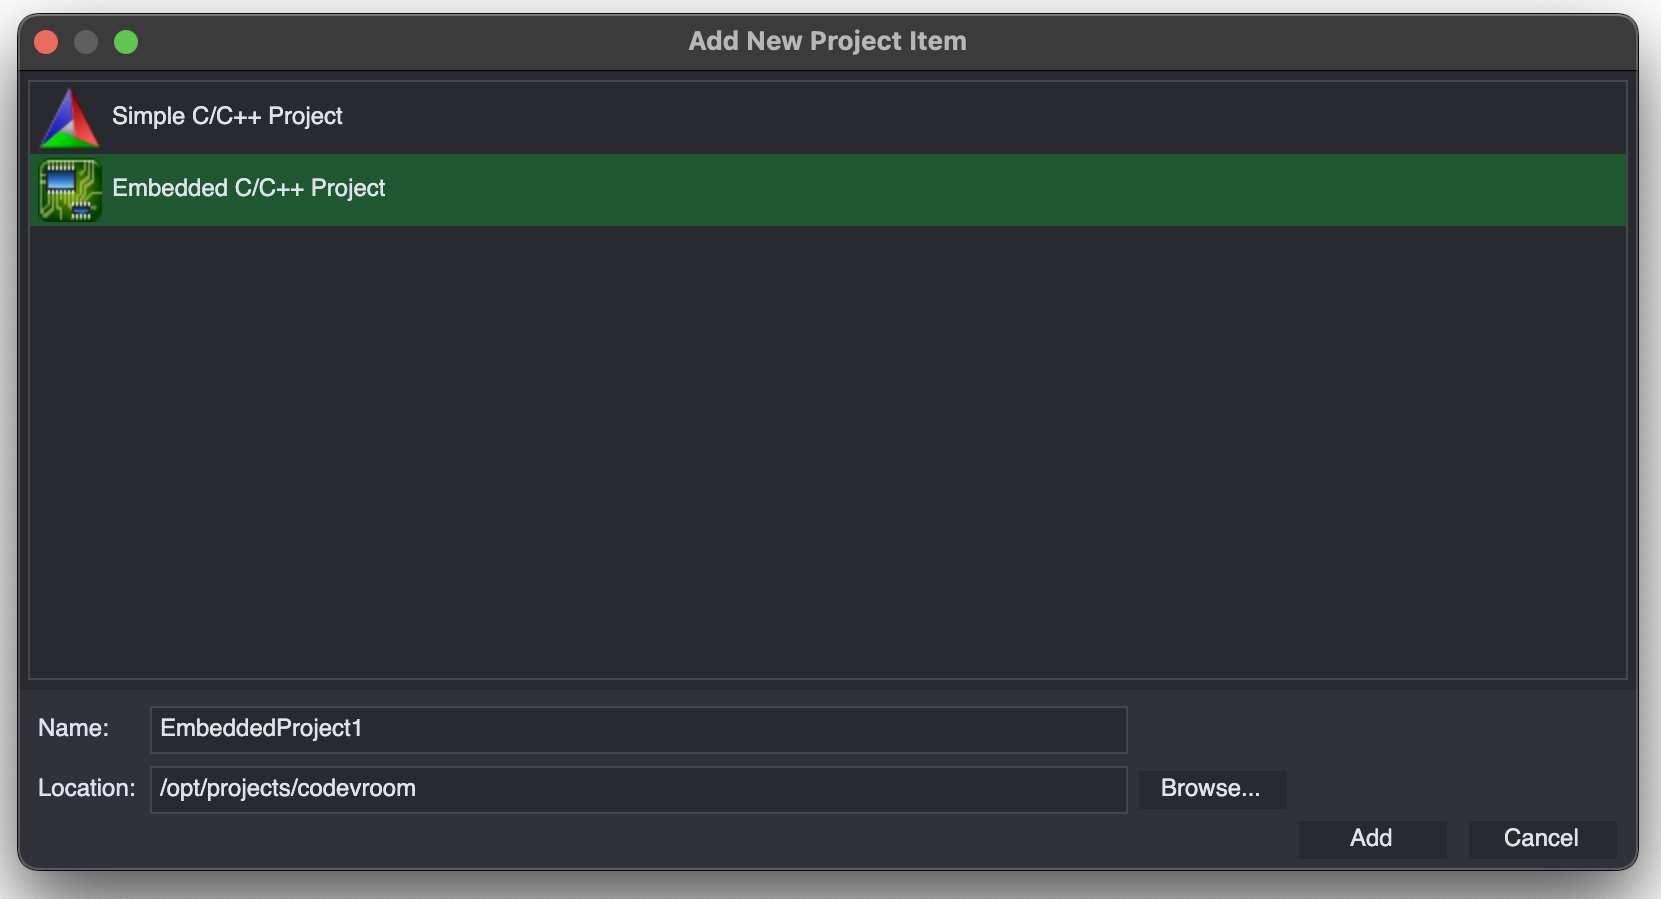
 - Use the File->New->Project command to start creating a new project. Select the Embedded C/C++ Project Wizard:
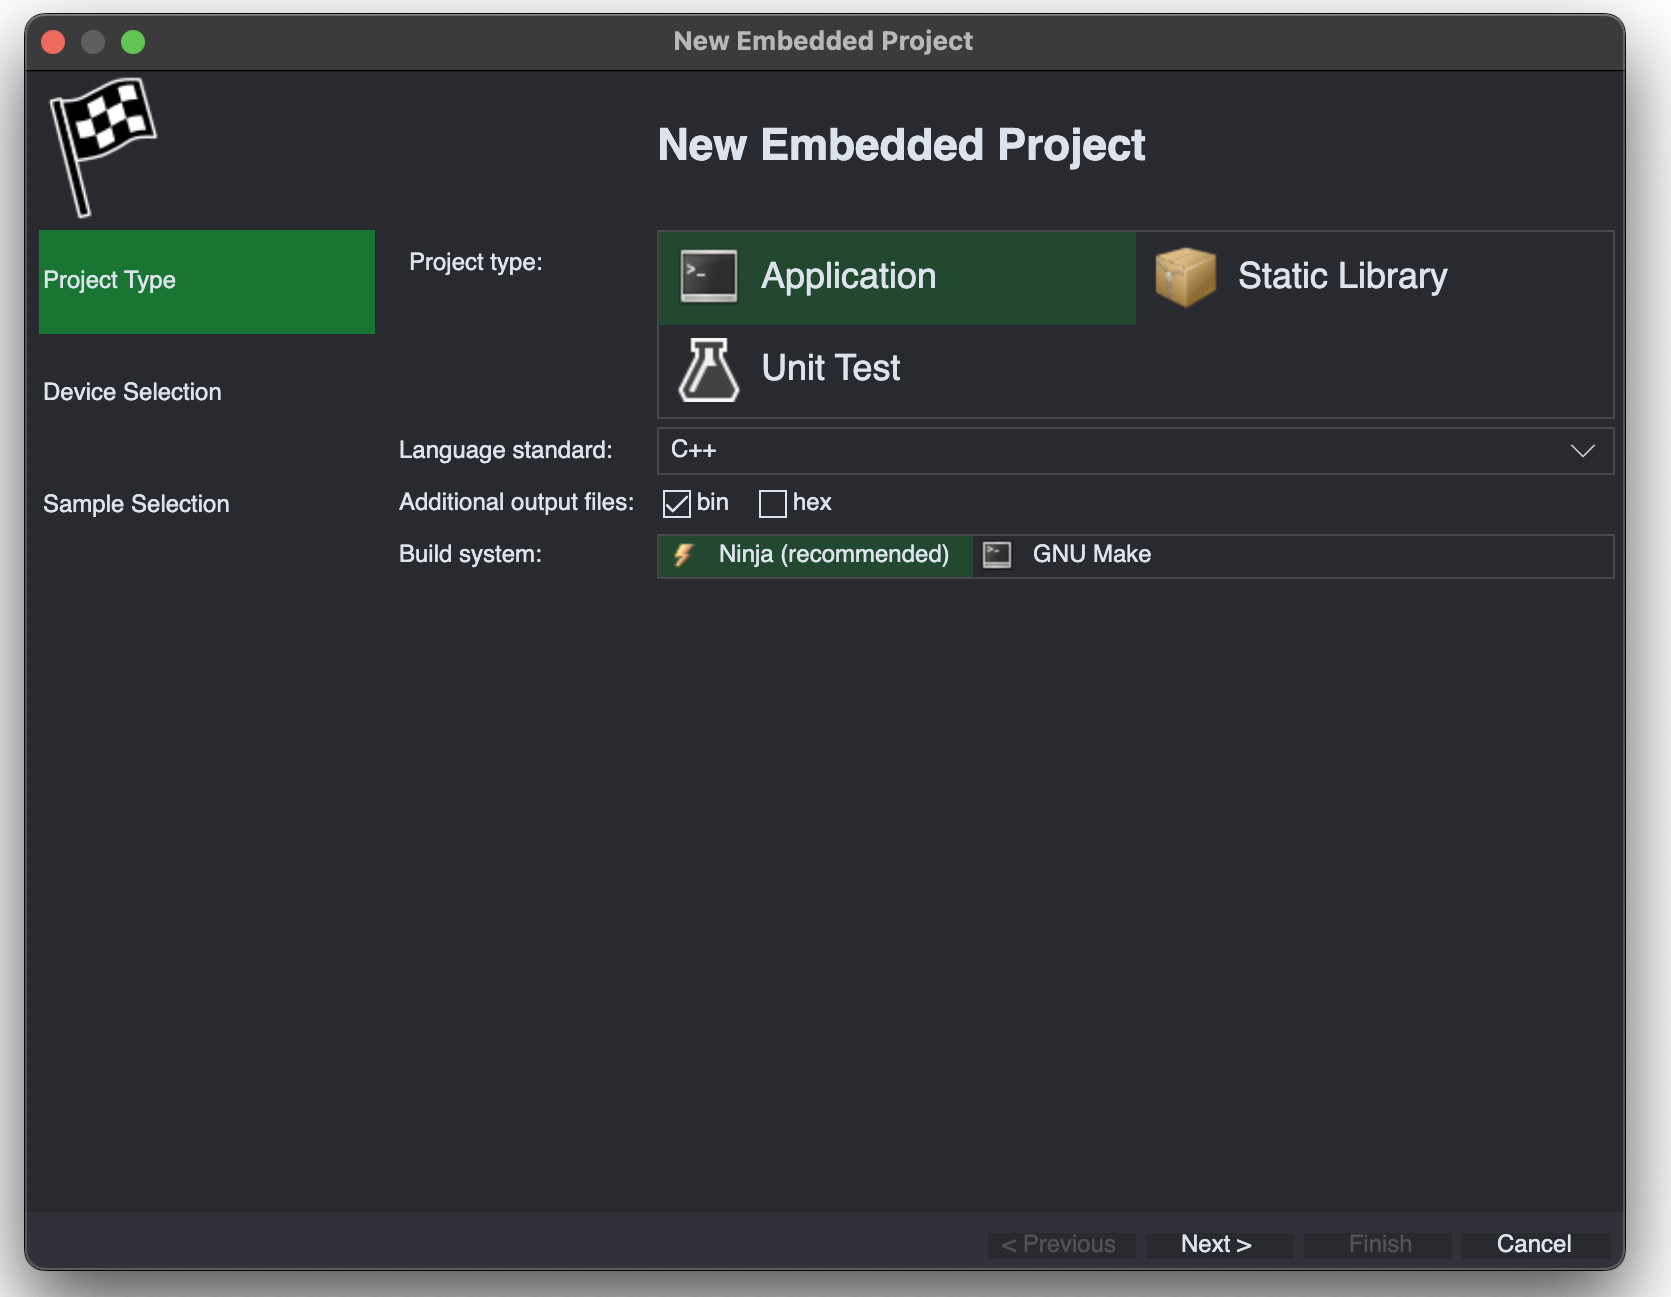
- Proceed with the default settings on the first page:
- The next page allows selecting a toolchain. As of 0.5, only the embedded ARM toolchain from Homebrew is supported. Select it and choose the device you would like to target:
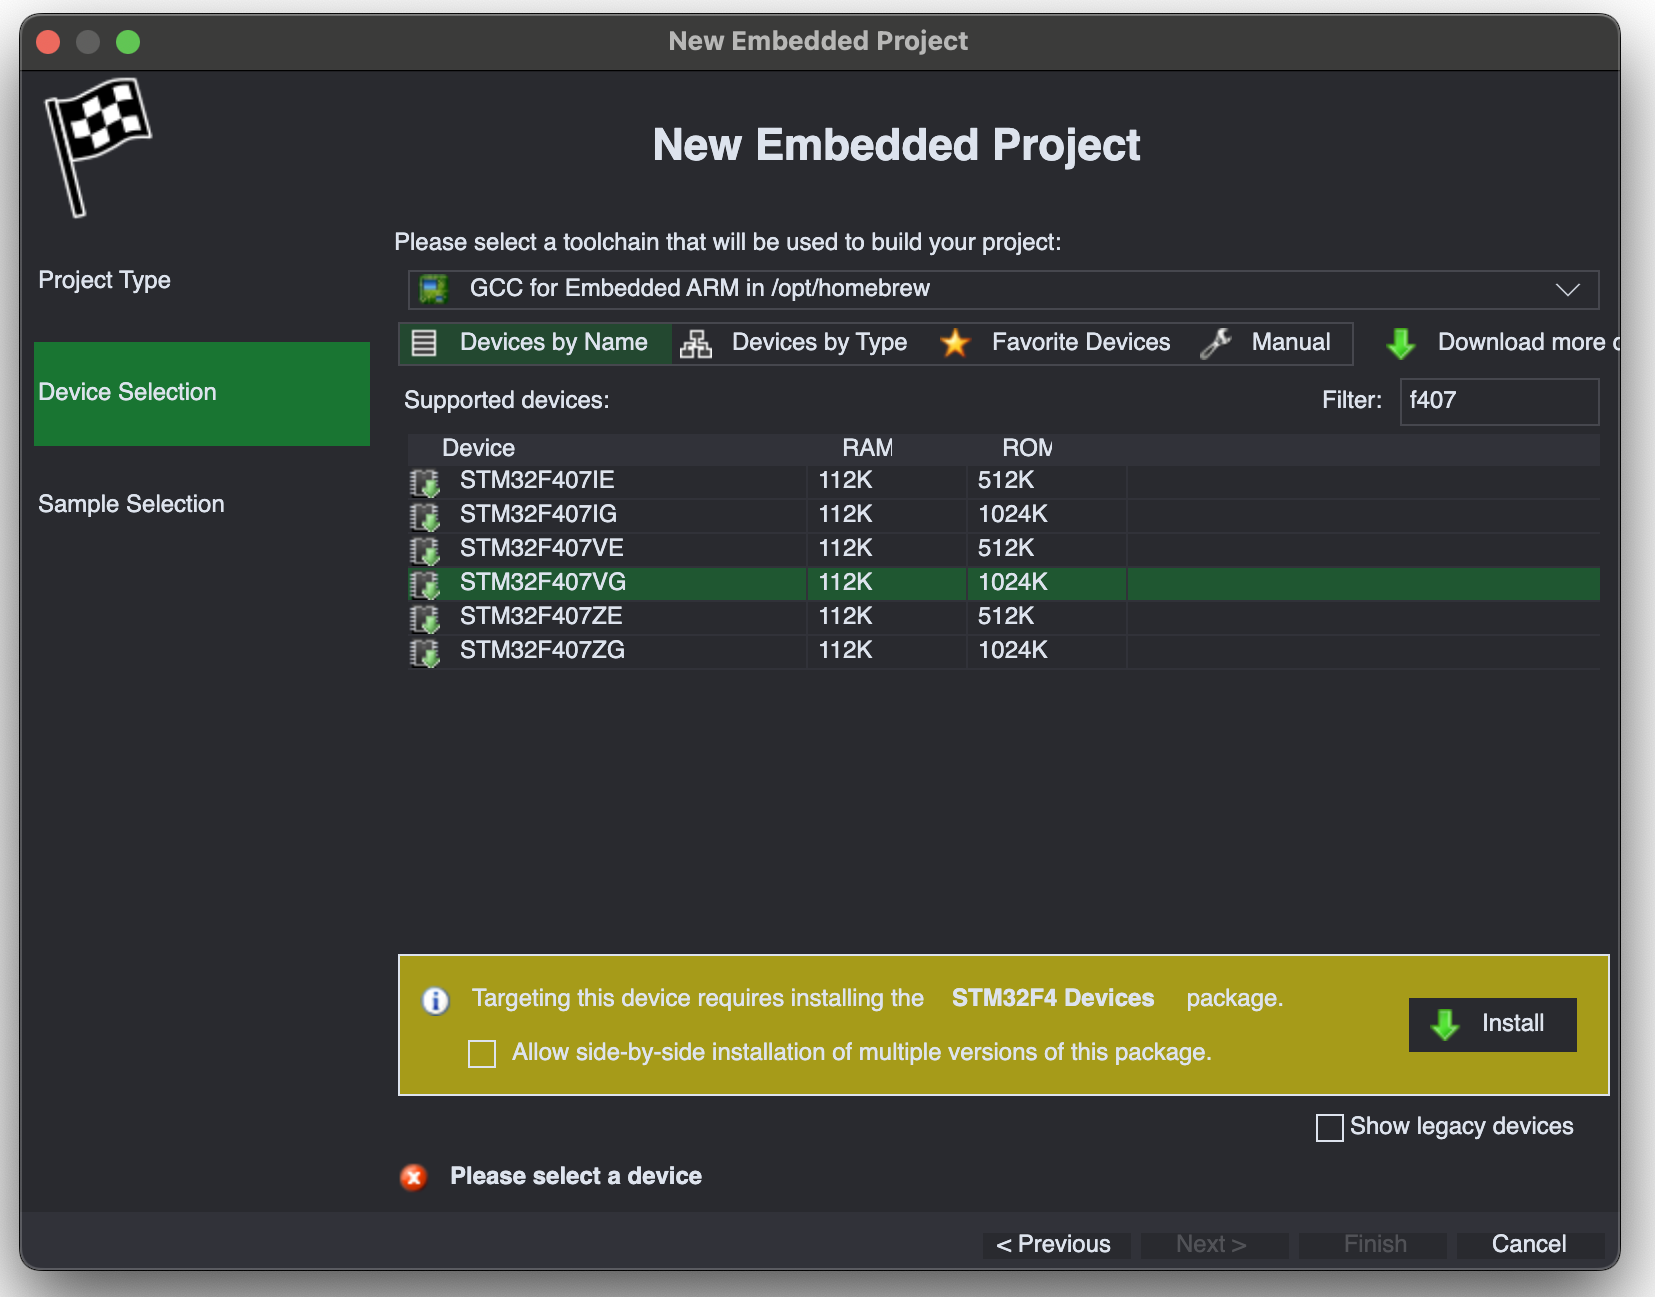
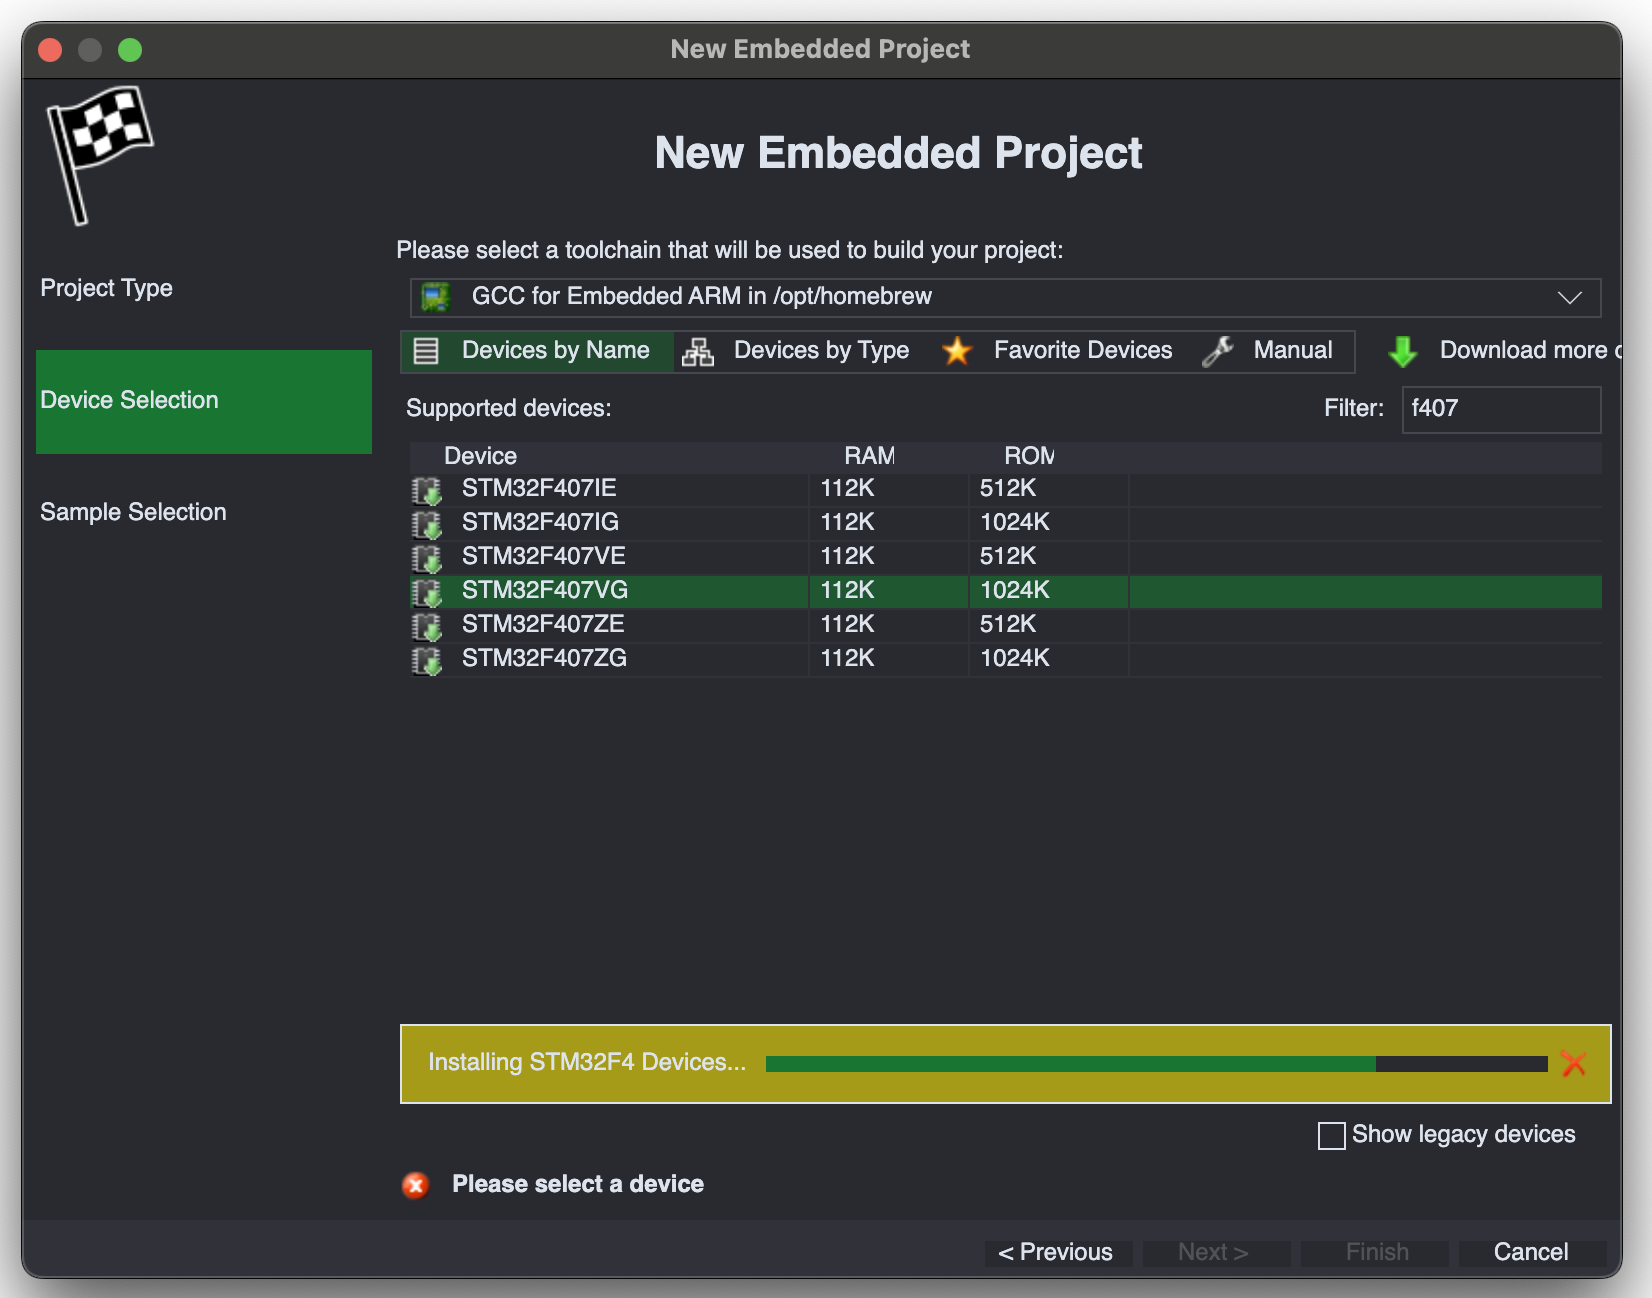
- Press the “download” button to get the device support package:
- Once it gets downloaded and installed, CodeVROOM will show the configuration settings for the device:
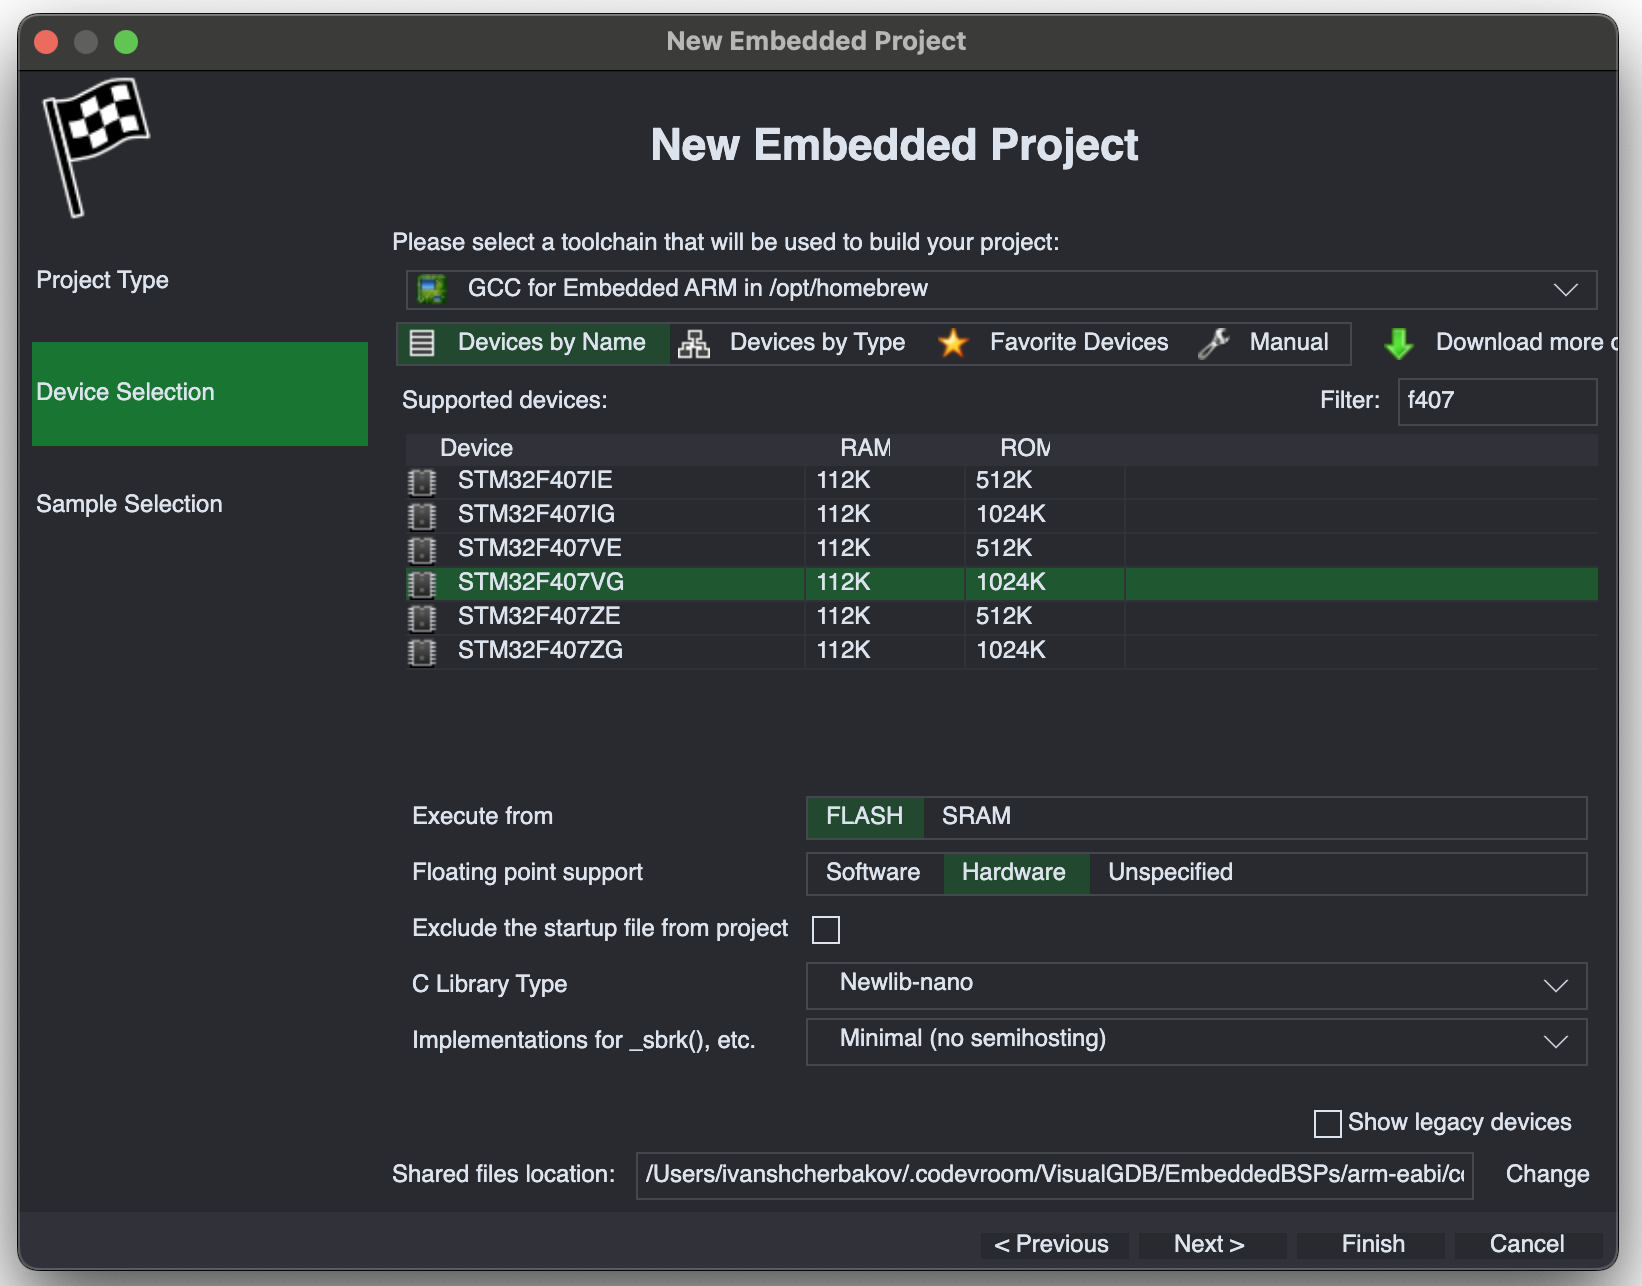
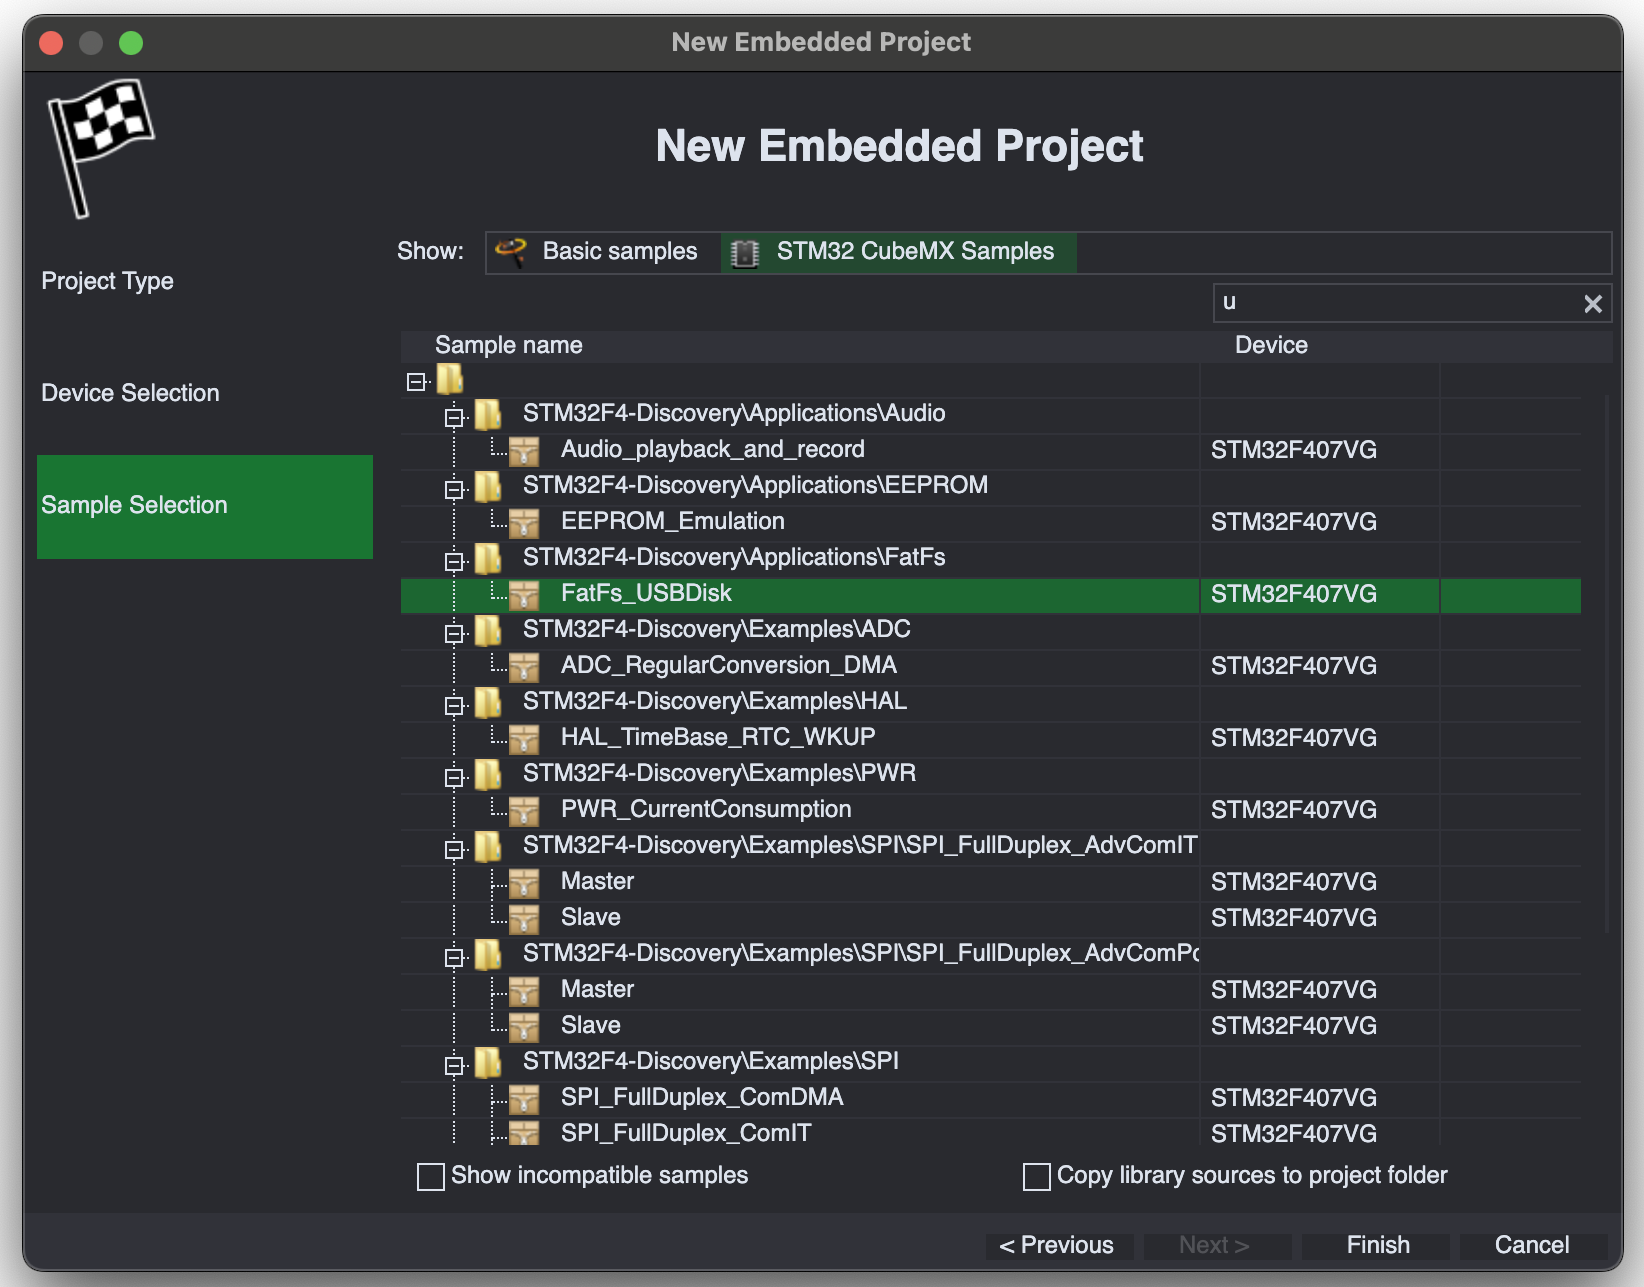
- Proceed with the default settings and go to the next page. Switch from “Basic samples” to “STM32CubeMX Samples”:
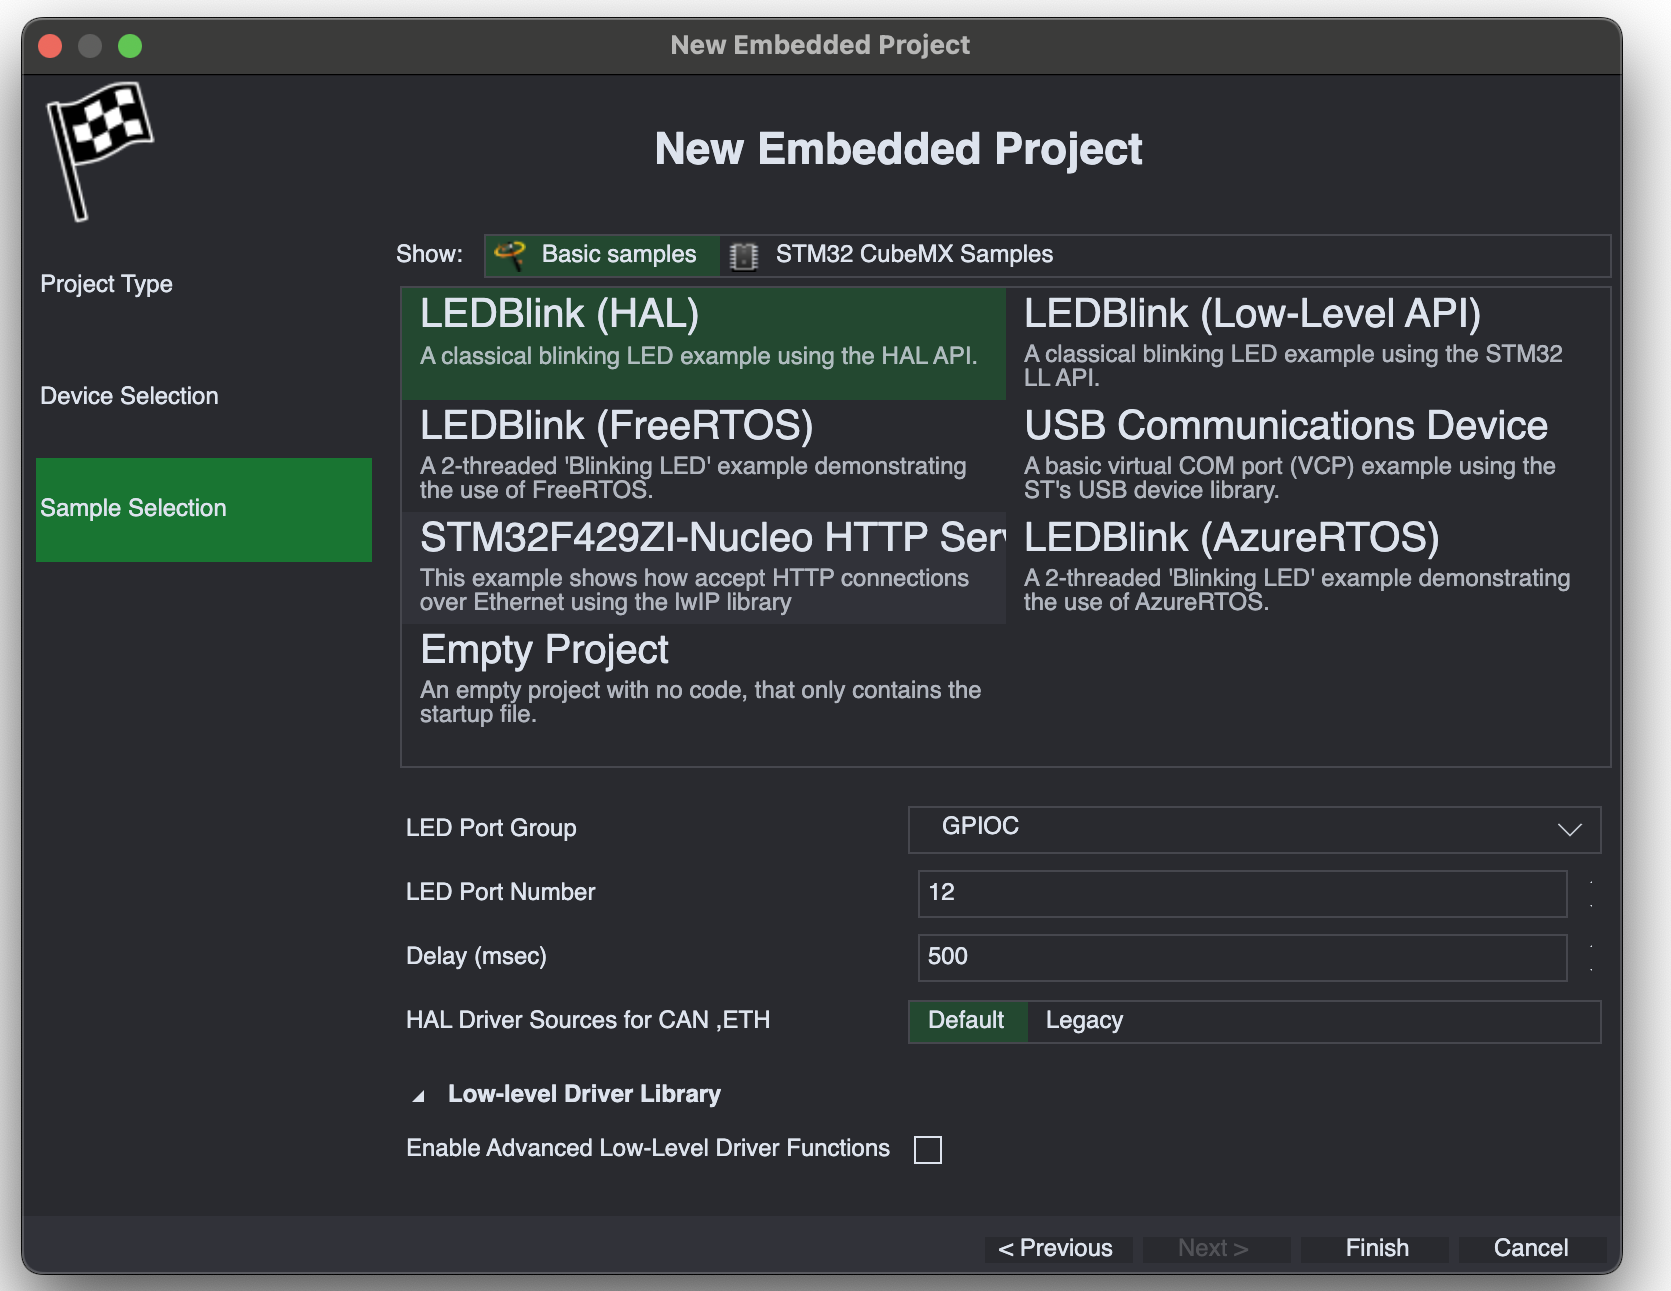
- Select the FatFs_USBDisk sample:
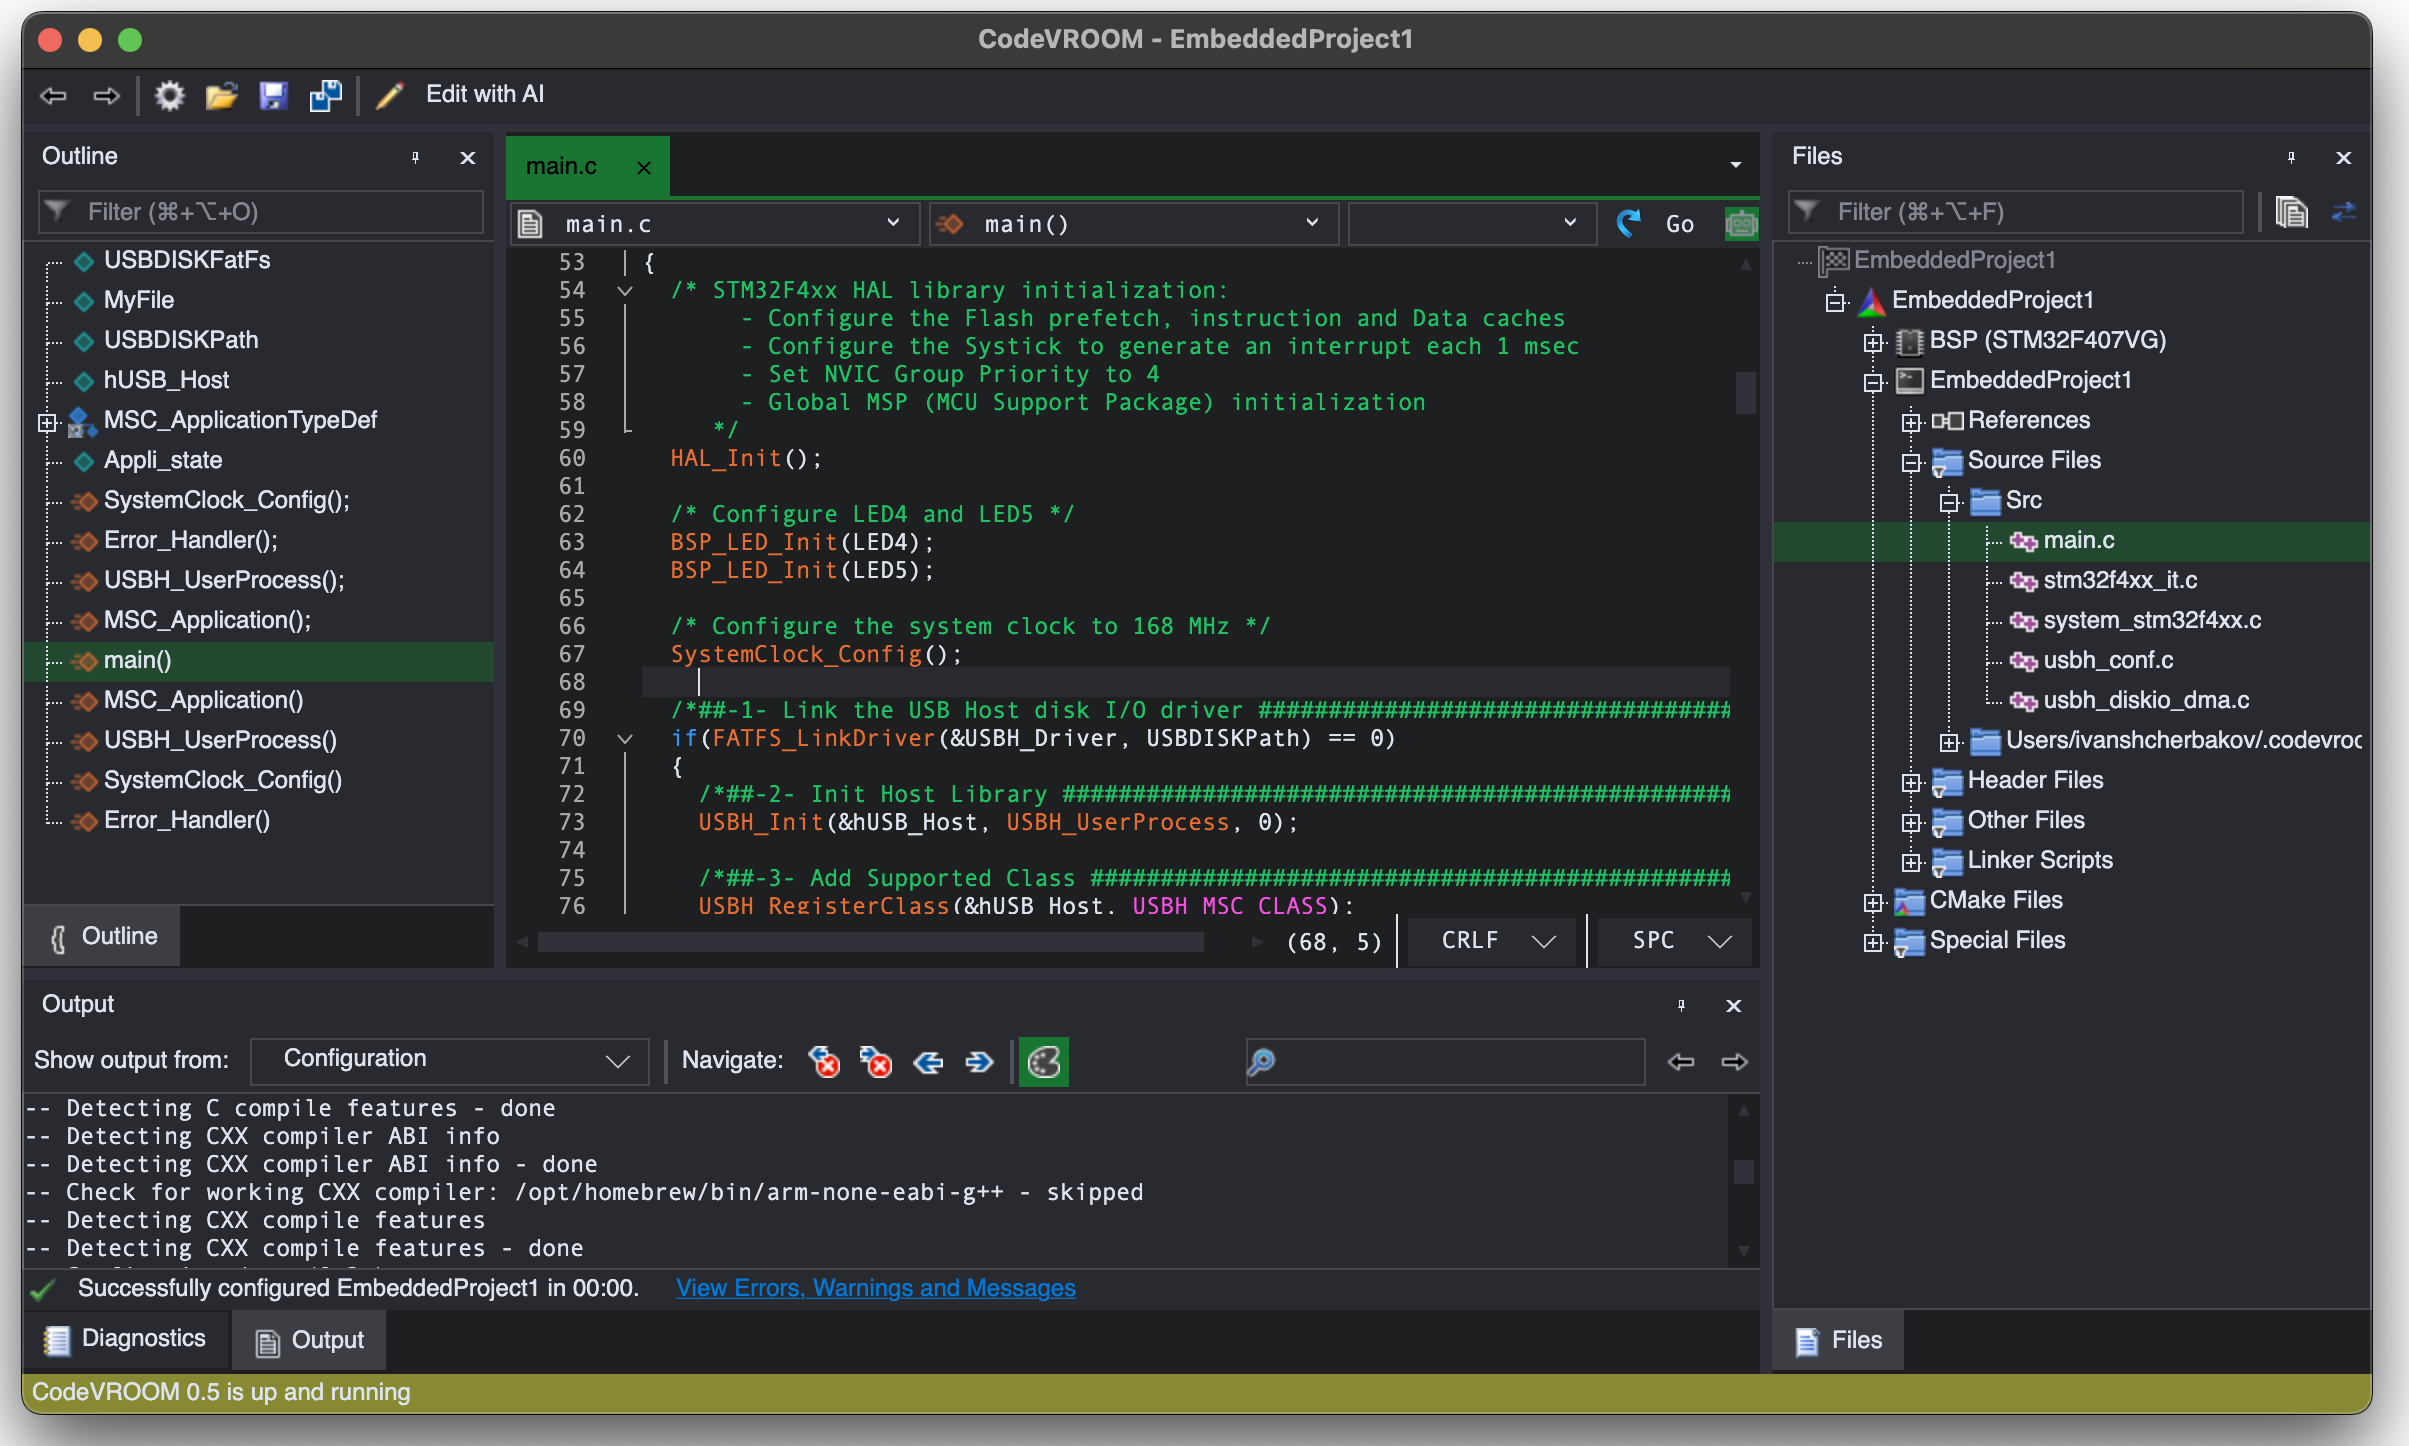
- Press “Finish” to generate the project. Once it is loaded, CodeVROOM will display its structure on the right side, the current file’s outline on the left, and the build status in the bottom:
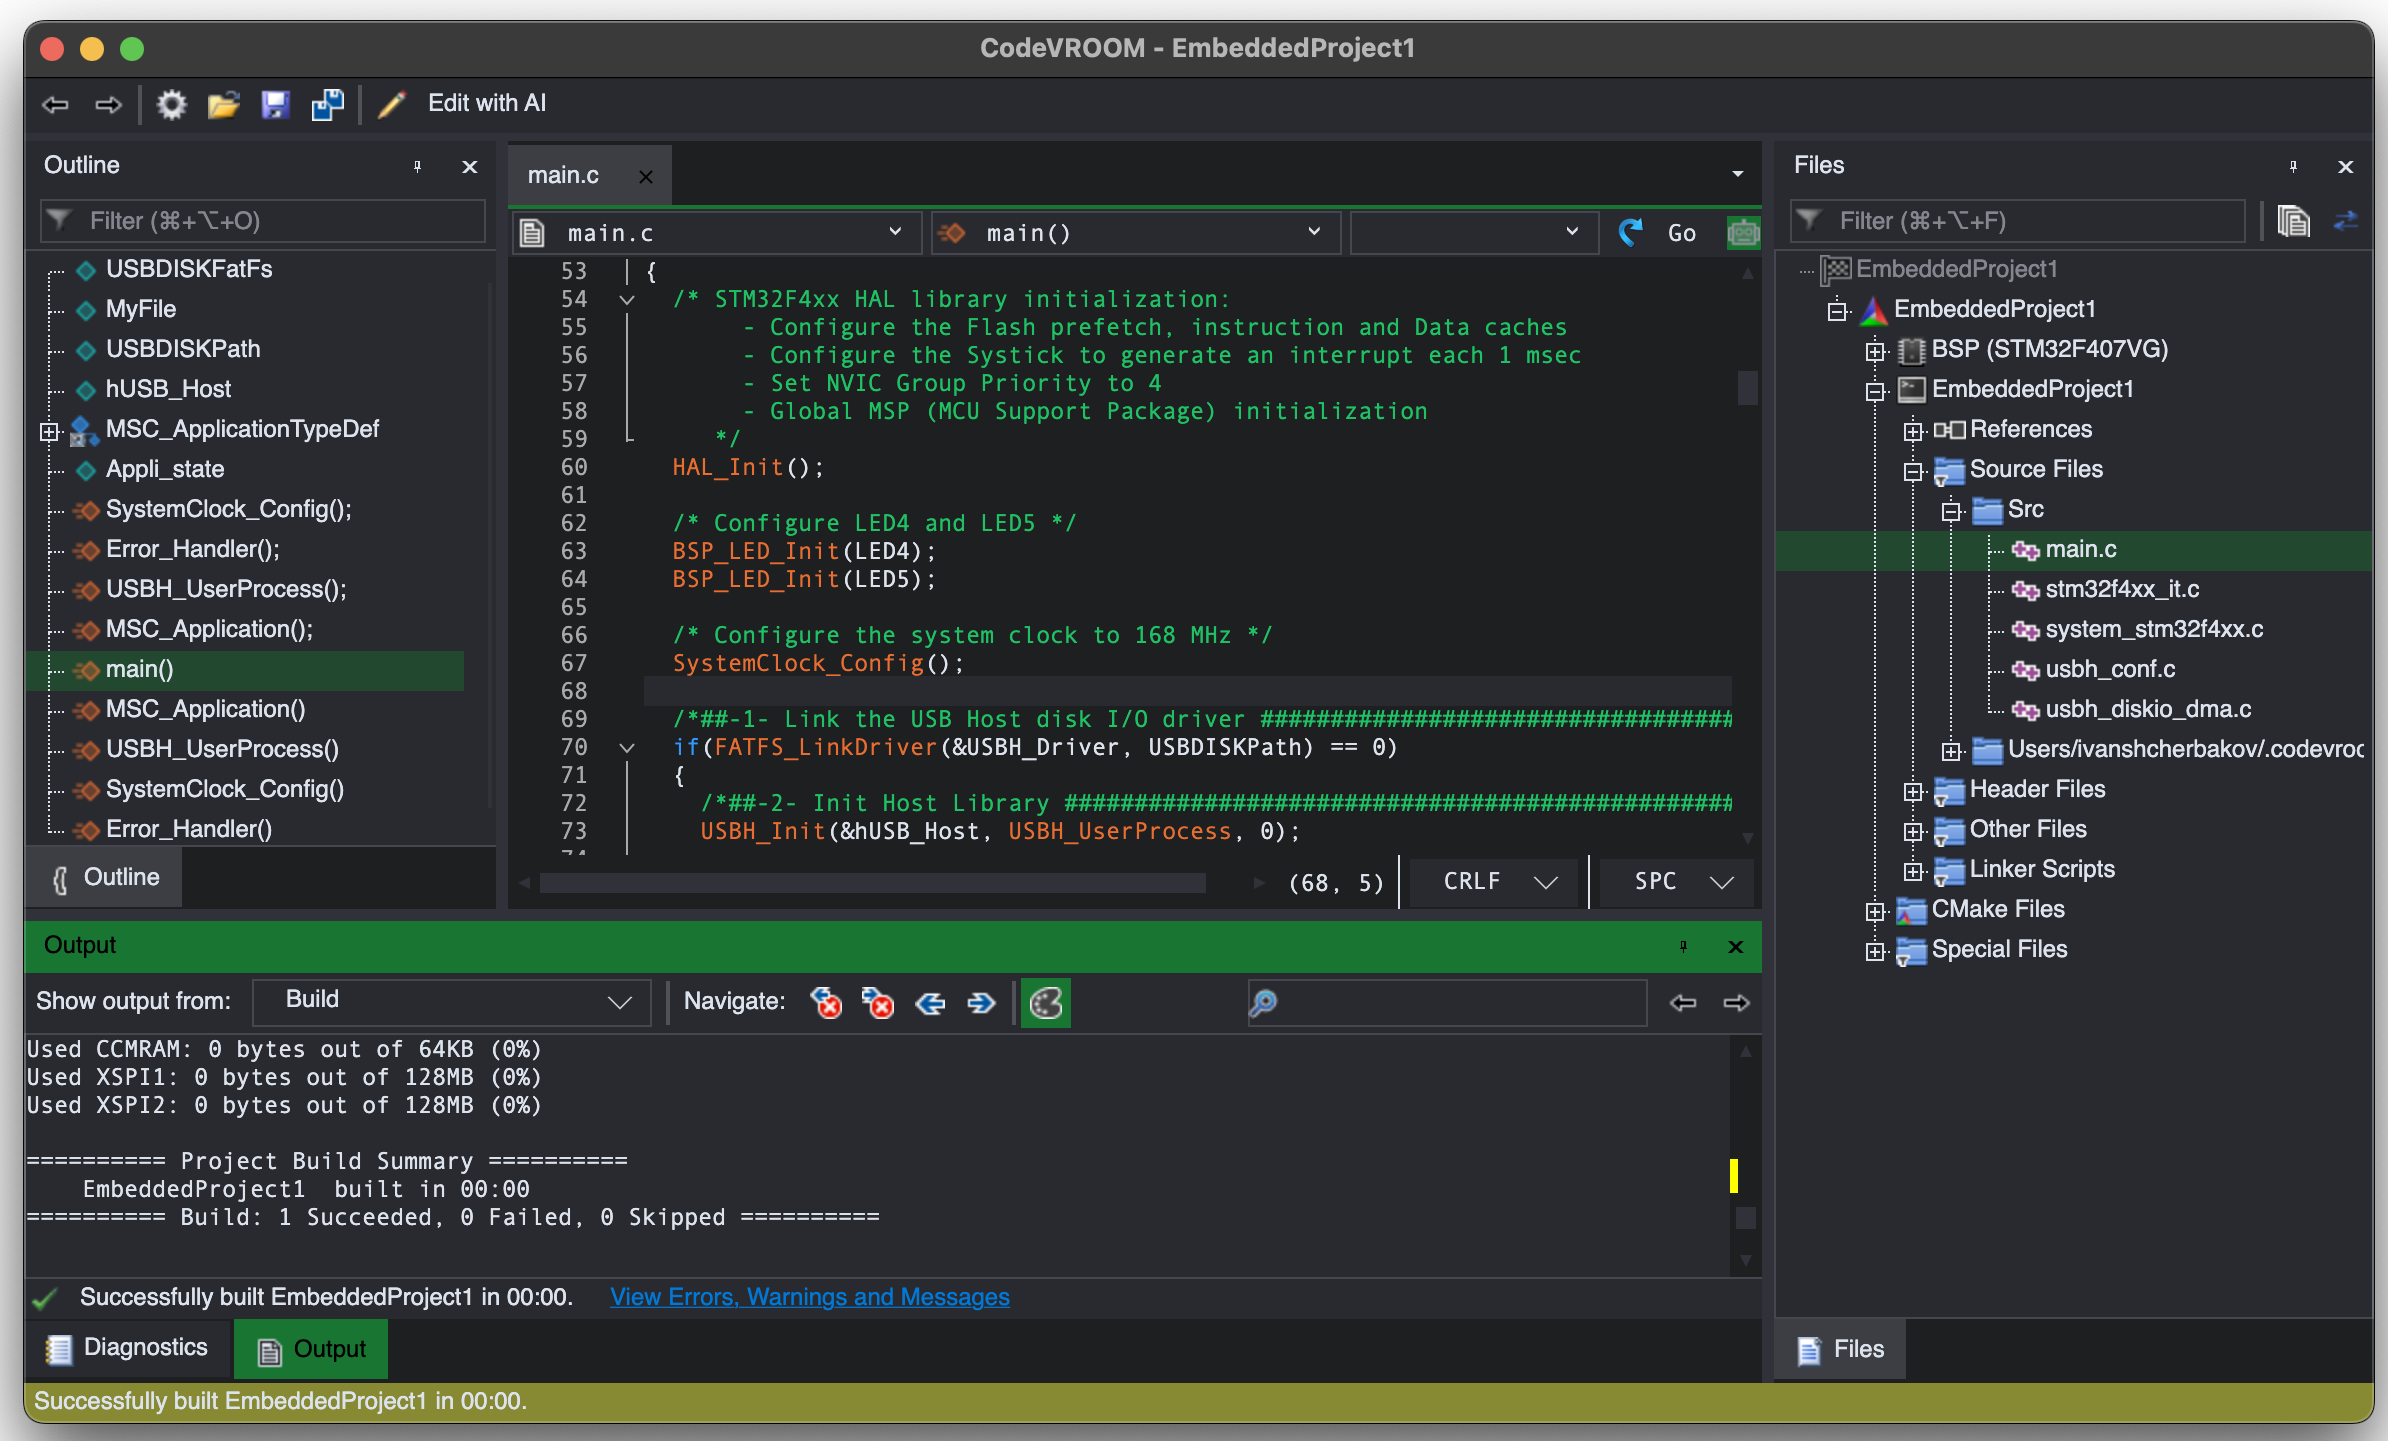
- Press Command+B to build the project, or use the Project->Build command:
 Once you get the project building, check out this tutorial for an overview of editing features supported by the latest version.