Debugging Raspberry Pi Kernel Modules using Prebuilt Kernels
This tutorial shows how to create, build and debug a basic kernel module for Raspberry Pi using VisualKernel 4.0 and pre-built Raspberry Pi kernel symbols.
Using the pre-built kernel image avoids the need to build the kernel on a separate Linux machine and allows quickly navigating the kernel source code using the IntelliSense code database included with the image.
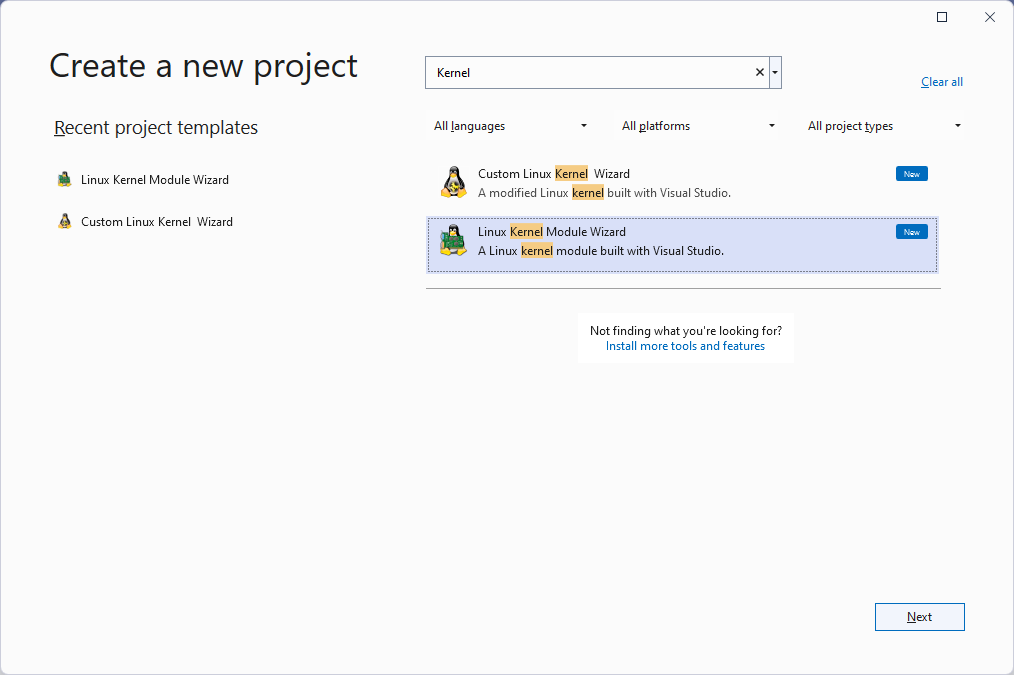
- Start Visual Studio and locate the VisualKernel Linux Kernel Project Wizard:
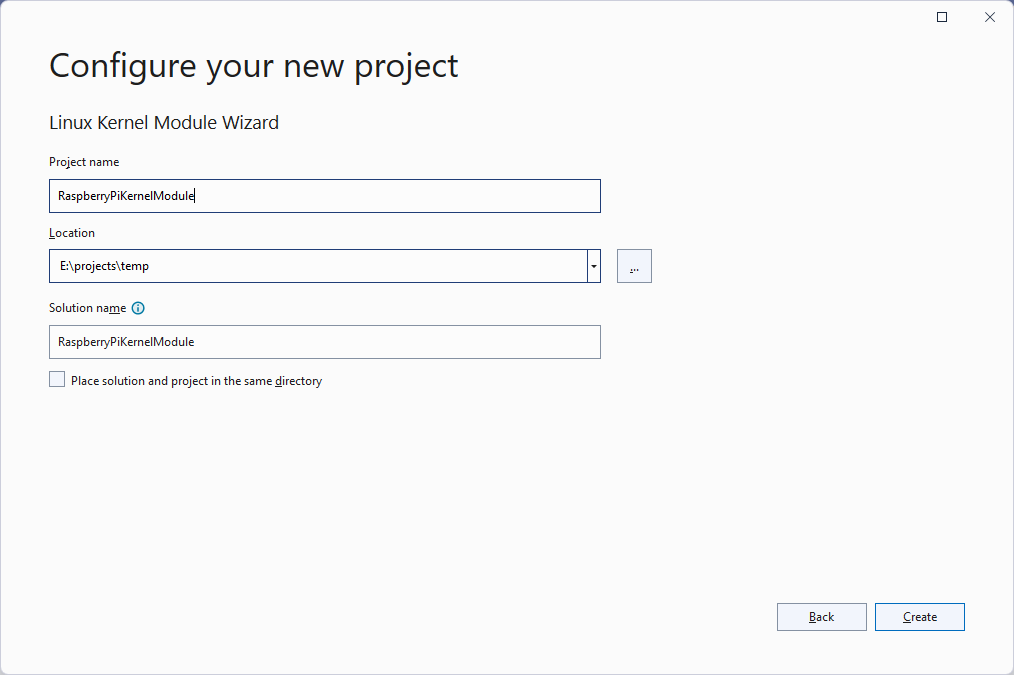
- Choose a name for the project and enter the location where you would like to store it:
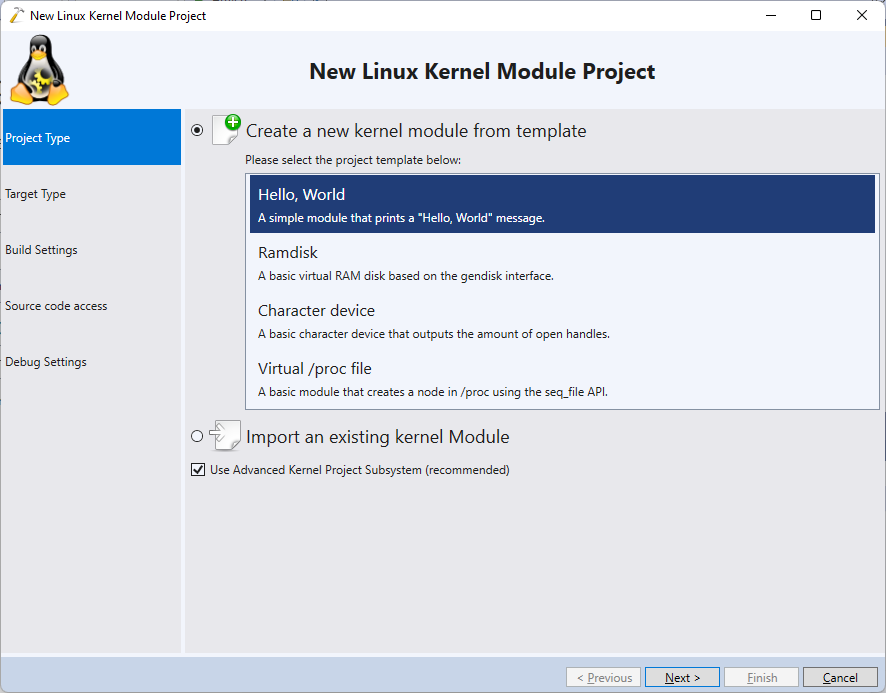
- Proceed with the default “Hello, World” project template:
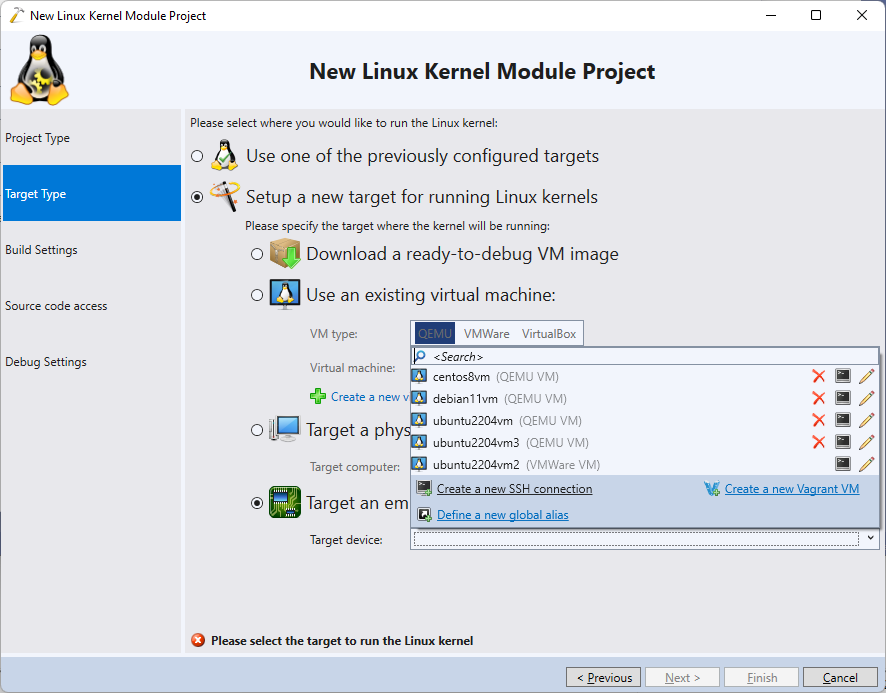
- Make sure your Raspberry Pi is running the latest SD card image and can be accessed via SSH. Then, select “Setup a new target -> Target an Embedded Device”, open the drop-down list and click “Create a new SSH connection”:
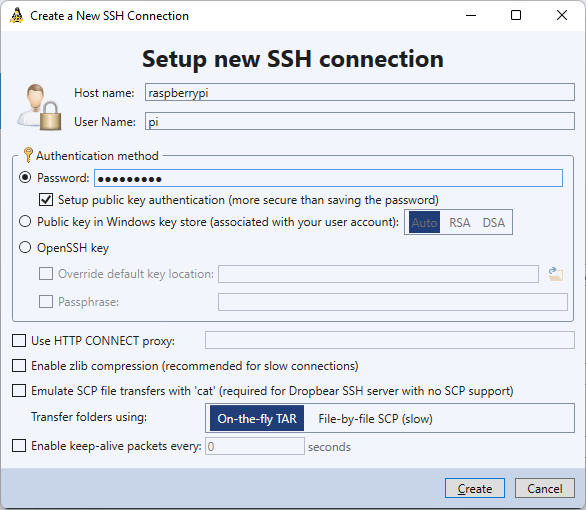
- Enter the host name, user name and the password to connect to the Raspberry Pi. Then, click Create to proceed:
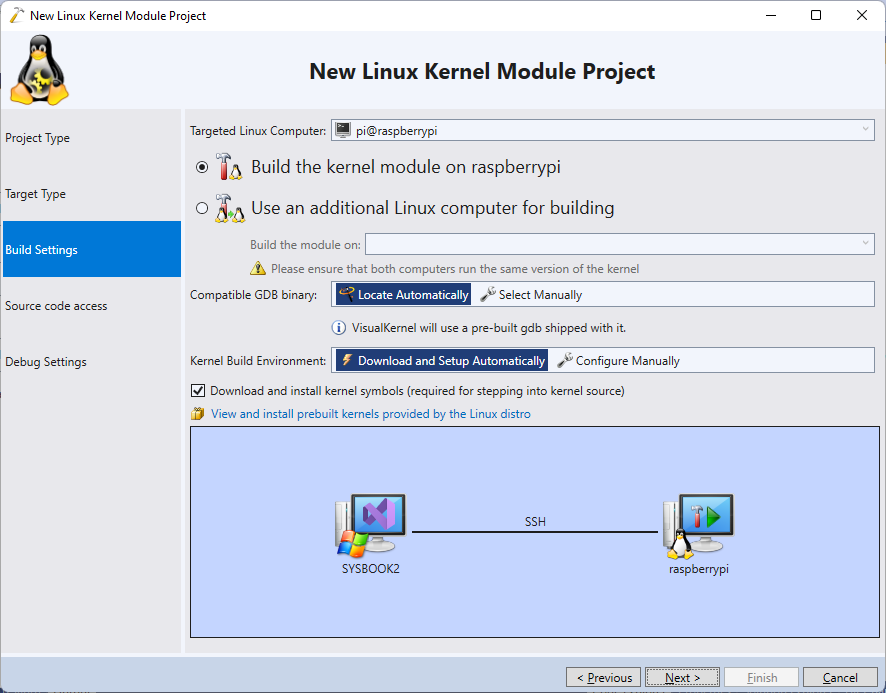
- Proceed with the default settings on the “Build Settings” page of the wizard:
- VisualKernel will detect the Raspbian distribution running on the Raspberry Pi and will suggest automatically downloading a matching pre-built kernel image:
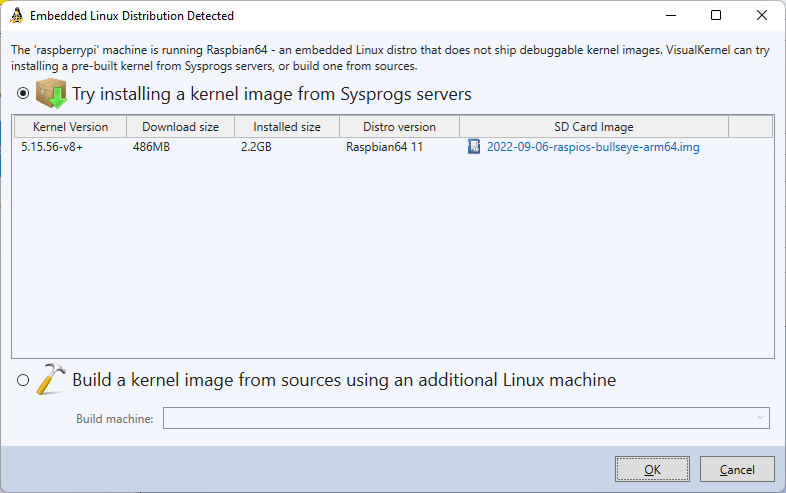 VisualKernel can automatically download and install both 32-bit kernels (v7l+) and 64-bit kernels (v8+).
 - Select it from the list and click “OK”. VisualKernel will download the image and will install it, along with the build environment, on the Raspberry Pi:
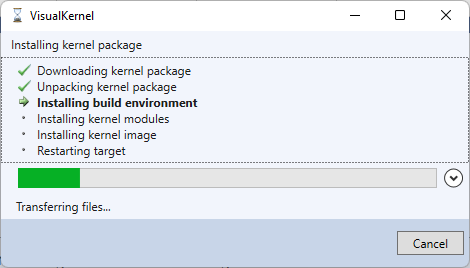 After the installation, your Raspberry Pi will be rebooted and you will be able to build the modules directly on it, as if it was a regular desktop Linux distribution.
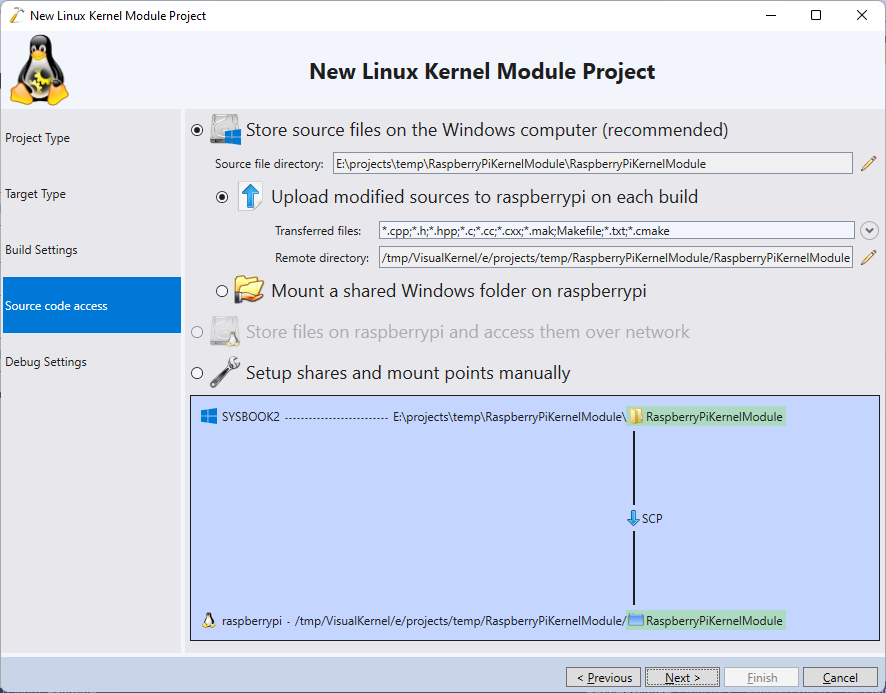
 - Proceed with the default settings of storing the sources on the Windows side and uploading them during build:
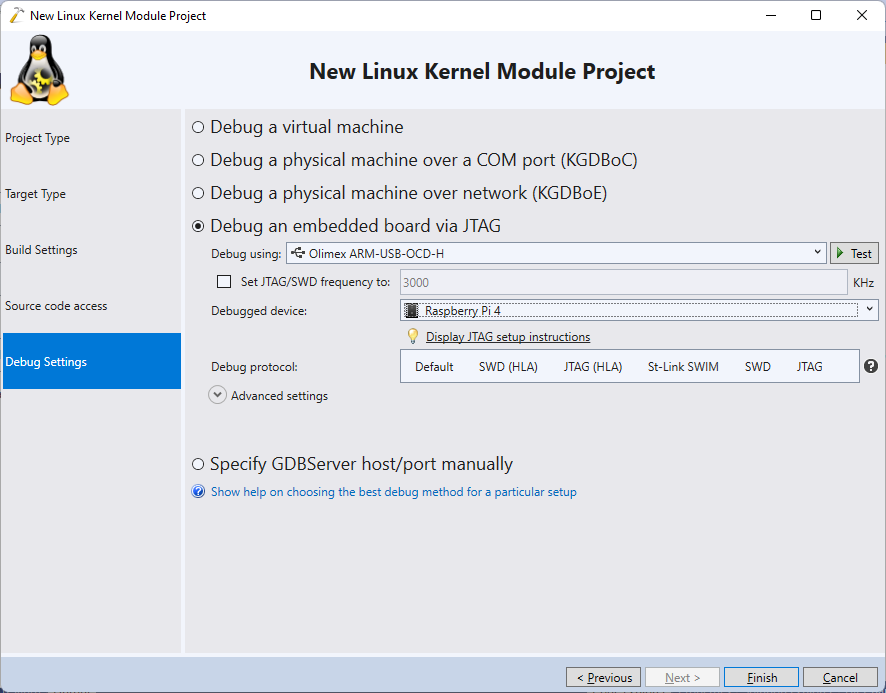
- Follow this tutorial to setup JTAG debugging on your Raspberry Pi. Once it works, select the corresponding settings on the last page of the wizard:
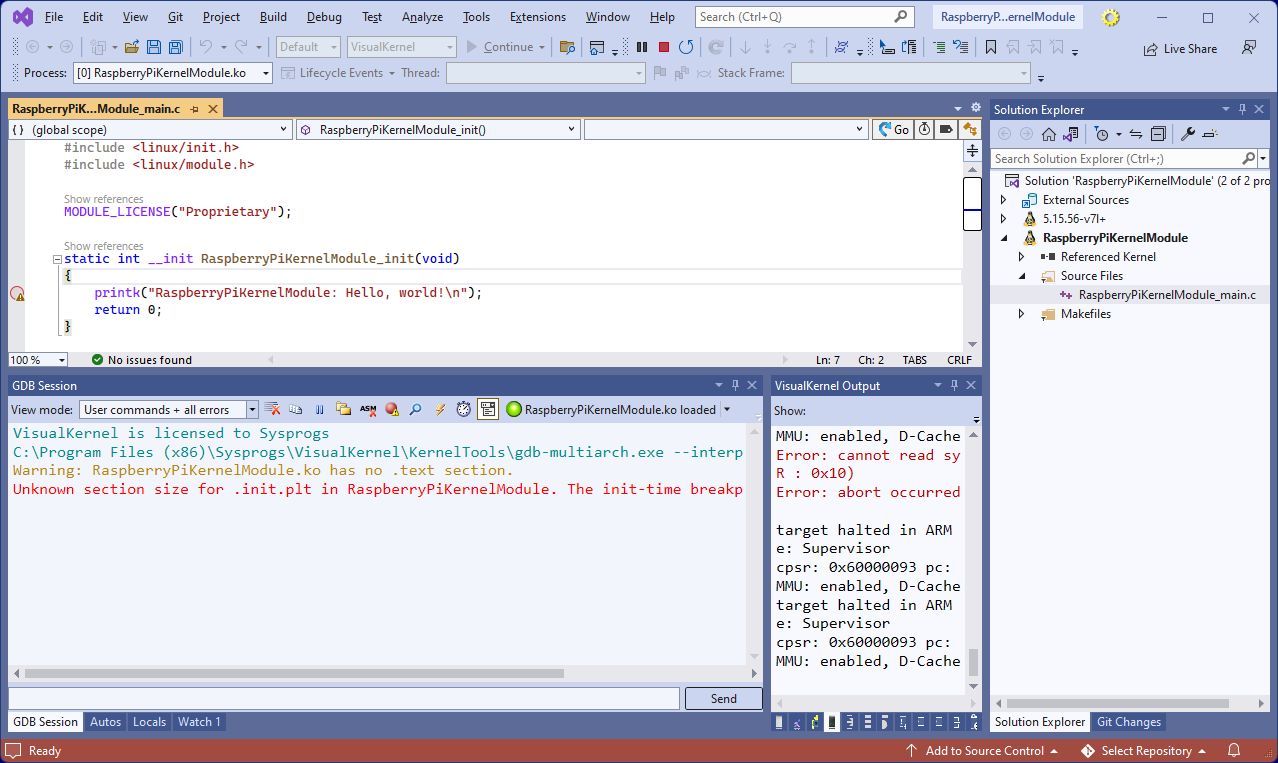
- VisualKernel will create a basic project. Build it via the Build->Build Solution command, set a breakpoint in the init() function and press F5 to begin debugging:
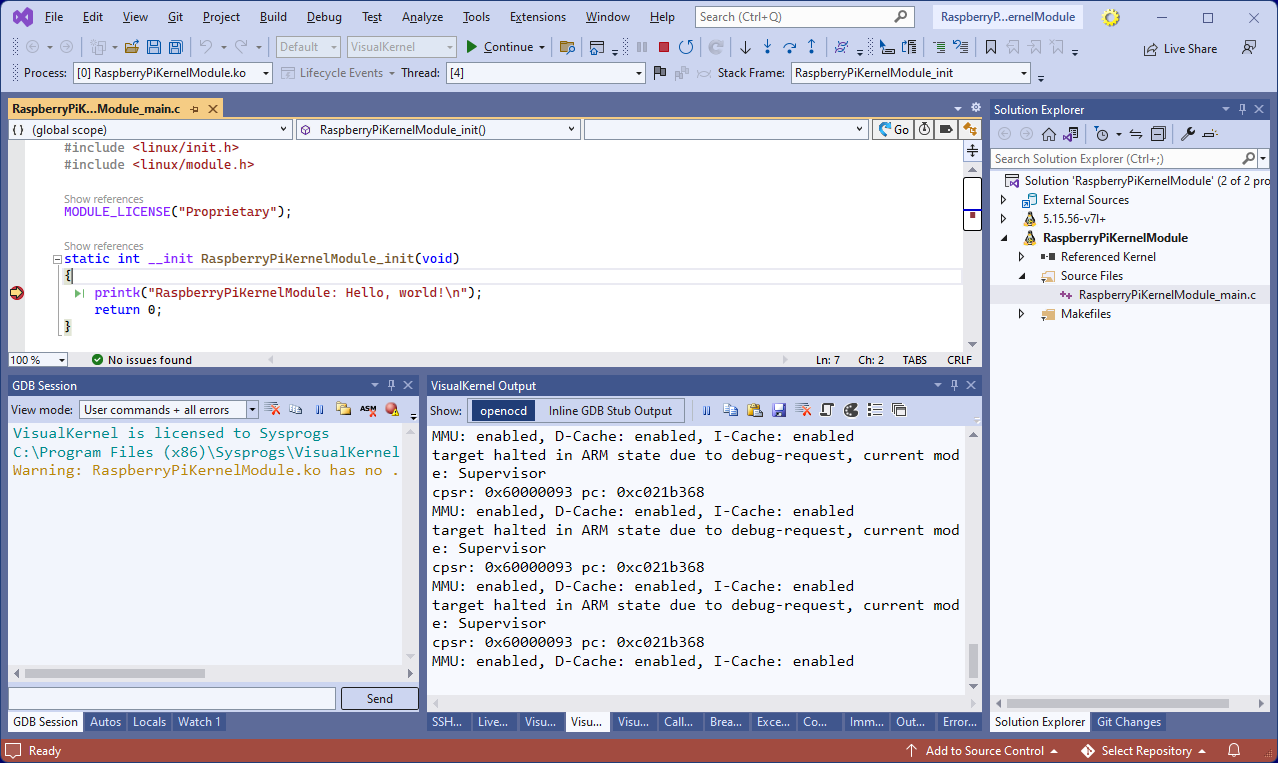
- Once the init() function finishes running and the kernel unloads the .init section, VisualKernel will automatically disable the breakpoint. You can load and the unload module using the button on the right side of the GDB Session window:
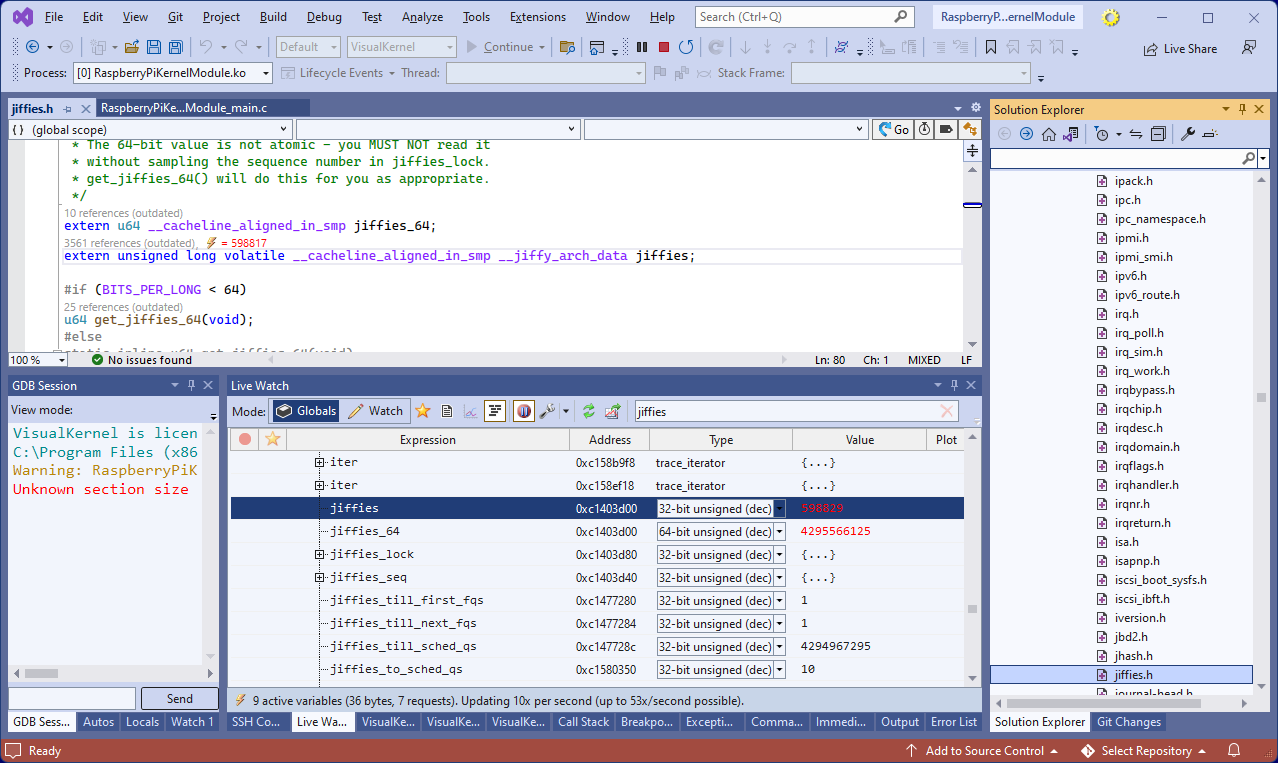
- Use the Debug->Windows->Live Variables command to see the real-time values of various variables in your module, or the kernel itself. E.g. you can see (and plot) the jiffies variable counting the internal time: