Debugging Raspberry PI Kernel with VisualKernel
This tutorial shows how to debug a the Linux Kernel on Raspberry PI over JTAG using Visual Studio. Before you begin, follow the basic Raspberry PI Kernel Module tutorial to ensure that your debugging setup works.
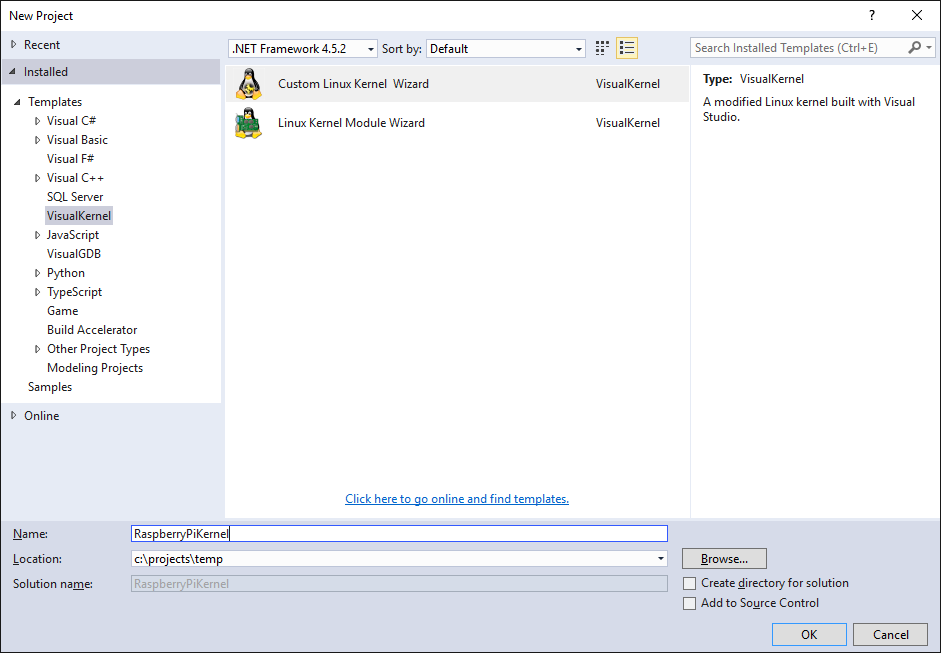
- Start Visual Studio. Select File->New->Project->VisualKernel->Custom Linux Kernel Wizard:
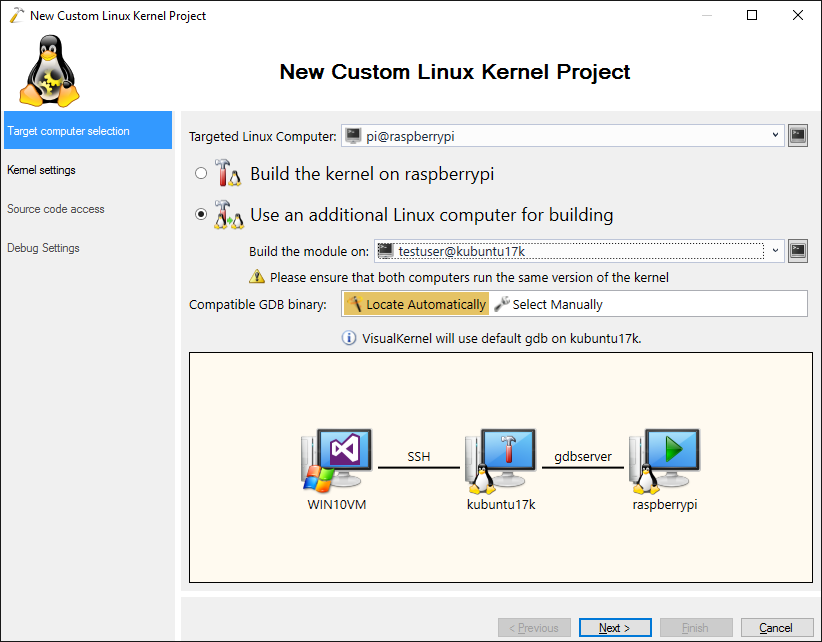
- Specify the same target settings you used in the Kernel Module tutorial:
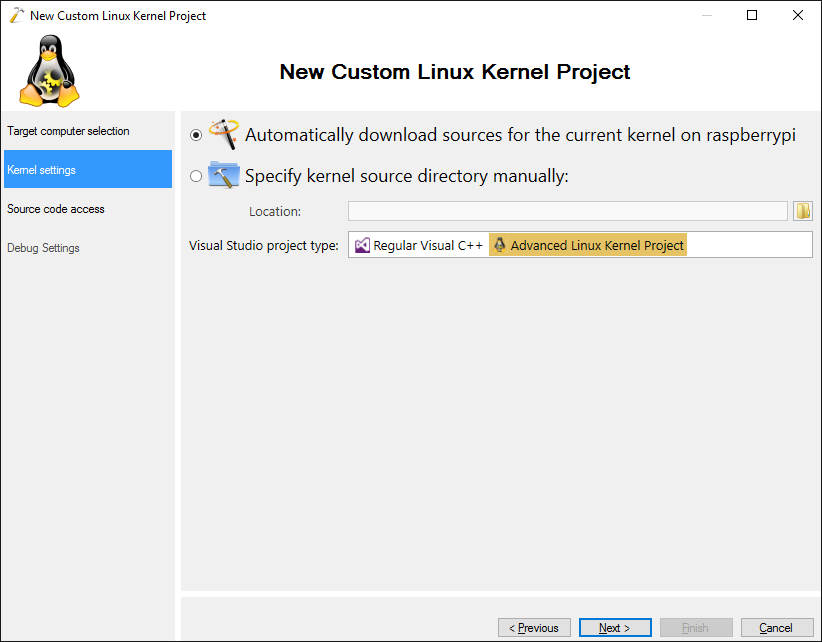
- Select “Automatically download sources” and click “Next”:
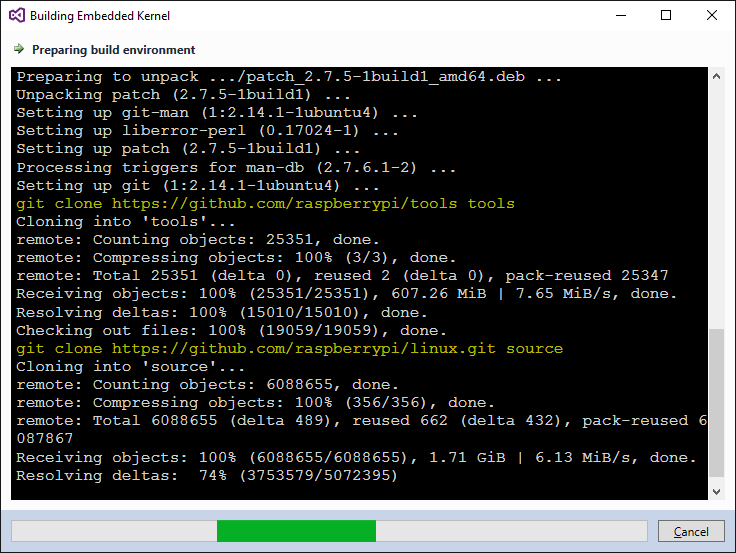
- VisualKernel will automatically download the Raspberry Pi cross-toolchain and the kernel sources to the machine selected for building:
- On the next page of the wizard select the method to access the source code on the build machine. For most scenarios we recommend using direct SSH access. If you want to keep a local copy of the sources, select “Copy sources locally and upload modified files” instead:

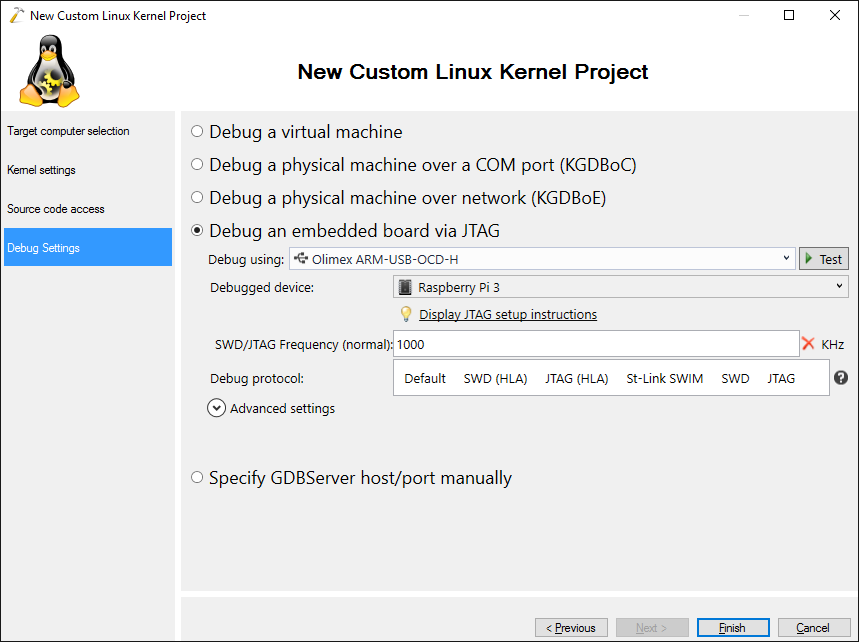
- Enter the same debug settings that you used when testing the kernel module. Use the “test” button to validate them:
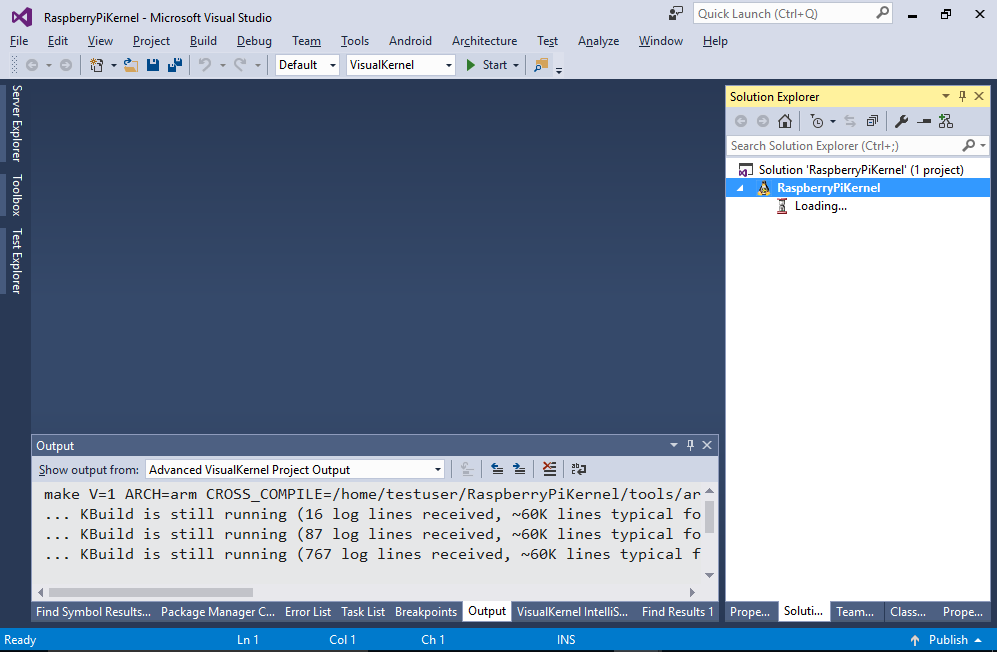
- Press Finish to generate the project. VisualKernel will create an advanced kernel project and will begin querying its structure from KBuild:
- Once the structure is queried, press Ctrl-Shift-B to build the kernel. The build may stop on an internal compiler error in dwarf2out_frame_debug_adjust_cfa():
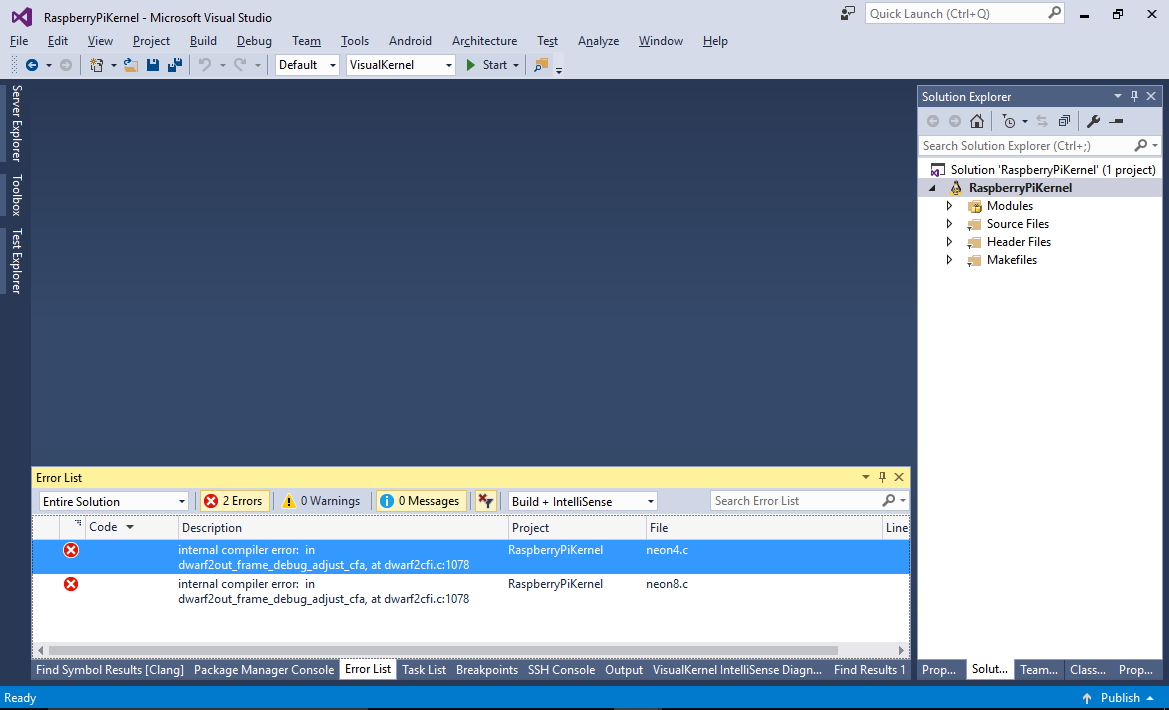
- To work around this, open both failing files and insert the following code at the beginning of them:
#pragma GCC optimize("-g0")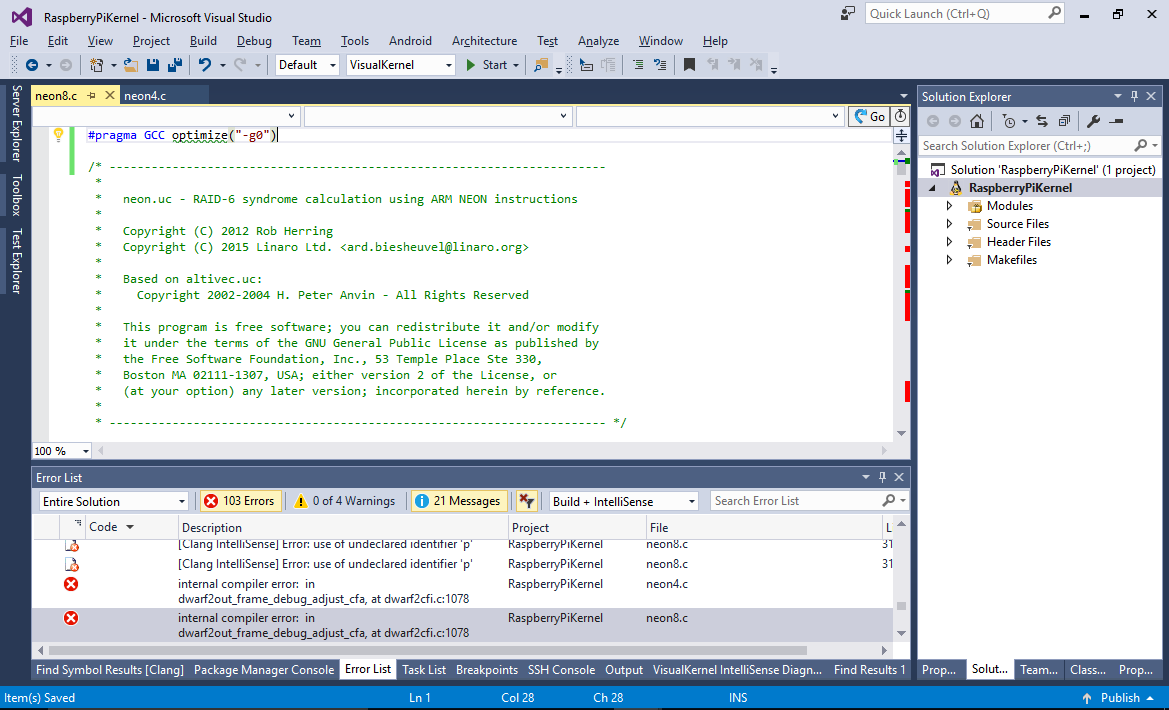
- Then build the project again. The build will now succeed and VisualKernel will remind you to install the kernel on Raspberry Pi:

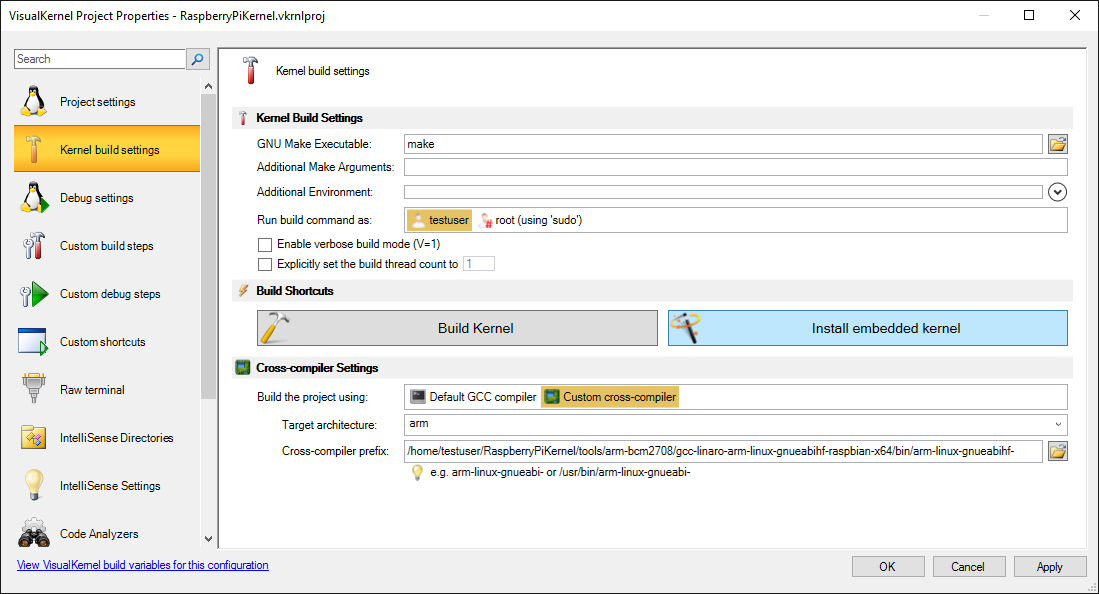
- Open VisualKernel Project Properties on the Kernel build settings page and click “Install embedded kernel”:
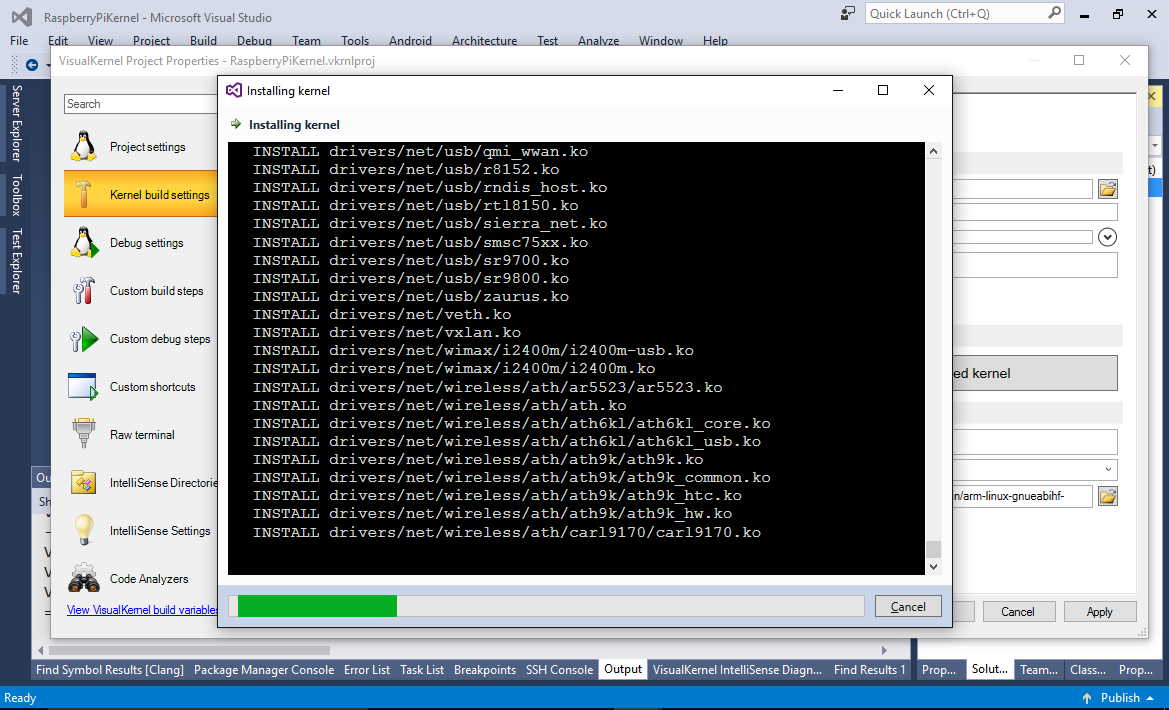
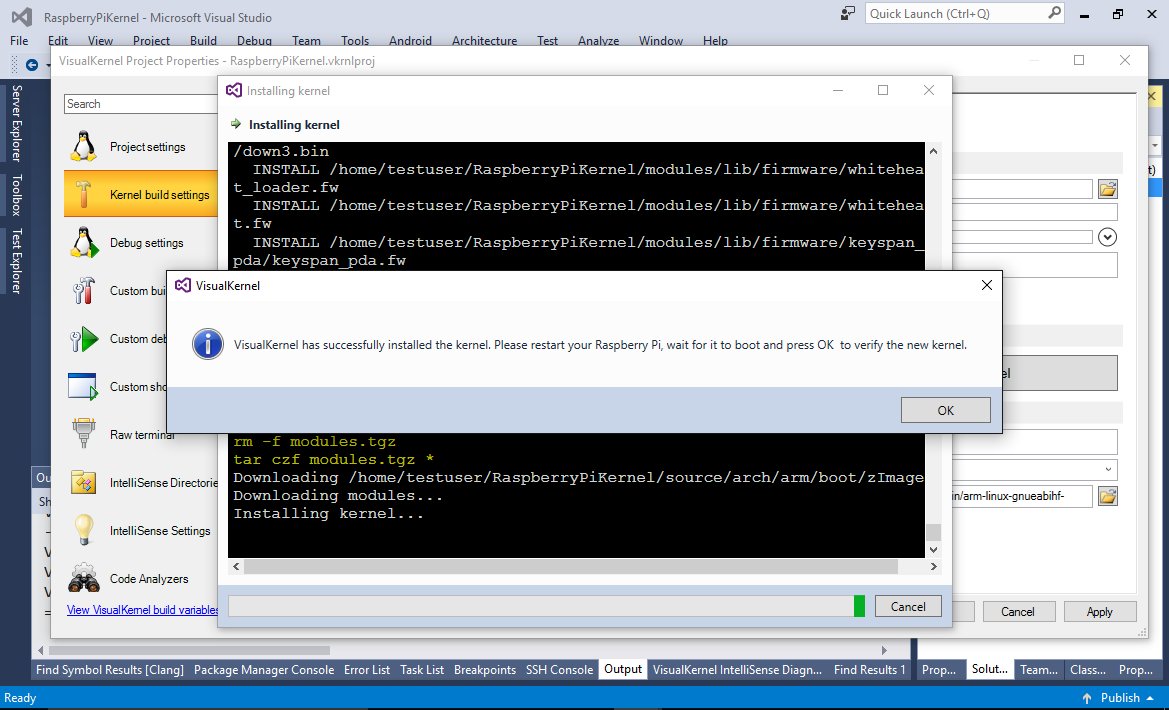
- VisualKernel will automatically export the built kernel, transfer it to Raspberry Pi and install it there, including the related modules:
- Once the installation is complete, restart Raspberry Pi and ensure the new kernel starts:
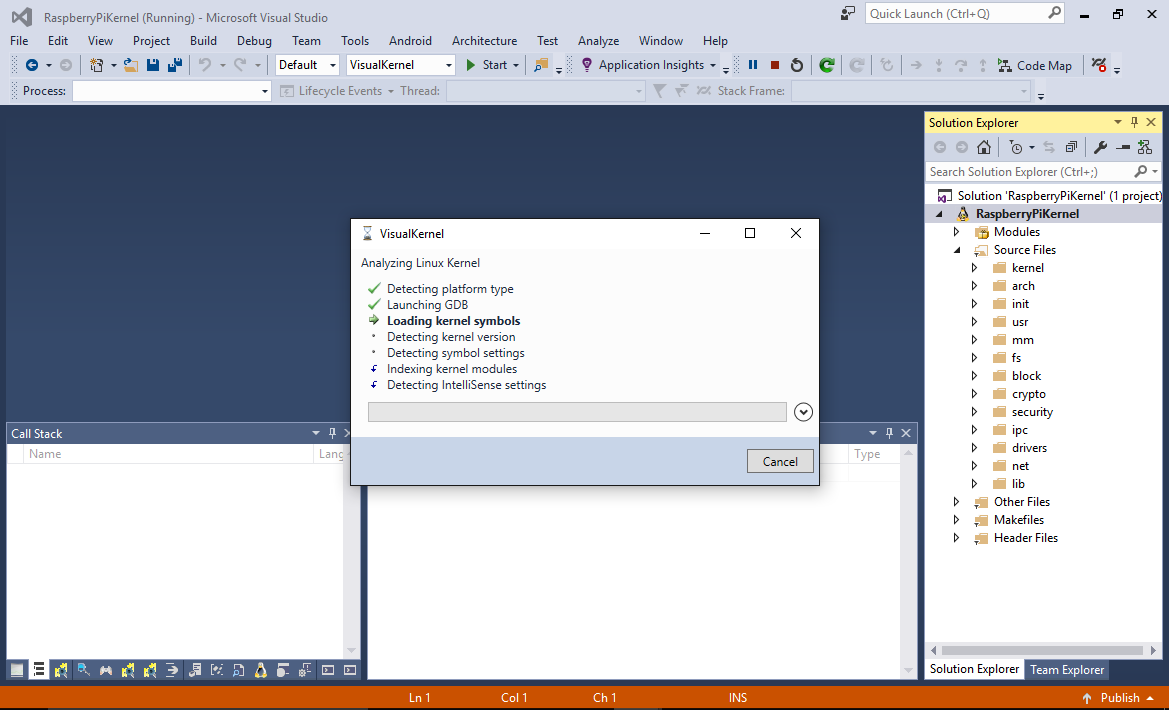
- Press F5 to start debugging the kernel. VisualKernel will begin analyzing the kernel image and once it is done, the debugging session will automatically start:
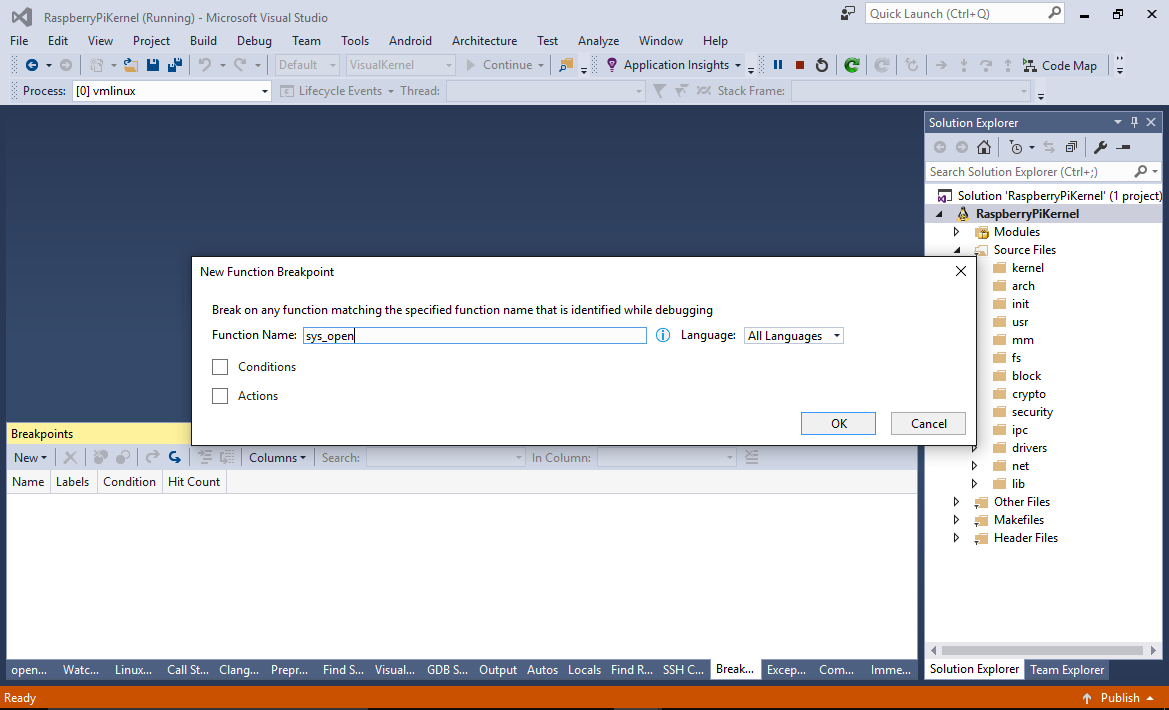
- Set a breakpoint in the sys_open() function via the Breakpoints window:
- The breakpoint will soon hit:
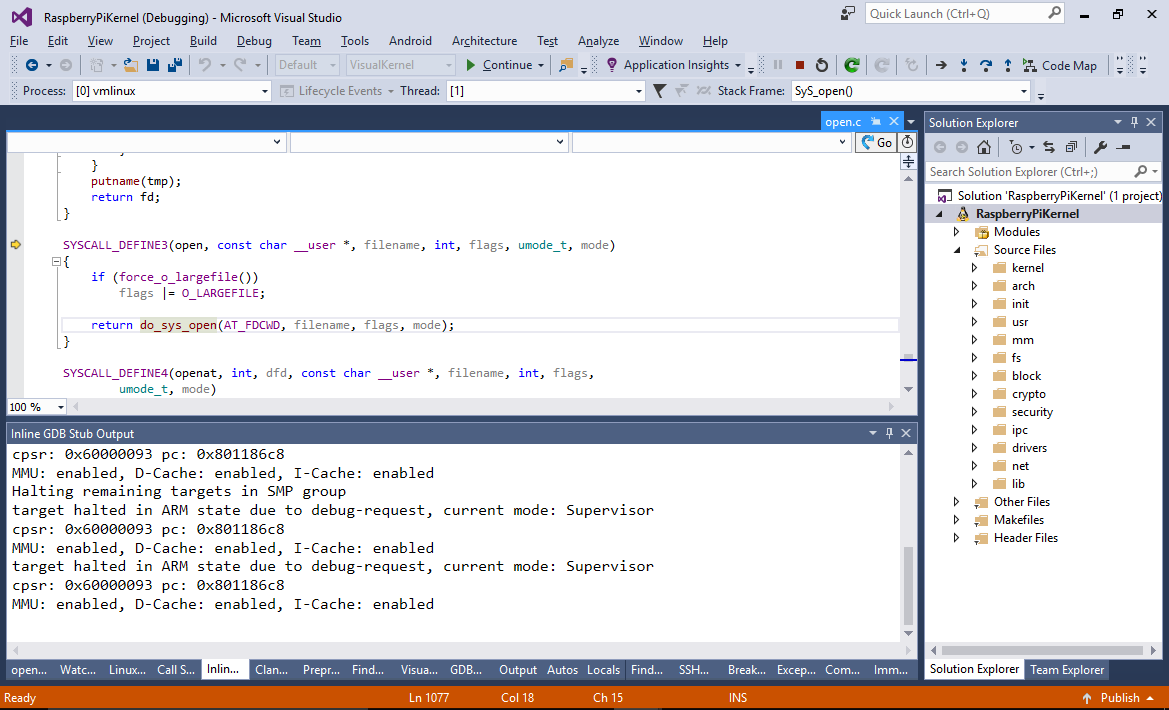 If it doesn’t get triggered, try reading any file on your Raspberry Pi using the ‘cat’ command.
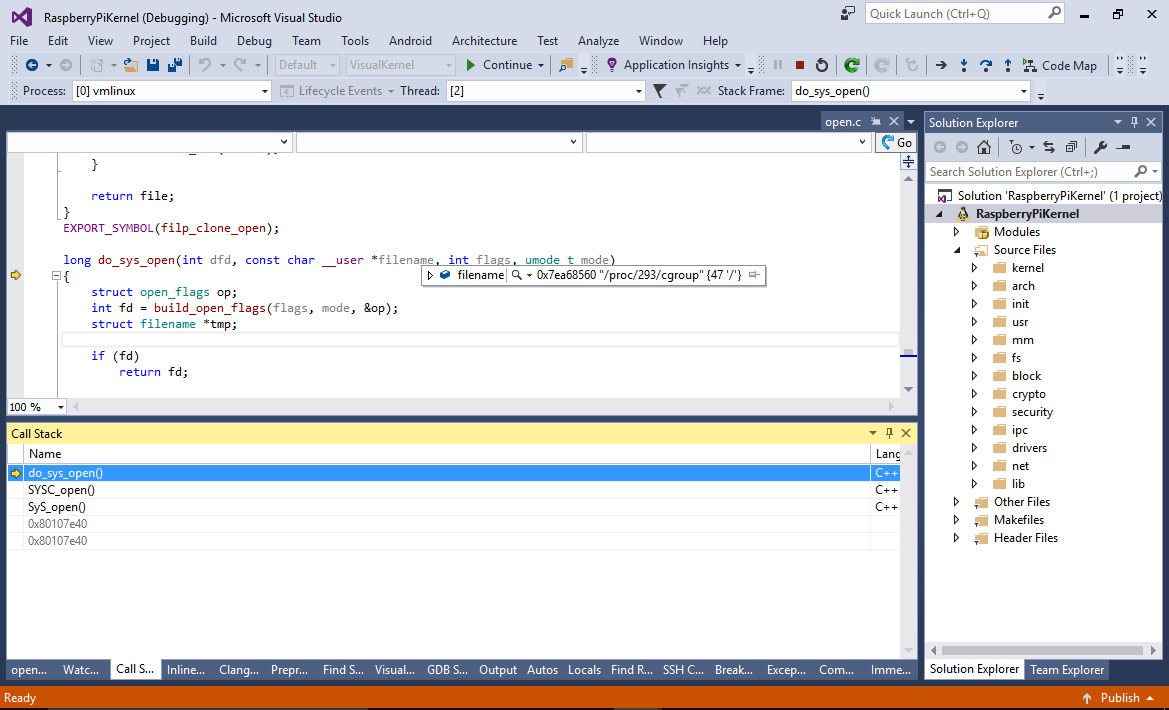
 - Press F11 until you step into do_sys_open(). Hover the mouse around various variables to see their values:
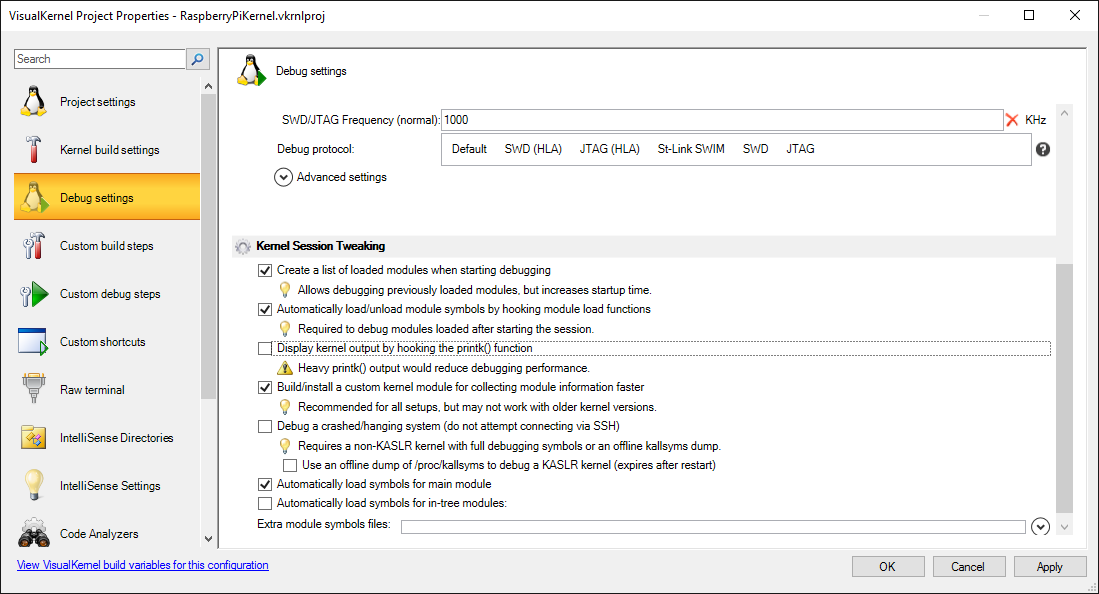
- If stepping through the kernel is too slow due to multiple printk() messages, you can disable printk() hooking via VisualKernel Project Properties:
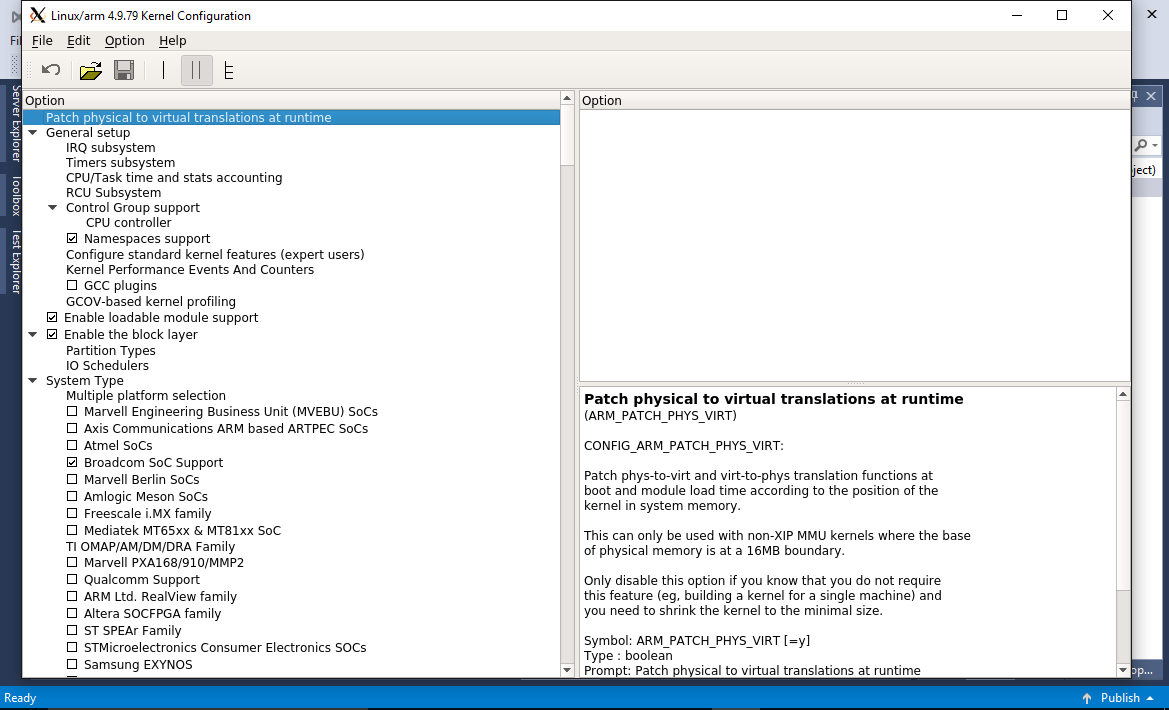
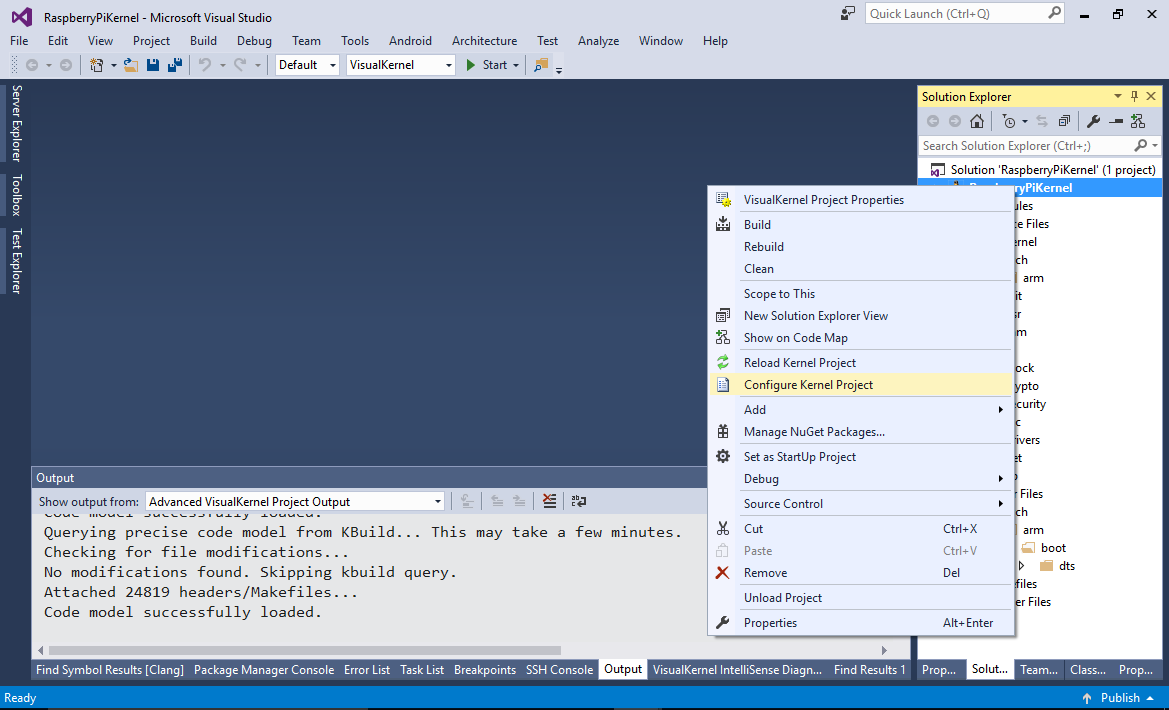
- You can edit the kernel configuration by right-clicking on the kernel project and selecting “Configure Kernel Project”:
- This will launch the xconfig tool, letting you configure various kernel parameters directly from your Windows machine: