Debugging kernel modules on Ubuntu 15 with Visual Studio
This tutorial shows how to develop and debug a basic kernel module for Ubuntu 15 using Visual Studio and VisualKernel. Before you begin, install VisualKernel 2.0.
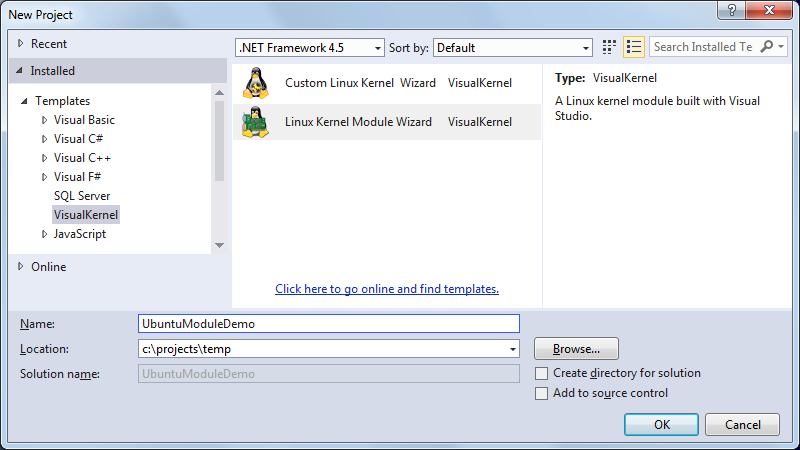
- Start Visual Studio. Select File->New->Project and pick the VisualKernel kernel module wizard:
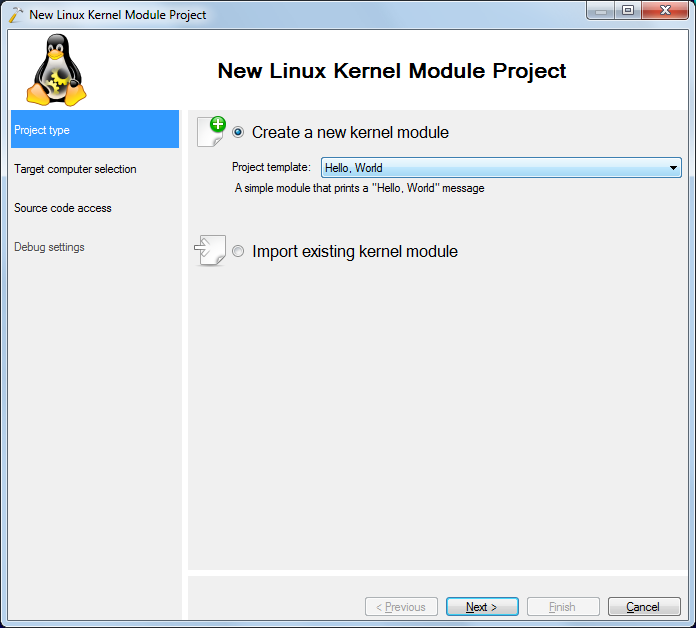
- The first page of the wizard allows selecting the project template. In this tutorial we will use the default “Hello, World” template:
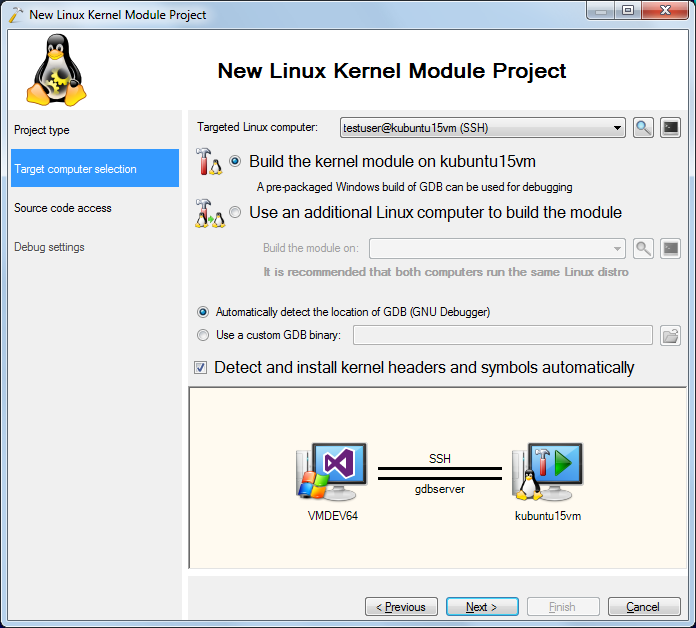
- The next page allows selecting the remote machine. Choose your Ubuntu machine and click “Next” to automatically install and cache the kernel symbols and sources:
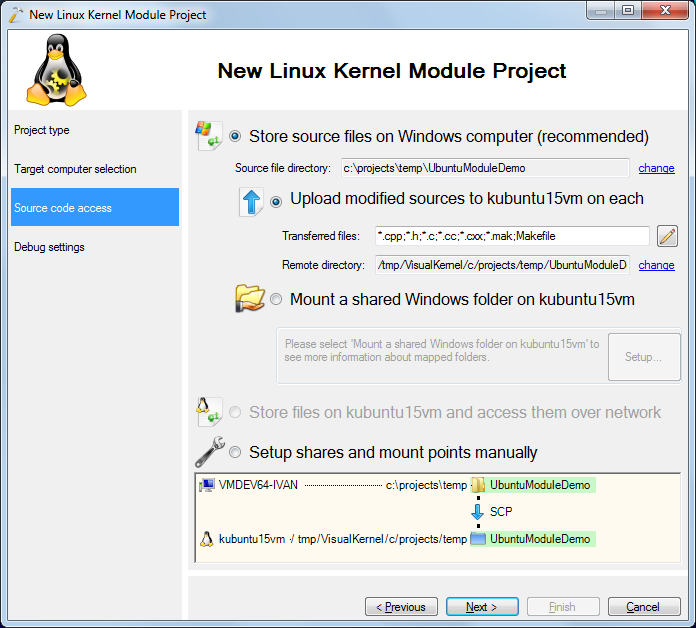
- The next page allows specifying the directory where the sources will be stored. The default settings should work for most of the projects:
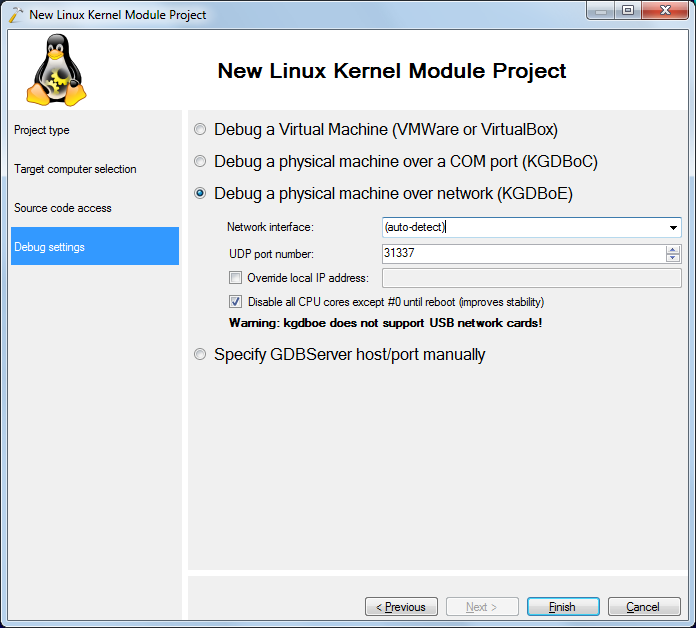
- Finally the last page allows choosing the debug method. If you are using a VMWare VM, we recommend debugging it directly using the VM debugger. Otherwise you can choose KGDB-over-Ethernet for higher speed or KGDB-over-COM port for higher reliability:
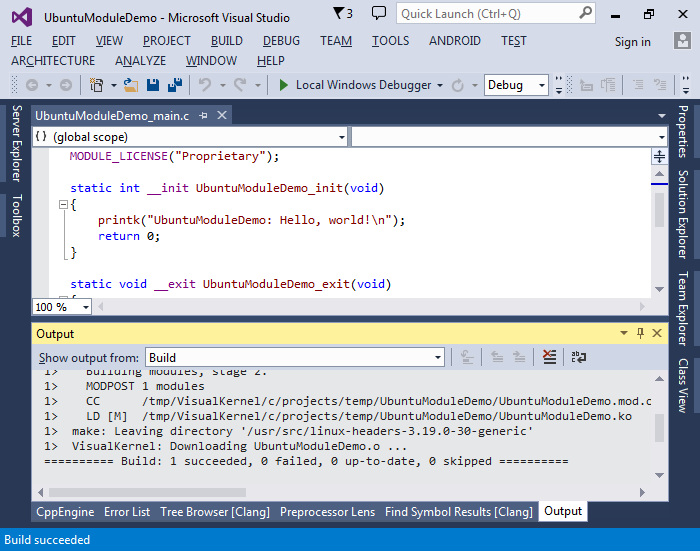
- Press Finish to create the project. You can build it by pressing Ctrl-Shift-B:
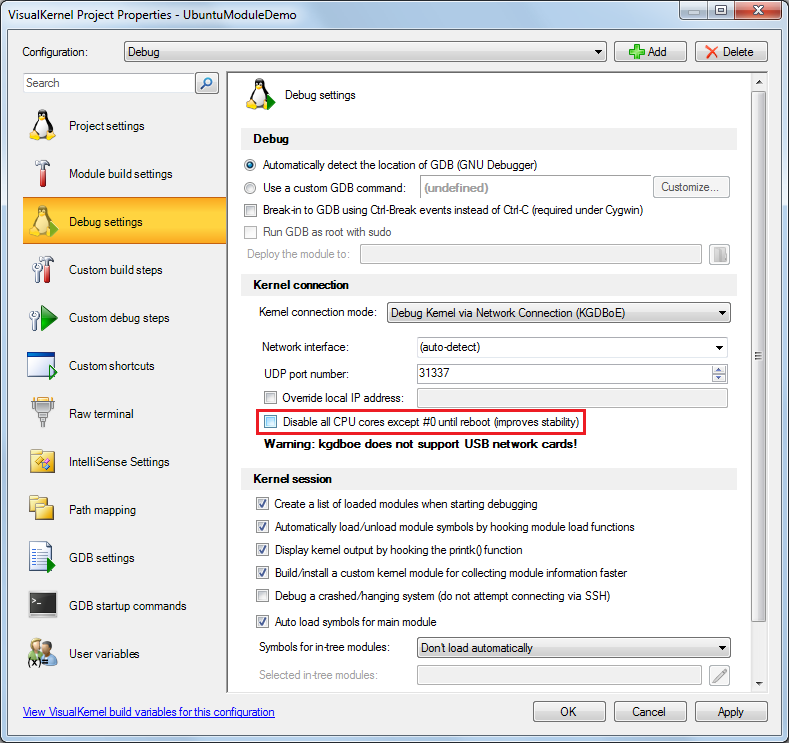
- If you are debugging over Ethernet, the debugging may hang randomly on some kernels with Ubuntu patches due to incomptaibilities between kgdboe and the softirq mechanism. In most cases this can be fixed by unchecking the “Disable all CPU cores except #0” checkbox. This will turn on more intrusive KGDBoE mode that involves detecting and delaying network-related interrupts to prevent deadlocking:
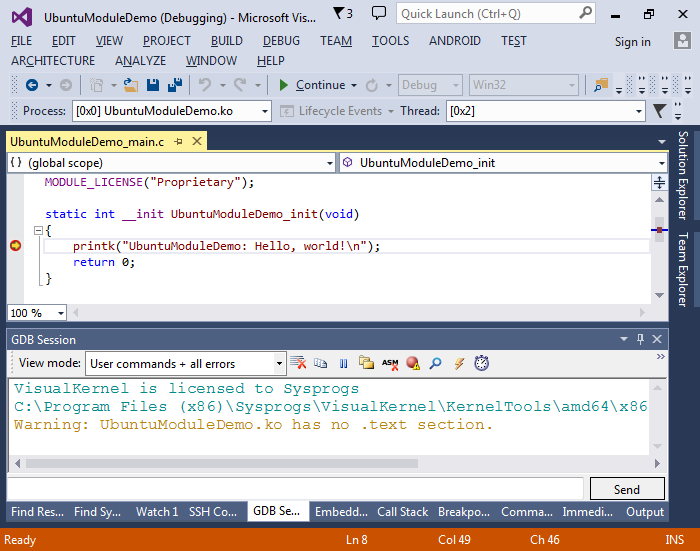
- Set a breakpoint in the init() function and hit F5 to start debugging. The breakpoint will be triggered:
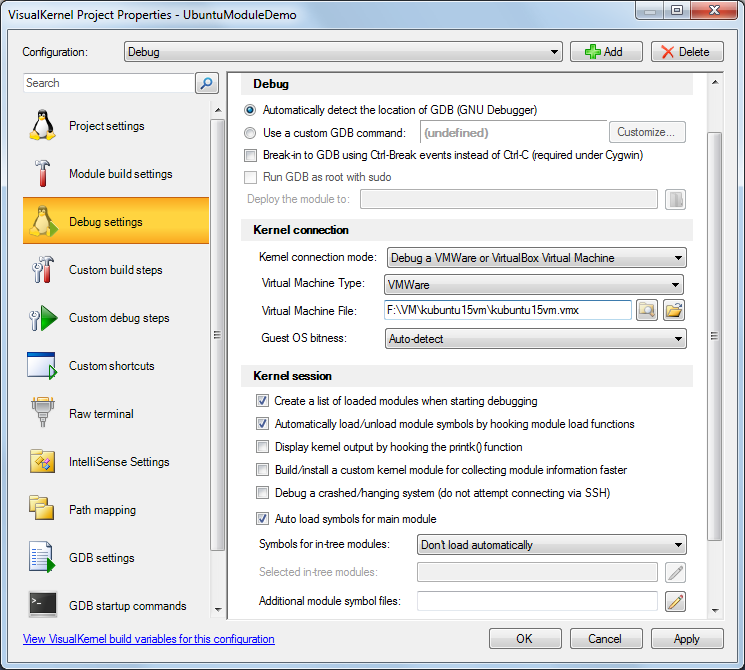
- You can right-click on your project in Solution Explorer and choose VisualKernel Project Properties to edit various project-related settings. E.g. if debugging over Ethernet is unreliable, you can switch to a more reliable VM debugger or a COM port-based connection: