Importing a Linux Kernel module project into VisualKernel
This tutorial shows how to create a VisualKernel project for an existing Linux kernel module. We will demonstrate it by creating a copy of the coretemp module responsible for measuring the temperature for the CPU core.
Before you begin copy the <linux source>/drivers/hwmon/coretemp.c file into a separate directory on your Linux machine, rename it to coretemp2.c and create a Makefile there containing the following lines:
KERNEL_MODULE_NAME := coretemp2
obj-m += coretemp2.o
ccflags-y += -ggdb -O0
Then follow the steps below to import the module project into VisualKernel:
- Start the VisualKernel kernel module wizard:
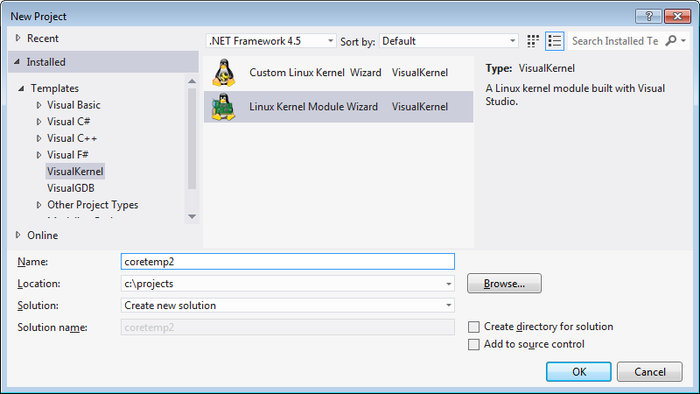
- On the first wizard page select “Import existing kernel module”:

- On the second page select the computer you are targeting:

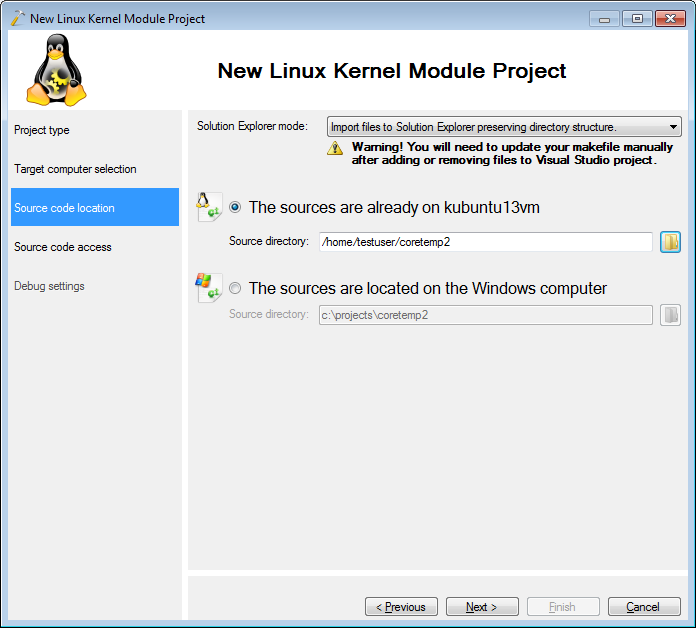
- On the next page select the directory where you have placed the coretemp2.c file and the Makefile:
- On the “source code access” page proceed with the default settings:

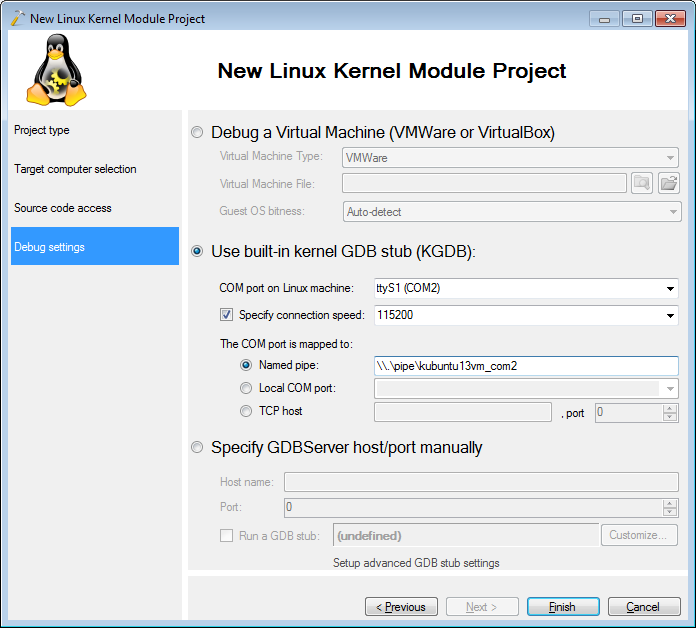
- Finally select the debugging method that will allow VisualKernel debug your target:
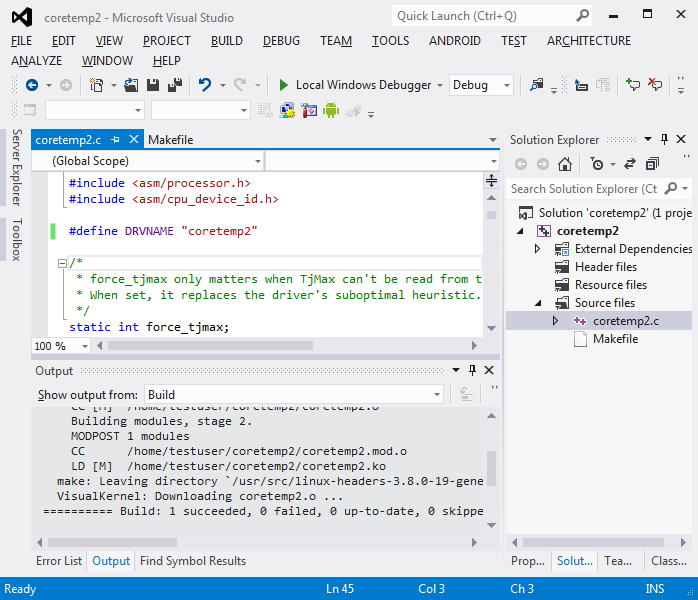
- Press “Finish” to create your project. Change DRVNAME from “coretemp” to “coretemp2” and press Ctrl-Shift-B to build the module. Changing the driver name will avoid collisions with the original coretemp driver:
- Set a breakpoint on the coretemp_init() function and hit F5 to begin debugging:
 Once the breakpoint is hit you can use normal debugging techniques to debug your module.