Building and Deploying Linux Kernel for i.MX6
This tutorial shows how to build a Linux kernel with debug symbols for your i.MX6 device and boot into it. We will show it based on the dual-core Wandboard board.
- First of all identify the kernel version that is currently running on your device by running the following command:
uname -r
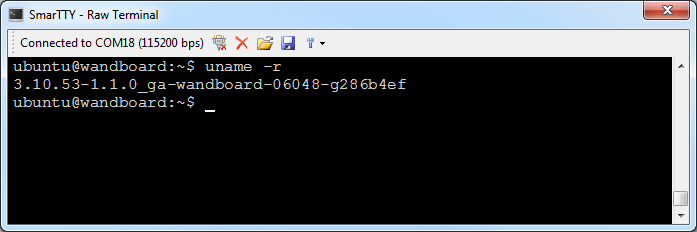 To minimize compatibility problems it is always recommended to first try building exactly the same kernel version and ensuring that it works. In this example we will use the Ubuntu 14 image that comes with the 3.10.53 kernel.
 - Determine whether the device us running a hard float or soft float version of the operating system. The easiest way is to run “gcc -v” on the i.MX6 device and check the reported target:
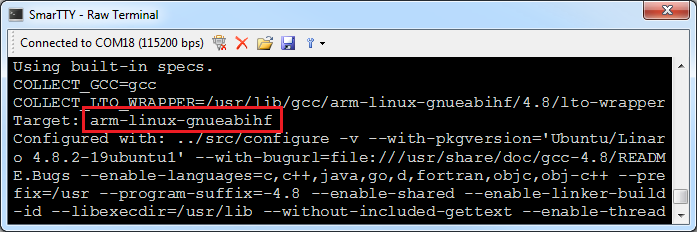 If the target ends with “gnueabihf”, it is a hard-float target. If it ends with “gnueabi”, it is a soft-float one.
 - Locate the sources for the kernel version that is running on your device. Normally the board vendor’s website should provide a link. For Wandboard the sources can be found here.
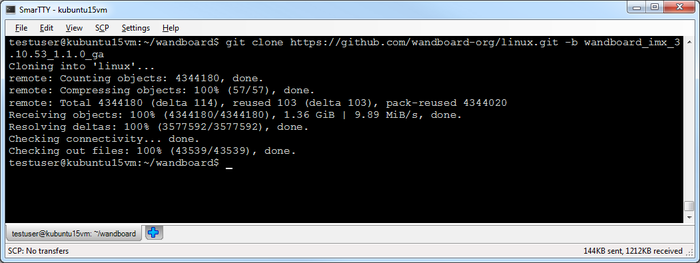
- On a fast Linux machine install git (apt-get install git) and checkout the sources for the same version of the kernel that is running on the device. E.g. for the 3.10.53 version this can be done with the following command
git clone https://github.com/wandboard-org/linux.git -b wandboard_imx_3.10.53_1.1.0_ga
- Download and extract a cross-toolchain that matches the target of your device. Do not confuse arm-linux-gnueabi and arm-linux-gnueabihf toolchains. Note that the kernel version 3.10.53 does not support gcc 5.x, so we will download the latest release from the 4.x branch. You can find the arm-linux-gnueabihf releases of the Linaro toolchain here. Then add set the CROSS_COMPILE environment variable to the prefix of the toolchain so that ${CROSS_COMPILE}gccexpression will refer to the gcc from the toolchain.

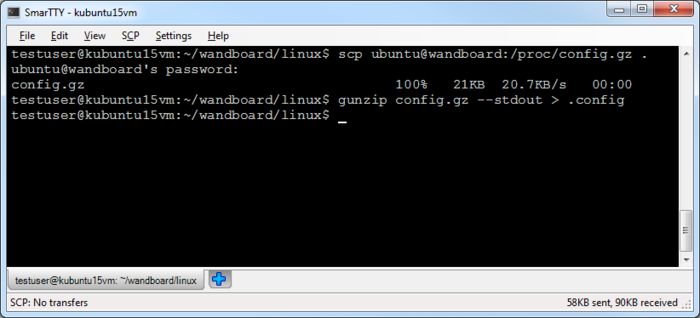
- Now you are ready to build the kernel. First of all extract the kernel configuration from the i.MX6 device (available as /proc/config.gz) and unpack it:
scp ubuntu@wandboard:/proc/config.gz .
gunzip config.gz --stdout > .config
- Before we can build the kernel we need to make the following modifications to the configuration:
- Enable debug symbols
- Disable the DEV_FSL_CAAM cryptographic device as its driver will freeze the kernel once you connect a JTAG debugger
The easiest way to do that is to filter out lines containing DEBUG_INFO and DEV_FSL_CAAM from the .config file and run “make oldconfig”:
grep -v "DEBUG_INFO\|DEV_FSL_CAAM" < .config > newconfig
mv newconfig .config
ARCH=arm make oldconfig
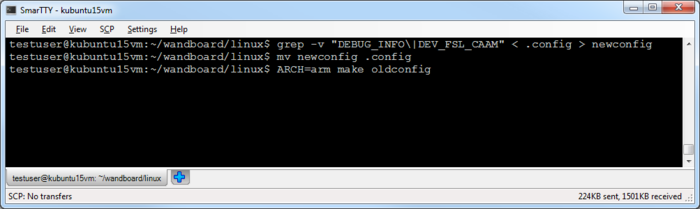 Ensure you answer “Yes” to the question about debug info and “No” to the question about the FSL CAAM driver.
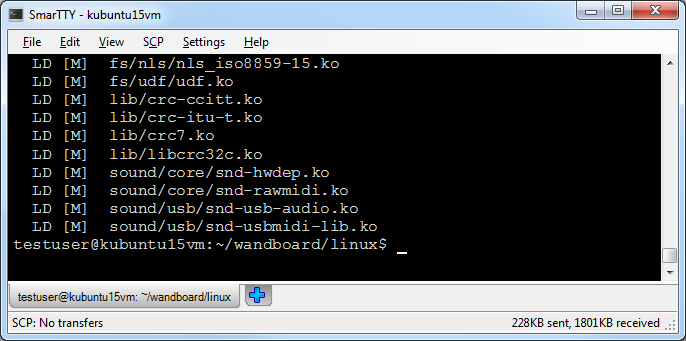
 - Finally build the kernel by running “ARCH=arm make -j<number of parallel build threads>”:
- Now we will install the kernel on the board. On most i.MX6 boards the kernel is loaded by the U-Boot bootloader that can be configured to load it from many different places. In order to figure out how to install the kernel, connect the COM port to your board, reset it and press ENTER when the bootloader asks to press any key to abort automatic boot. Then run the “printenv” command:
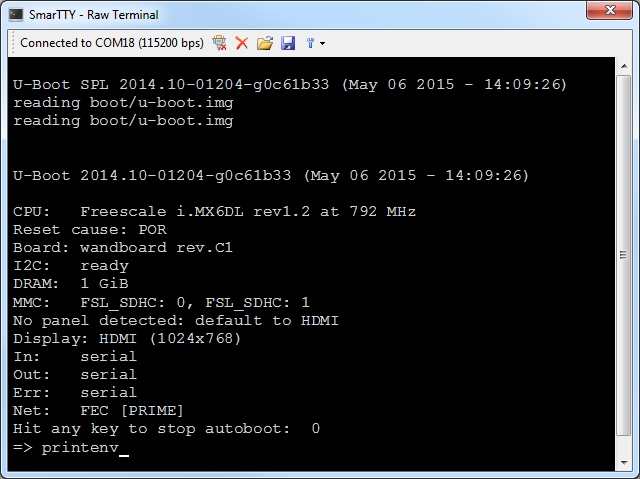
- U-Boot may be configured to load the kernel from various places: specific address on the SD card, specific file in one of the SD card partitions or even a network location. You can find it out by looking at the bootcmd environment variable. E.g. here is the snippet from the environment of the Ubuntu 14 image:
bootcmd=mmc dev ${mmcdev}; if mmc rescan; then if run loadbootscript; then run bootscript; else if run loadimage; then run mmcboot; else run netboot; fi; fi; else run netboot; fi
fdt_file=boot/imx6dl-wandboard.dtb
image=boot/zImage
loadbootscript=fatload mmc ${mmcdev}:${mmcpart} ${loadaddr} ${script};
loadimage=fatload mmc ${mmcdev}:${mmcpart} ${loadaddr} ${image}
mmcdev=0
mmcpart=1
script=boot.scr
The boot sequence here is as follows:
- Select SD card #0
- Try loading the boot.scr script from partiaion 1 of SD card 0
- If the script is not found, load the kernel from image/zImage and device tree from boot/imx6dl-wandboard.dtb
- Boot into the current system on the i.MX6 board and mount the partition 1 to /media/boot:
sudo su
mkdir /mnt/boot
mount /dev/mmcblk2p1 /mnt/boot
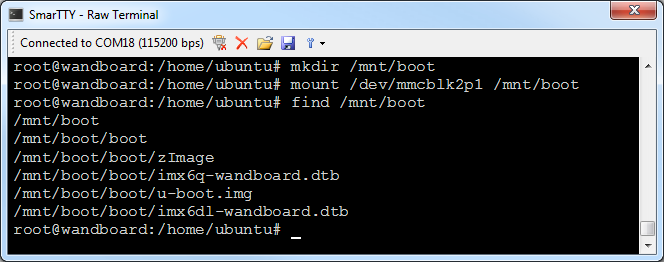
- The boot partition on the Ubuntu 14 image does not contain the boot.scr script, so all we need to do is replace the /mnt/boot/boot/zImage with the new kernel:
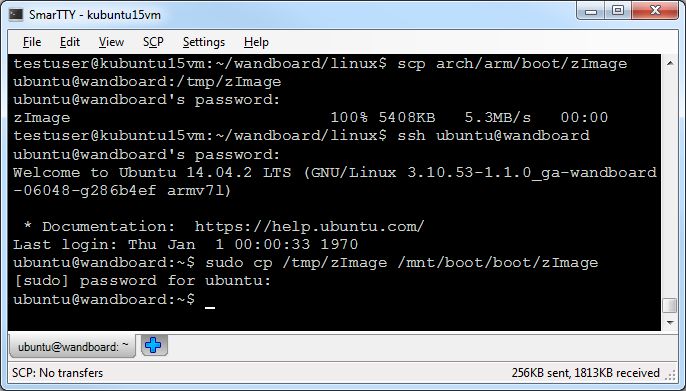
Do not confuse the boot directory on the partition 1 (/mnt/boot/boot) and the boot directory on the system partition (/boot). The second one on the Ubuntu 14 image is simply ignored.
- If the bootloader configuration loads kernel from a fixed address on the SD card, you can build an U-Boot image of the kernel by running the following command:
ARCH=arm make -j8 uImage LOADADDR=0x10008000
LOADADDR can be found by checking the U-Boot output when loading the current image. Then you can copy the image to the SD card using the ‘dd’ command on the Wandboard.
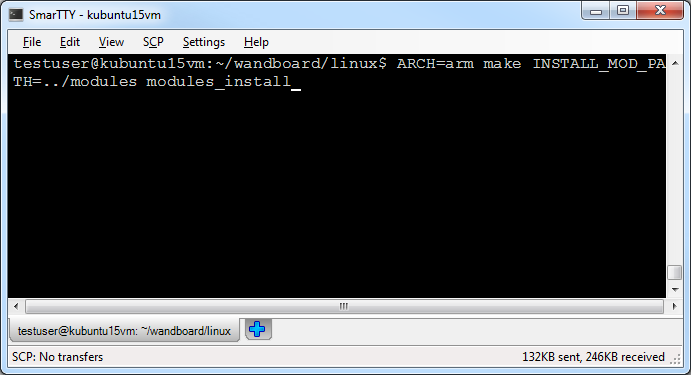
- Before you can boot into the new kernel, build and install the kernel modules. First of all, run the following command on the build machine to export all modules into a separate folder:
ARCH=arm make INSTALL_MOD_PATH=../modules modules_install
- Then go to the ../modules directory, create a .tgz file containing all modules and upload it to the i.MX6 board:
cd ../modules
tar czf modules.tgz *
scp modules.tgz ubuntu@wandboard:/tmp/modules.tgz

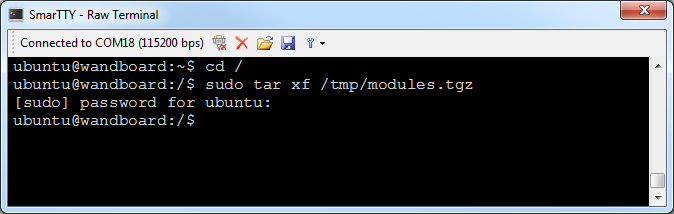
- On the board unpack the modules.tgz archive directly to the root directory (it will have the ‘lib/modules/<name>’ subdirectories inside it):
cd /
sudo tar xf /tmp/modules.tgz
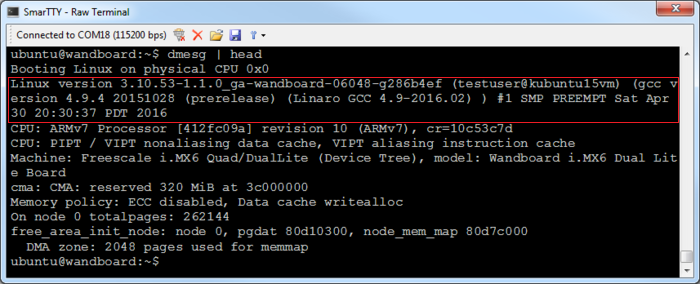
- Reboot your board and run the ‘dmesg | head’ command to check the first lines of the startup log. Use the build date reported by the kernel to verify that the new image was loaded successfully:
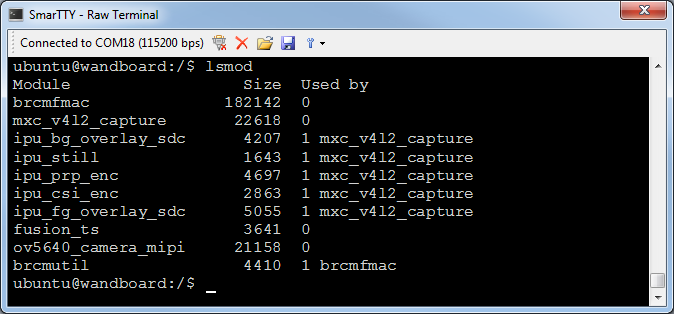
- Check that the kernel modules have been loaded by running ‘insmod’. If no modules are listed, you may start getting strange debugging errors, so double-check the module directory and the log shown by the dmesg command for clues:
Now that the kernel with debug symbols is built and loaded, you can setup a VisualKernel project to conveniently debug your kernel-mode code.