Creating a basic Linux RAM disk with VisualKernel
This tutorial shows how to create a basic RAM disk kernel module for Linux 3.x using VisualKernel. Before you begin please follow the basic KGDB tutorial or one of the other basic tutorials to ensure that you can create and debug a basic kernel module.
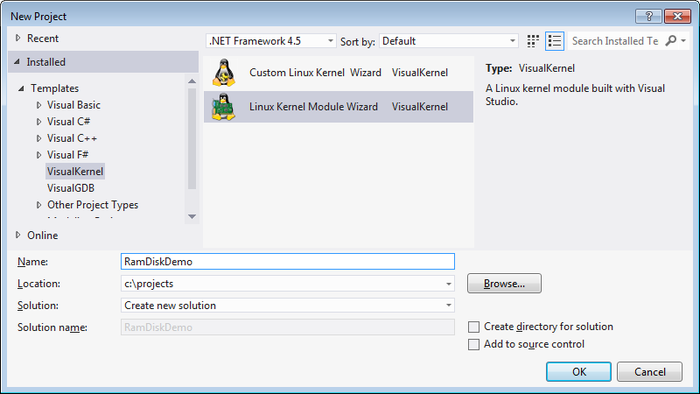
- Start Visual Studio. Open the New Project window and select VisualKernel->Linux Kernel Module Wizard:
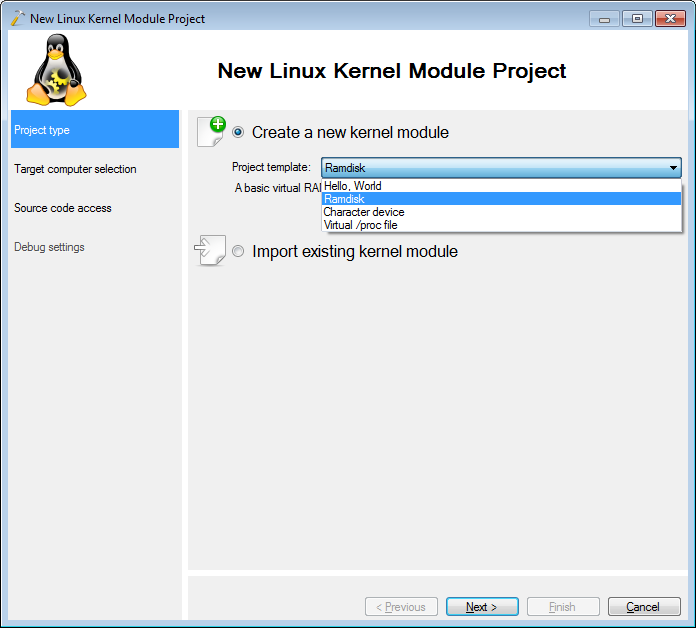
- On the first wizard page select “Create a new kernel module -> Ramdisk”:
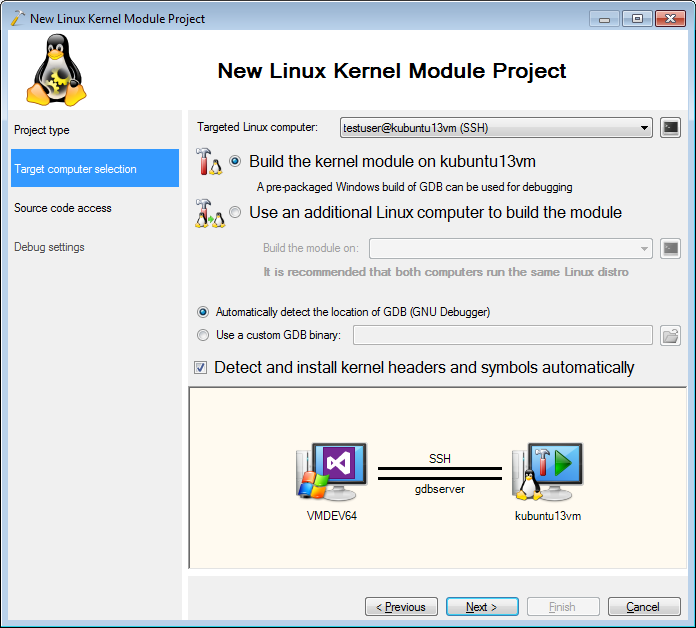
- On the next wizard page select the computer you are targeting:
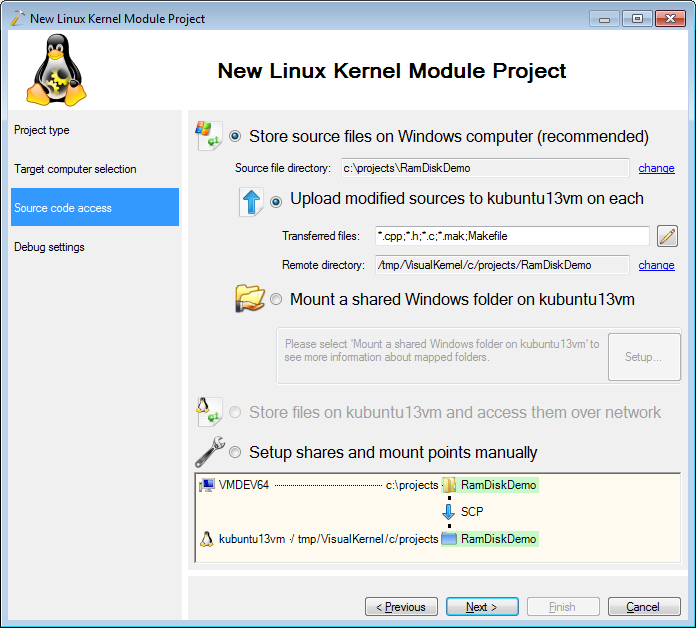
- On the third page you can change the directory where the sources will be stored on just press “Next” to accept the default directory:
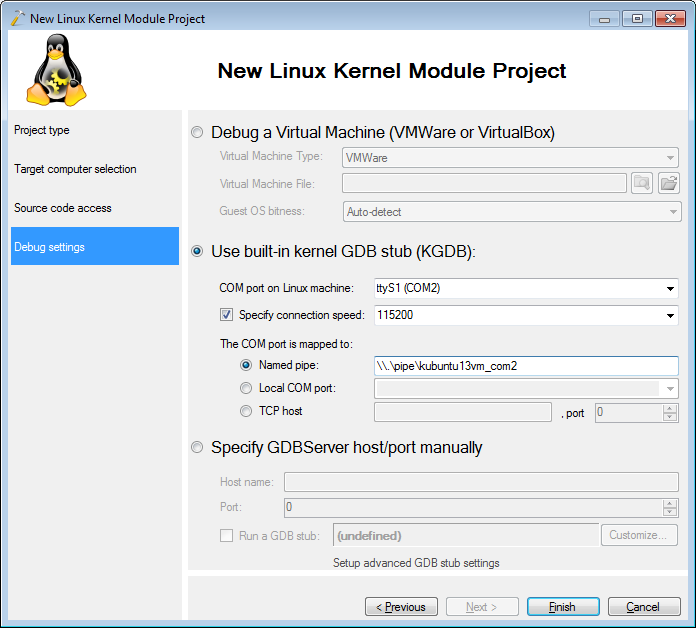
- On the last page select a debugging method that corresponds to your setup (e.g. KGDB or VMWare):
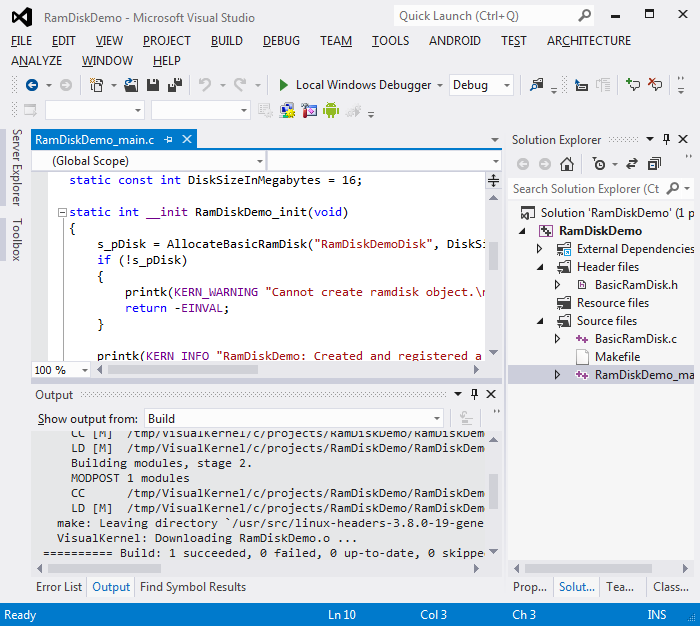
- Press “Finish” to have your project generated. Build it by selecting Build->Build Solution:
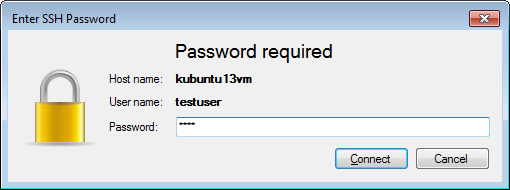
- Press F5 to start debugging your kernel module. As loading kernel modules requires root privileges, VisualKernel will ask for the password for the current user and attempt using the sudo command:
- In order to test the module we will need to mount the disk by running some commands over SSH. Select Debug->Windows->SSH Console:

- Run the following commands in the SSH console window:
sudo mkfs /dev/<Your module name>Disk1
sudo mkdir /mnt/ramdisk
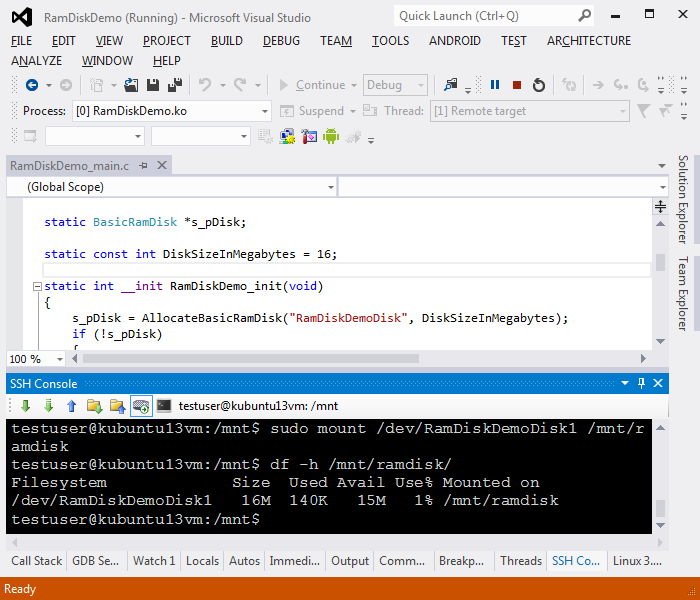
sudo mount /dev/<Your module name>Disk1 /mnt/ramdisk
df -h /mnt/ramdisk/The df tool will report that /mnt/ramdisk is mounted to the ramdisk device and has 16 MB free:
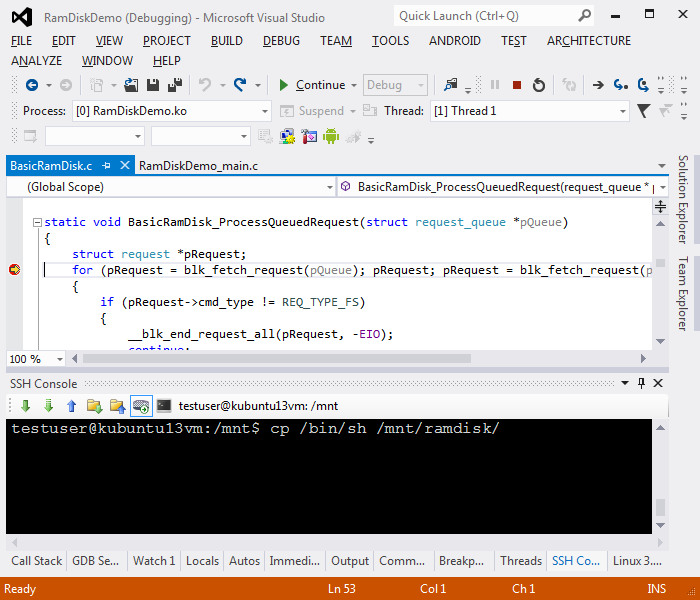
- Now we will set a breakpoint in the function that processes requests coming from the OS to see how Linux handles block requests. Open the BasicRamDisk.c file and set a breakpoint in BasicRamDisk_ProcessQueuedRequest(). Then run the following command in the SSH session window:
cp /bin/sh /mnt/ramdisk
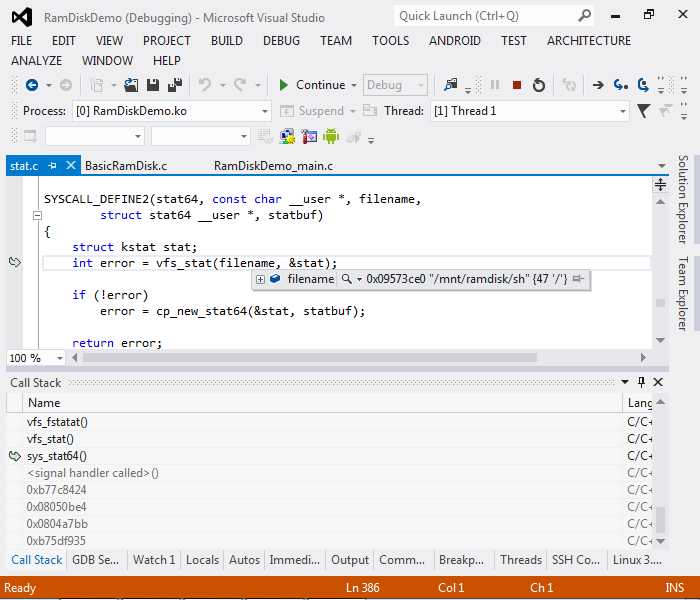
- Once the breakpoint is hit you can use the Call Stack window to navigate down the stack and see that BasicRamDisk_ProcessQueuedRequest() was called while handling the stat syscall for /mnt/ramdisk/sh file:
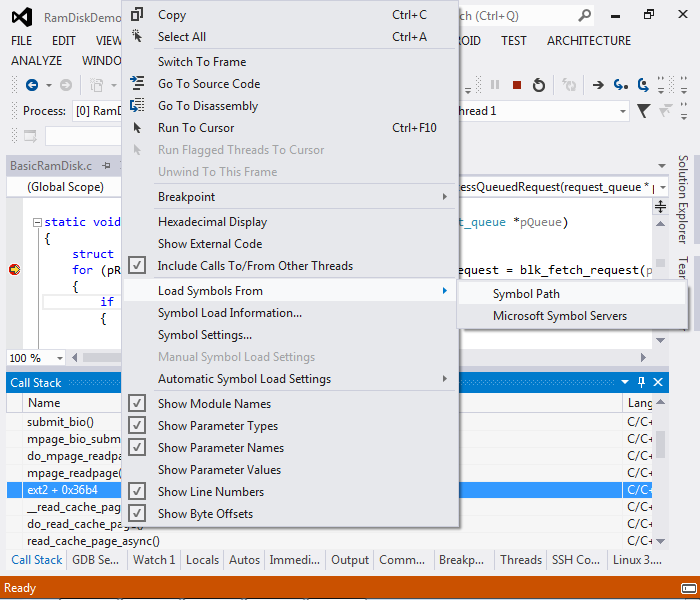
- If you examine the call stack more, you will notice frames from the ext2 module that are shown in gray because the symbols for it are not loaded. Right-click on a frame below mpage_readpage() and select “Load Symbols from Symbol Path”:
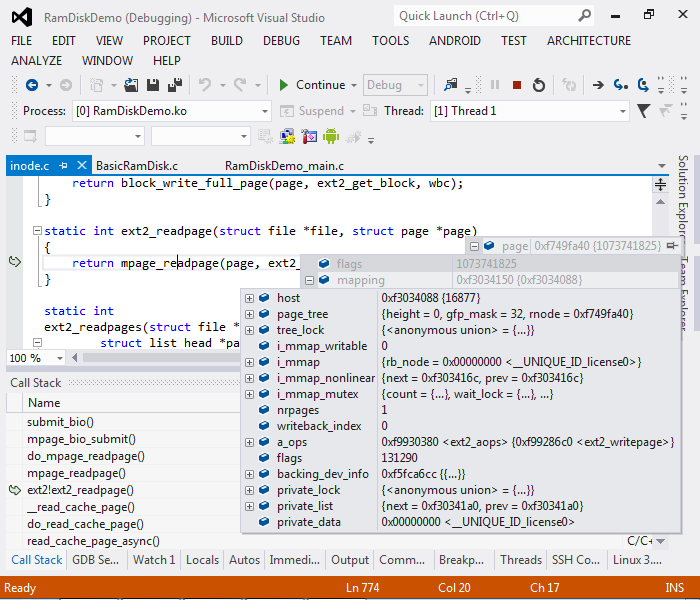
- VisualKernel will automatically use the symbols it cached when creating your project so you will be able to see the source code of the ext2fs driver and view the values of various variables:
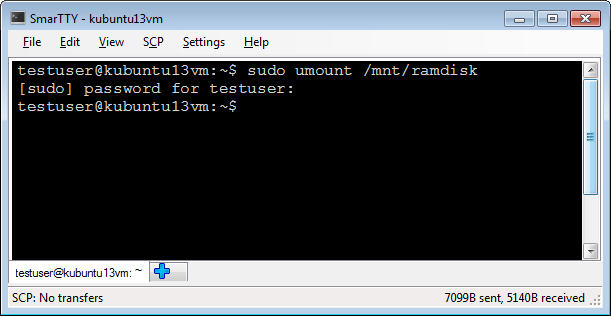
- Remove the breakpoint and press F5 to continue debugging. If you now go to the SSH Session window, it will probably be timed-out because the entire Linux system was stopped in the debugger for too long. Click on the console icon to open another console window and run “sudo umount /mnt/ramdisk” there to unmount your disk:
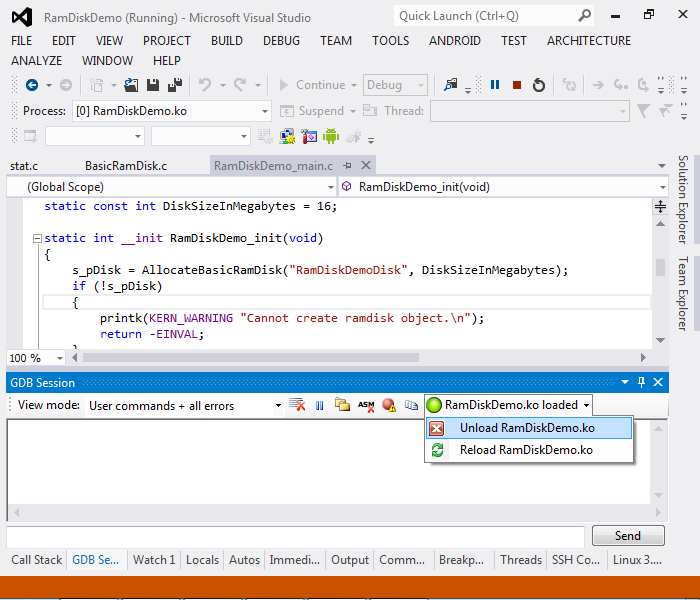
- Now open the GDB Session window and unload the driver. Then press Shift-F5 to stop debugging:
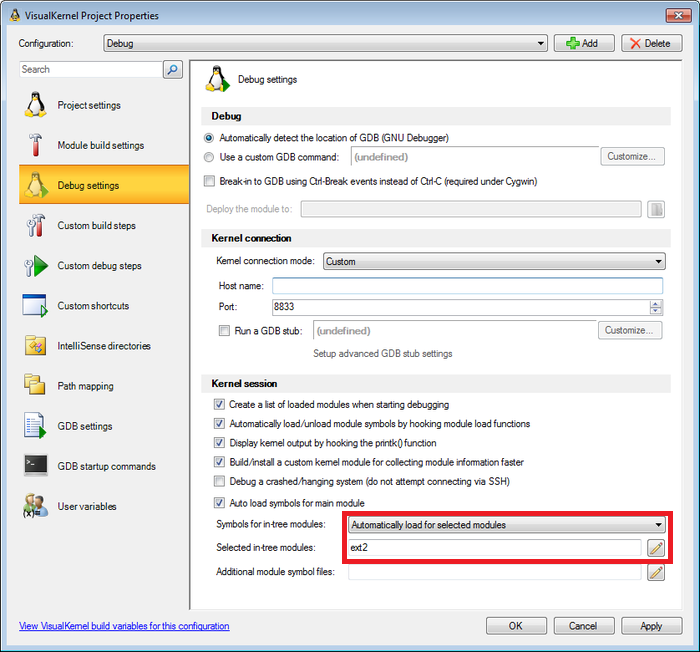
- We will now configure VisualKernel to load symbols for ext2.ko module each time you debug this project. Right-click on the project in Solution Explorer and select “VisualKernel Project Properties”. Then go to the Debug Settings page, select “Automatically load symbols for selected modules” and type “ext2” in the module list below:
- If you now start debugging your project and open the Modules window, you will notice that ext2.ko symbols are loaded from the very beginning:
