Debugging a Basic Module with a Custom Linux Kernel
This tutorial demonstrates how to build and debug a basic Linux kernel module under a custom Linux kernel built with VisualKernel. Before proceeding with the steps below, follow this tutorial to build your custom kernel.
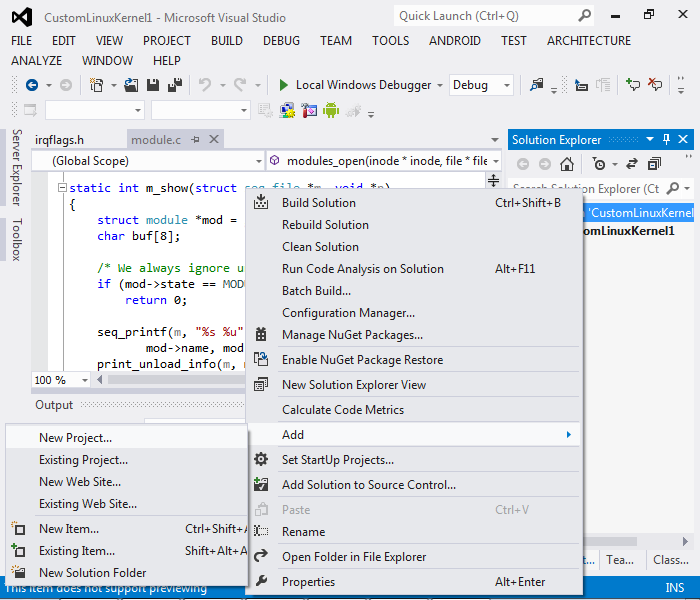
- Open your custom kernel project. Right-click on the solution in Solution Explorer and select “Add -> New Project”:
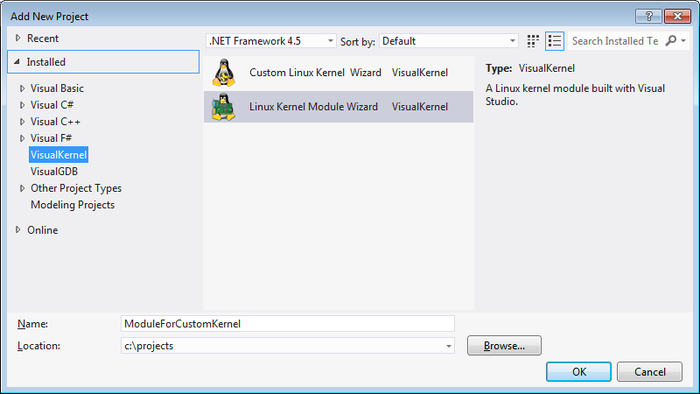
- Select VisualKernel->Linux Kernel Module wizard:
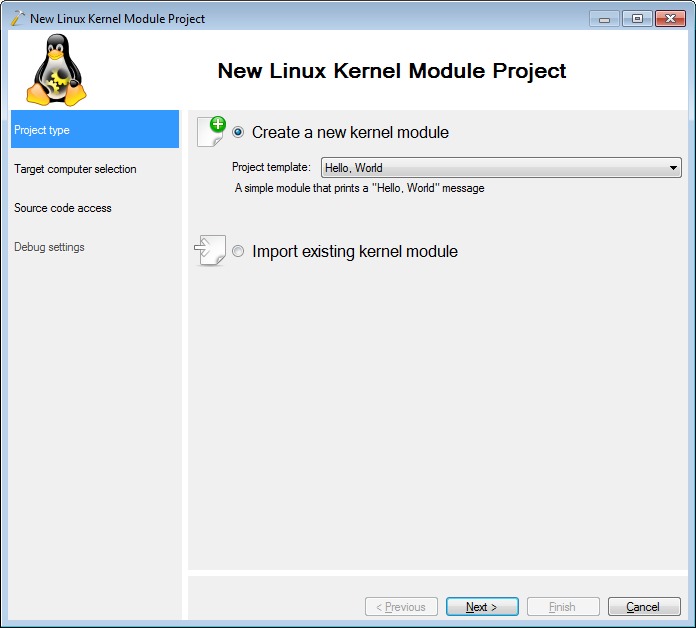
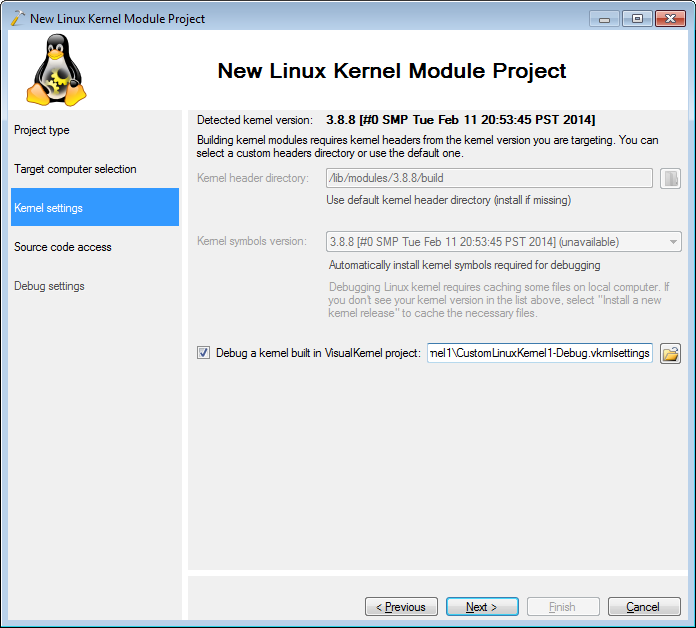
- Proceed with the default settings on the first page:
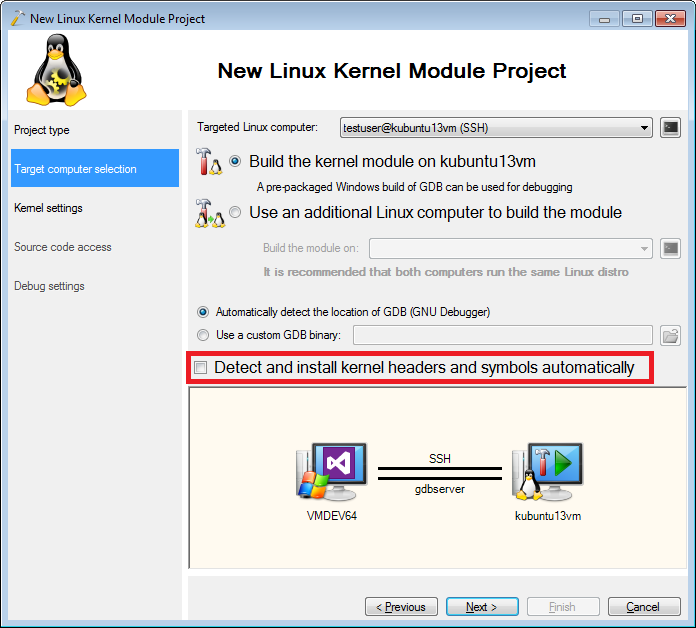
- On the next page select your target computer and uncheck the automatic installation checkbox:
- On the next page enable the “Debug a kernel built with VisualKernel project” checkbox and specify the path to the.vkrnlsettings file in the directory with your custom kernel project:
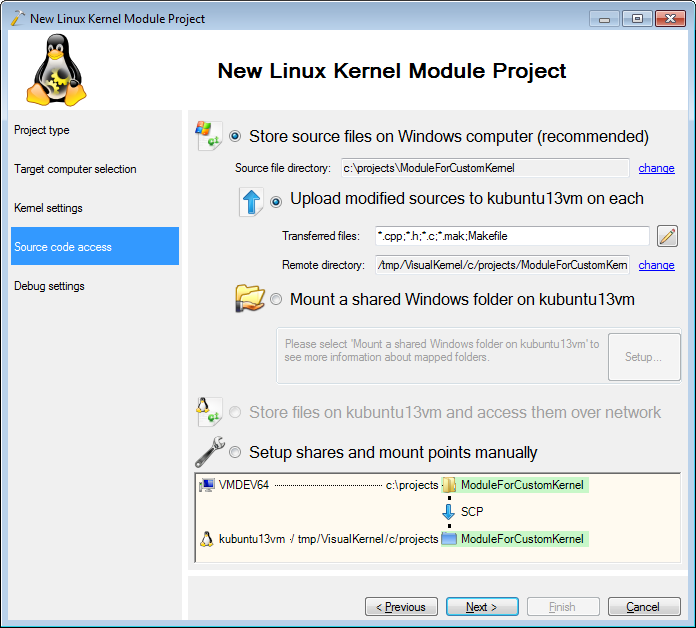
- On the next page specify the location where you want to store the source code or proceed with the default settings:
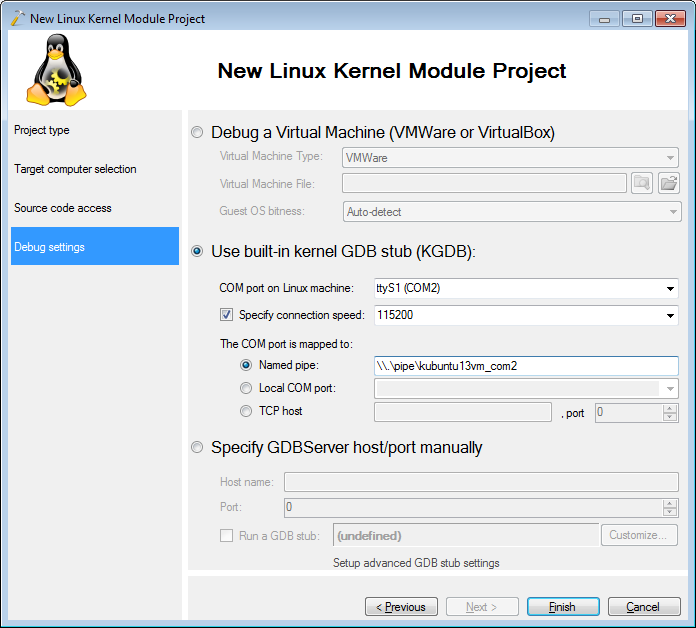
- On the last page select the method of connecting a kernel debugger to your machine:
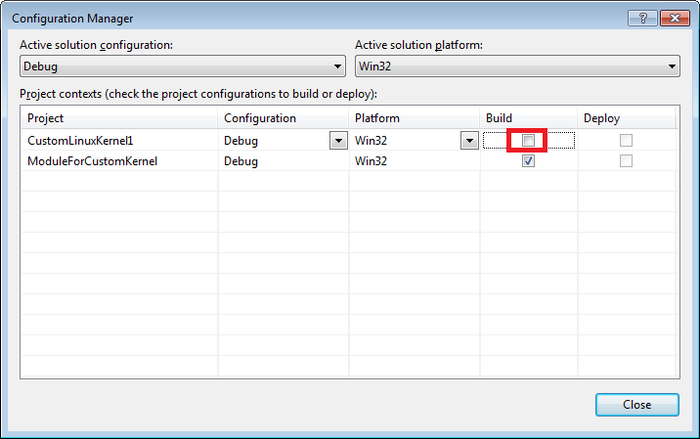
- Press Finish to create the project. Go to Configuration Manager and uncheck the ‘build’ option for the kernel project. This will ensure the kernel itself won’t be built each time you build your solution:
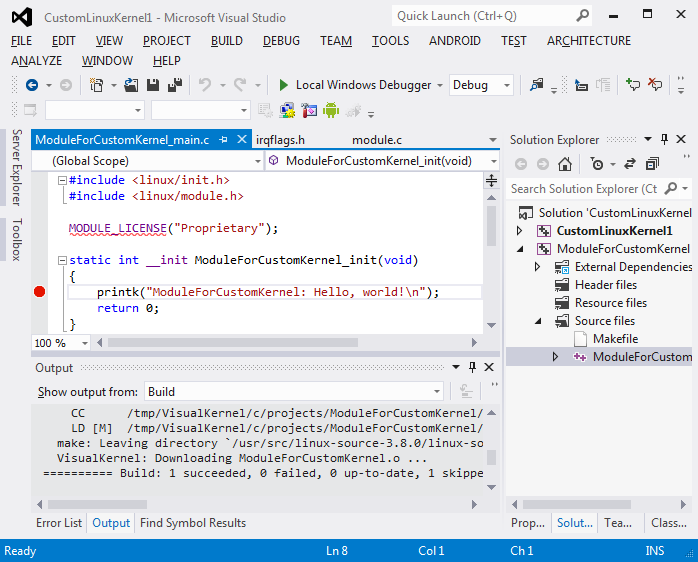
- Build the solution by pressing Ctrl-Shift-B. The kernel module will now be built:
- Set a breakpoint in the init() function, select the module project as the startup project and press F5 to begin debugging. The module will be loaded and the breakpoint will be triggered:
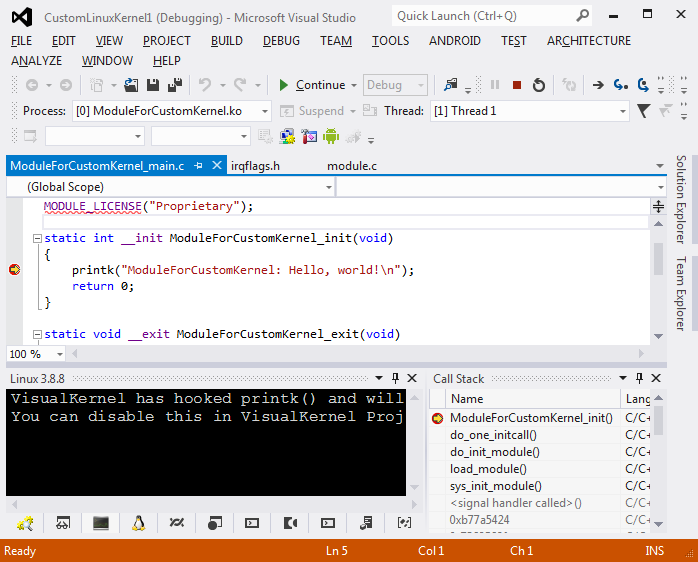
- You can use the Call Stack window to navigate to the frames from the kernel itself. Note that VisualKernel will automatically show the files from your custom kernel project:

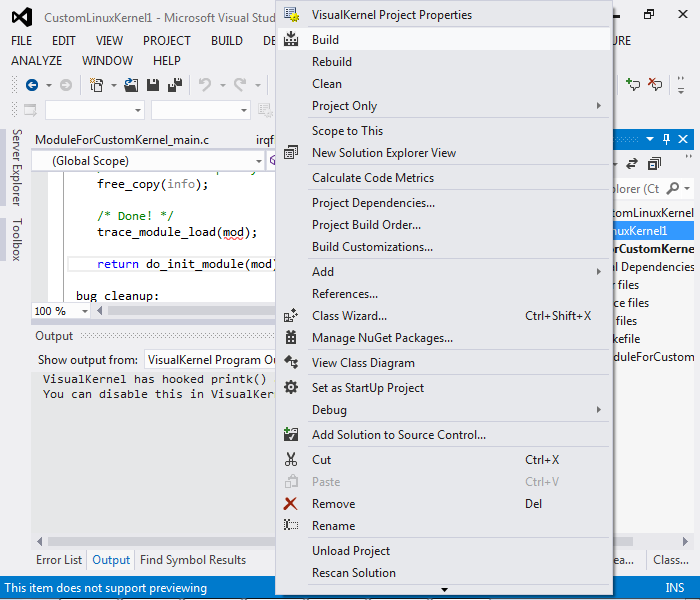
- If you want to modify the kernel further, simply edit the related files, stop debugging, right-click on the kernel in Solution Explorer and select “Build”:
 Don’t forget to reboot your Linux machine after the new kernel is built and installed.